It’s Almost Vista Time!

We’re T-20 days until we board the Carnival Vista, and I have to admit that I’m getting pretty excited. Granted, this is our parent company’s national conference, so it’ll be a busy week, but still, we’re both pretty excited to see this ship in person!

Our 3 previous Carnival sailings were over Thanksgiving, and they were some of the most fun times we’ve had. You can read about each of them by hitting the review links in our About page. Of those 3 cruises, I’d have to say that I probably enjoyed the Freedom sailing in 2011 the best, in large part because of the itinerary. Costa Rica and Panama were awesome stops, and we had a lot of sea days, which we all absolutely love. We also had one of the best cruise directors we’ve ever encountered on a sailing, Brad Calabrese. A very visible and personable guy who made the cruise a lot of fun.

Look, I know people love to bash Carnival, and frankly I think that criticism is misplaced in the vast majority of cases, and usually (in my experience) comes from people who haven’t sailed the line in a long time. I admit I wasn’t a huge fan after our 2004 sailing on the Imagination, as that sailing held little in the way of kids activities for Bayley, and the sight of people throwing up on the dock before getting back on the ship really perpetuated the “party ship” designation they used to have. Frankly, our experience on the Thanksgiving sailings showed us how much the line has changed, and helped us fall in love with cruising again. I urge anyone who hasn’t tried them in a long time (or ever) to consider them if you’re looking for a fun family vacation.

I do find it somewhat amusing that my two favorite lines are one that so many people have the wrong impression of (Carnival) and one that so few Americans know about (MSC). I’m certainly not going to apologize for that, both have provided us with some amazing memories, and we love sailing both of them 🙂

Anyway, if you’re interested in seeing what the Vista has to offer, follow us here on the blog, and on the following sites, as I plan to post quite a bit over the course of the week!

See you aboard the Vista on December 3rd!

Animal Kingdom: Wild Africa Trek

This adventure was part of our Thanksgiving trip to Disney World, and I can honestly say it’s one of the coolest things I’ve ever done at any theme park. We were on the 8am tour on Thanksgiving day, which meant meeting at the entrance to Animal Kingdom before the park opened. Being that it was my birthday present, Jen did an outstanding job of keeping it a secret, even from Bayley. As we arrived at the park, all we knew was that whatever my present was, it was happening that morning, and it would mean getting in to the park prior to the actual opening time. It wasn’t until we walked into the Wild Africa Trek area that either of us began to figure out what we were about to do.

On arrival to the park, we were instructed to wait off to the side until our guides arrived. Once they did, we were led through the park just prior to opening, so just like our Magic Kingdom breakfast at Be Our Guest the day before, we got to enjoy an empty park as we walked to the staging area for the trek.

IMG_1607 IMG_1625 IMG_2873 IMG_2878 IMG_2884 IMG_2886IMG_1627IMG_1609

Once you arrive at the starting point to the trek (right next to the Kilimanjaro Safari entrance), you go through some instruction from your guides, and get suited up for the trek. Things to note here:

  • No sandals.  Closed-toed shoes only.
  • The tour cost does not include park admission, you still must have a ticket for Animal Kingdom.
  • Kids must be at least 8 years old, and 48″ tall. No unaccompanied minors, either.
  • If your health doesn’t allow for long periods of walking over some potentially rough terrain, don’t go.
  • No loose cameras, including phones. If your camera or phone can’t be strapped to the gear you’ll be wearing, you have to put it in your locker.

Those are the basics, but be sure to check the “know before you go” section of their site for all requirements. That last one is a big one that several people in our group, including us, didn’t know going in. I’m pretty sure I was the only one allowed to take my phone, because I had two straps on it that I could use to strap to my gear. If you don’t get to take your camera, it’s not the end of the world, as they take a lot of pictures along the way, all of which are included in the cost. They give you a web site address you can download all pictures from a day or so later.

After they get everyone into their harnesses, go through some basic safety instructions, test out the wireless headsets your guides talk to you on, they give you a short description of what’s going to happen, and you’re off! The tour starts with a walk down the same Pangani Trail all the other guests can access, and you’ll end up getting some funny looks from other guests along the way who have no idea why you have all that gear on. Along the way, one guide is giving you information on the animals you see as you walk, while the other one is shooting pictures of the group. They switch off roles a couple of times along the tour too, so you get to hear from both guides assigned to your trek. Once you get close to the end of the Pangani Trail, you take a little side exit that dumps you off on a closed trail. You then hike along this trail for a while, with your guide talking to you about the area and animals, until you arrive at the hippopotamus pool.

IMG_2919 IMG_2926


Once here, they strap your harness into a support railing so you can safely walk along a ledge overlooking the pool. While here, you’re given a talk by their resident hippo expert while enjoying the view, and while having your picture taken by the guide with the camera.

IMG_2920 IMG_1805

Once complete, you trek a little farther to the start of the ropes course. This is one of the highlights of the trip, as you get to walk over two rope bridges. If you’ve experienced the Kilimanjaro Safari ride before, you’ve driven under the first of the two bridges, and like us, may never have even noticed it. When you get to the first bridge, you’re strapped in one by one, and cross over to the platform between the two bridges. The guide currently shooting pictures actually crosses first, so he/she can get pictures of each person as they cross. The shots of us on the bridge face-first were shot by our guide, and the others were taken by me.

IMG_2942IMG_1637 IMG_1638 IMG_1628IMG_1807 IMG_1808

Once you’re across to the first platform, they stop each group for a quick photo:

IMG_1806

After that, you make your way across the second bridge one by one, and pass over the crocodiles. The bridges are pretty easy to walk across in my opinion, but they can get a little bouncy when more than one person is on. They also don’t mind if you make a quick stop while walking to take a pic or two if you have your camera on you, just don’t stop for long periods and hold everyone else up.

IMG_2957IMG_2959IMG_1648 IMG_2967

Disney’s attention to detail is quite evident on the bridges, too. Even though the bridges are perfectly secure, and there’s no danger of falling, they make the planks along the way look worn and brittle. Nice touch 🙂

Once across, you walk to a ledge overlooking the crocodile pit and strap in to another support railing while listening to the croc expert and having your picture taken with them.

Wild Africa Trek 108

After you finish up here, you shed your harness, as you no longer need it, and hop into a safari truck for the next part of the expedition. Your truck joins the same path the regular Kilimanjaro Safari trucks are on, with the occasional deviation on to side paths the regular trucks don’t take. These side paths allow your group additional time to see some of the animals, and in some cases, allow you to get closer to animals than the regular path does, depending on where the animals are that day. When the trucks stop for these closer views, you can also stand up to get better shots. We got lucky with the giraffes, with several of them congregating right next to one of these side paths. Our truck pulled up next to them, and while our guides gave us good information on them and answered questions, we got to be pretty close and get some great shots.

IMG_1682

Once we finished up there, the truck headed up to a building sitting on the savannah. We’d seen this on past safari trips, but until now had no idea what the purpose was. For the trek, it actually gets used as a 30 minute rest stop, giving you time to relax and enjoy some food specially prepared by the chefs at Tusker House. All this as you enjoy some spectacular views, complete with binoculars to use. While there, the guides will also take pictures of you in various poses, and you obviously have the opportunity to take some of your own pictures.

IMG_1684IMG_1683IMG_1636 IMG_1809 IMG_1810Wild Africa Trek 175 IMG_1811 IMG_3048

There were also a coupe of short rain showers during our stop, which caused some of the animals to run for cover. I can’t say I’ve ever seen giraffes running so fast!

Once your time at the camp is up, you load back in to the truck for the ride back to the drop off point, which is the same platform the regular Kilimanjaro Safari trucks drop off at. You then follow your guide back to the Wild Africa Trek entrance where you pick up whatever you placed in the lockers before heading out into the park to enjoy the rest of your day.

The whole trek is about 3 hours, and it’s worth the time and money in my opinion. Getting to see things from a more behind-the-scenes perspective in a small group setting, while getting a ton of useful information was a blast. The rope bridges and brunch at the private safari camp are icing on the cake, and totally justify the cost, in my opinion. Our guides were great, too, we can’t thank them enough for an outstanding morning!

Wild Africa Trek 199

Enjoy a few more pictures from our trek, and when at Animal Kingdom, consider giving this a try!

IMG_1613 IMG_1813 IMG_1814 IMG_2897 IMG_2934 IMG_2951 IMG_2991 Wild Africa Trek 001 Wild Africa Trek 100 Wild Africa Trek 101 Wild Africa Trek 102 Wild Africa Trek 104 Wild Africa Trek 168

Disney Dining – Round 2

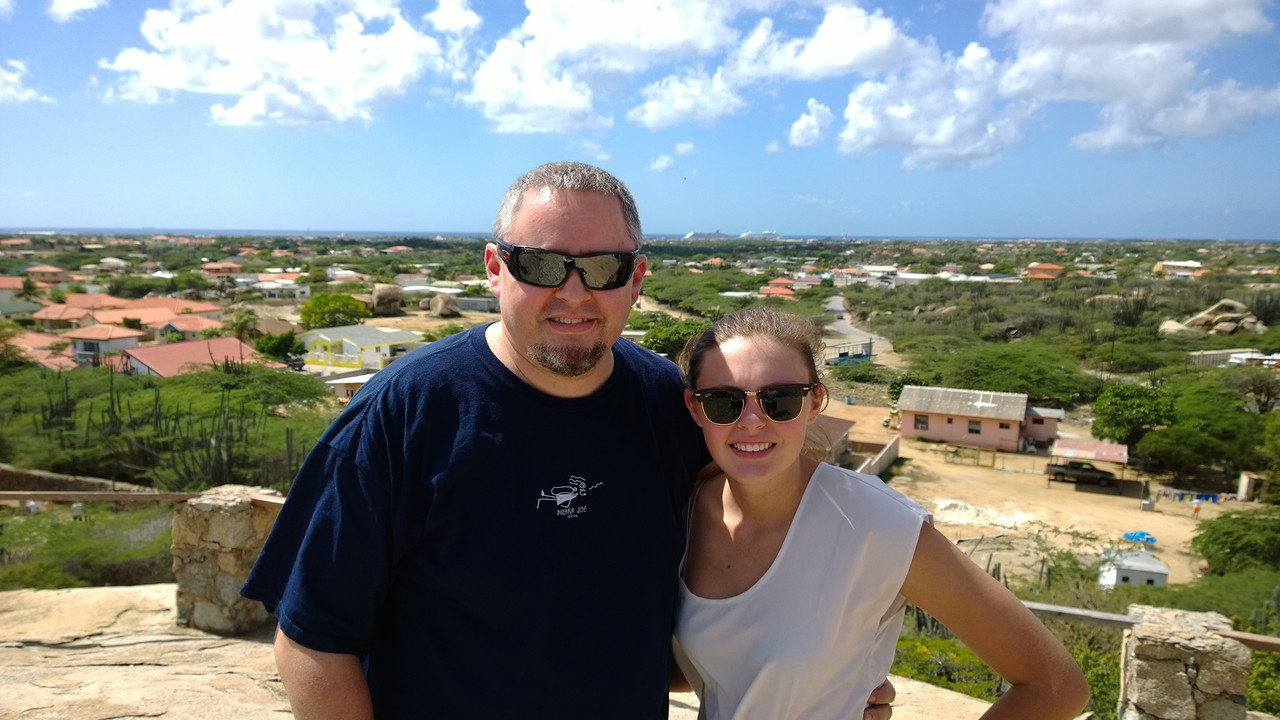
With everything going on the past couple of months, I haven’t had time to cover our Thanksgiving trip to Disney World, so it’s time to fix that. First up, our experience with the Plus Dining Plan, which gives each person on the plan 1 table service meal, 1 quick service meal, and 1 snack for each night of your stay.

This is our second time using the dining plan, but the first using one that included table service. As mentioned in my June post, I was iffy on getting the dining plan again, as I felt that I ended up eating a lot more unhealthy food than I would have without the plan, but the decision was made to go with the higher level plan this time around to see what we could get out of the table service meals.

We did a lot of planning for this, and I mean a lot. Jen was on the dining site nightly for several weeks trying to get our table service schedule just right, and in the end it paid off. We ended up with several character meals, including one for Thanksgiving dinner! Here’s a quick look at where we used the table service credits:

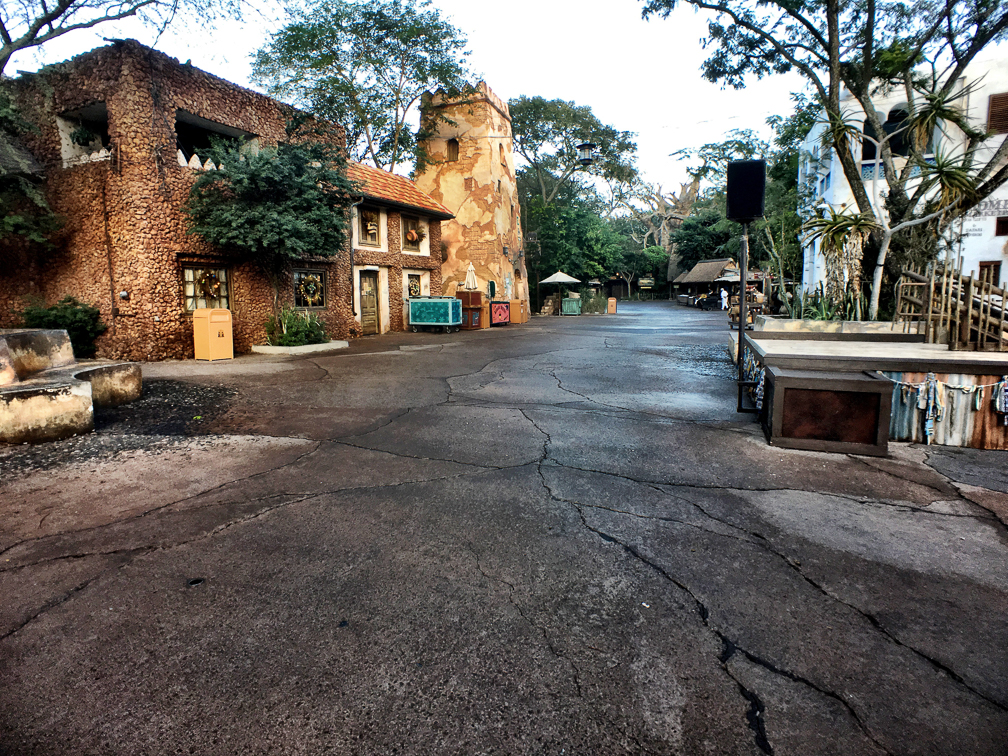
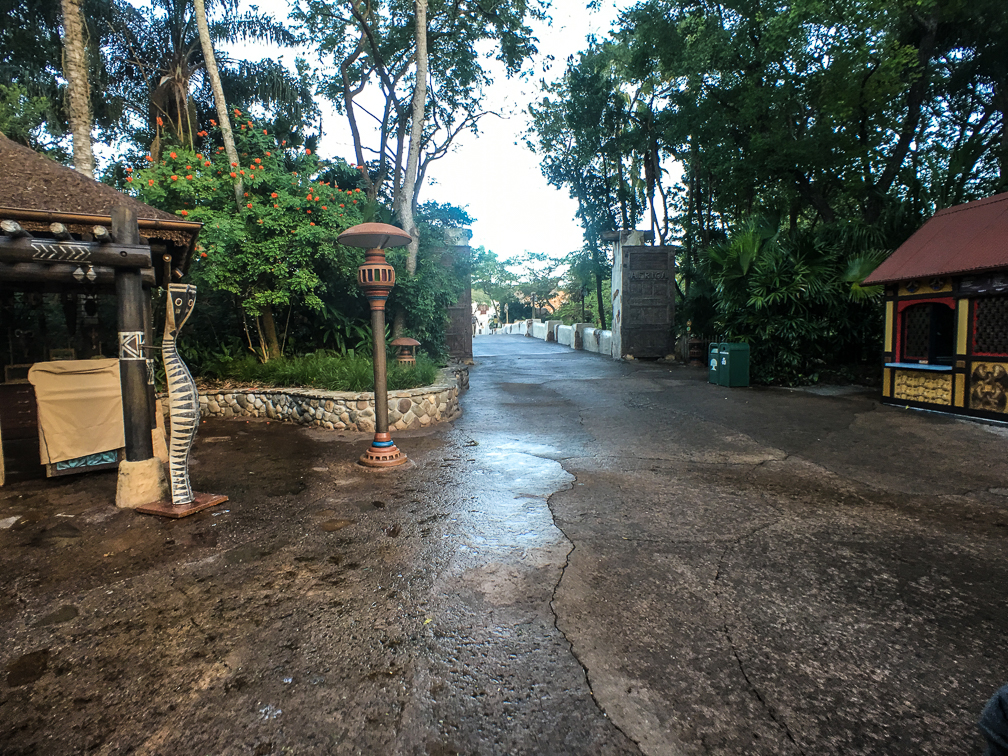
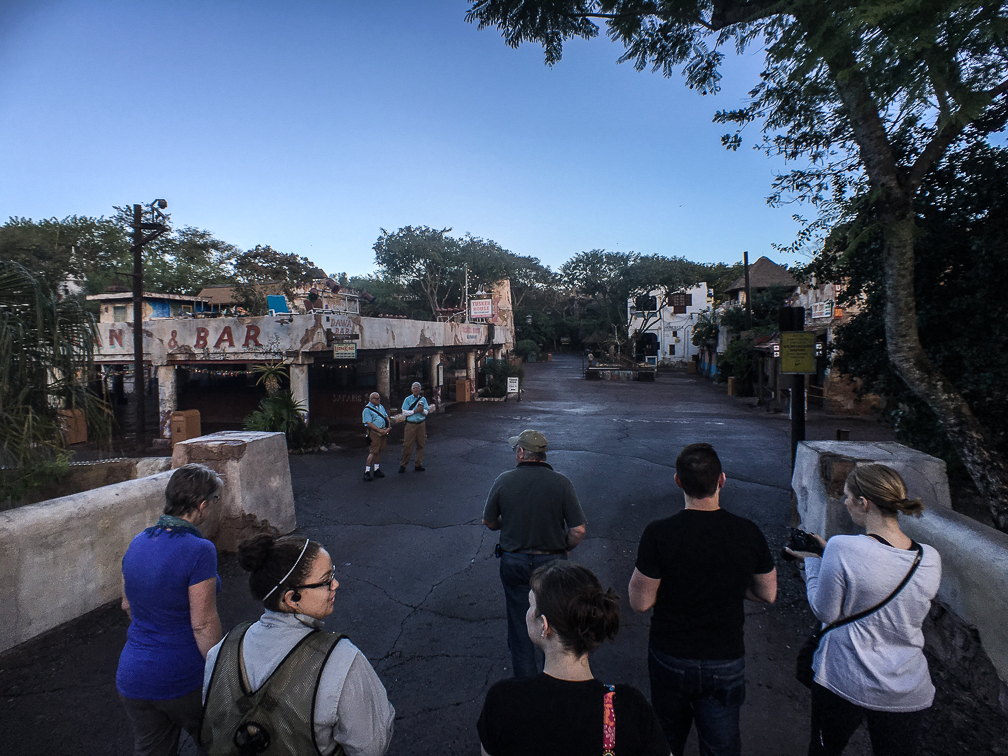
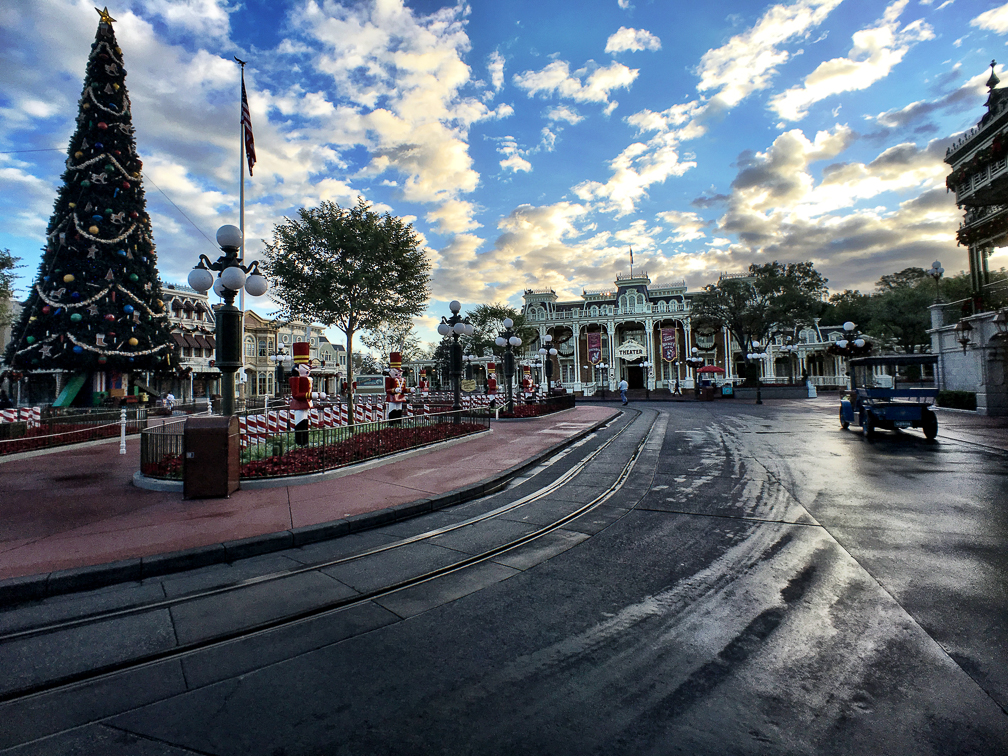
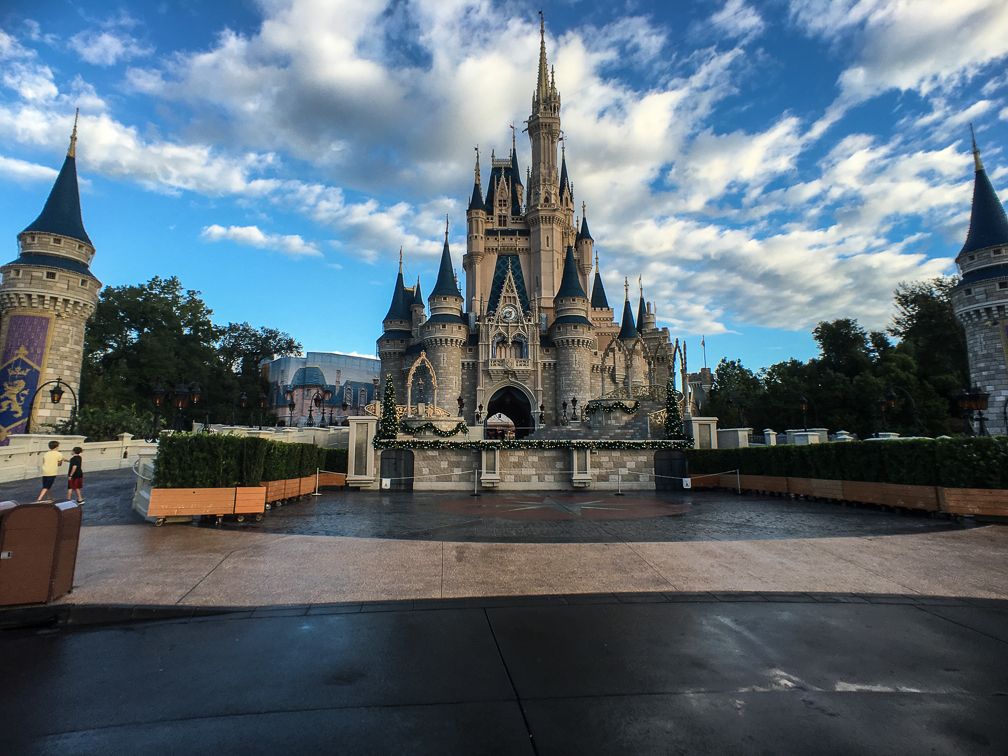
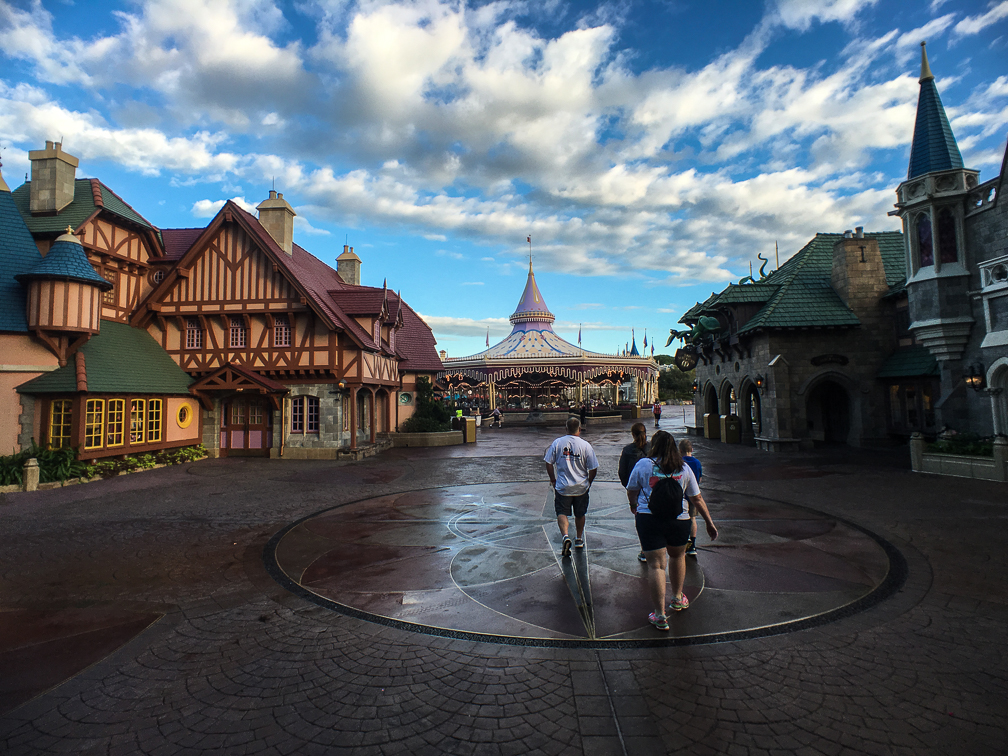
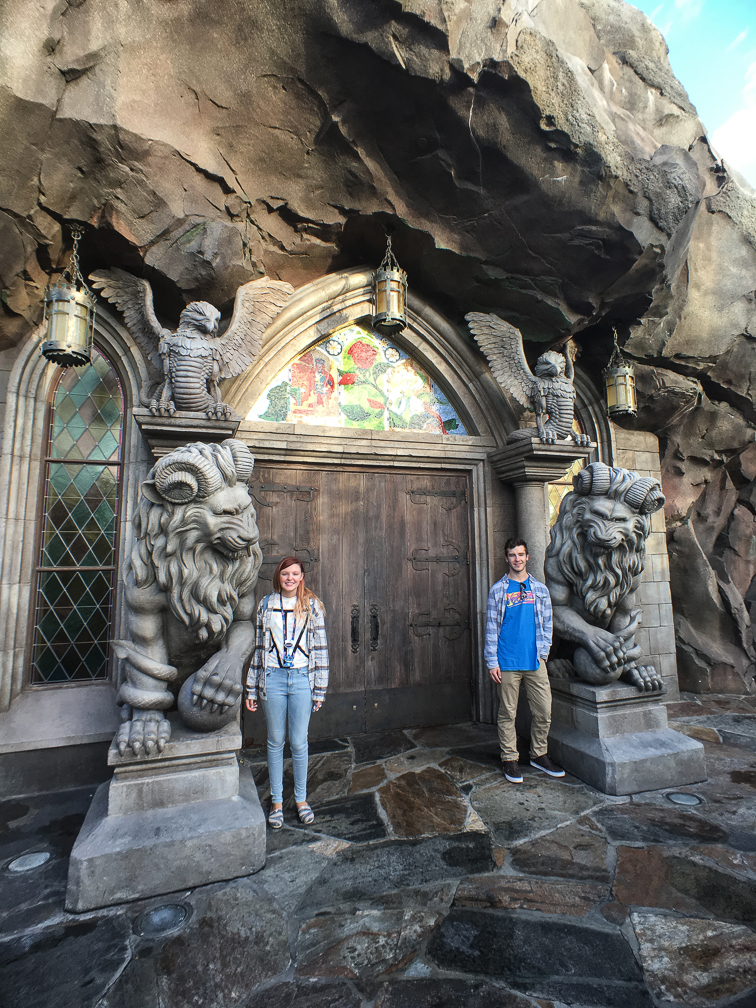
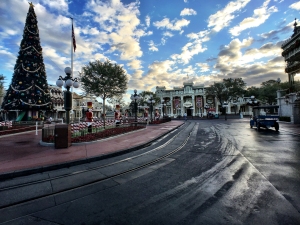
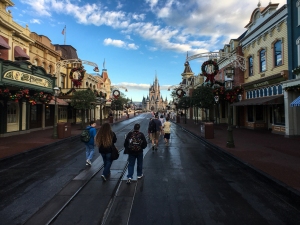
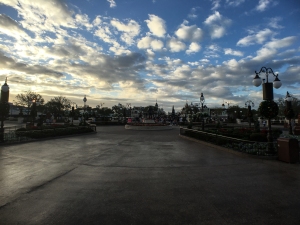
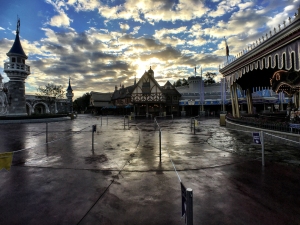
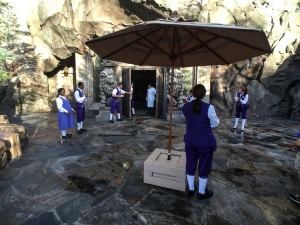
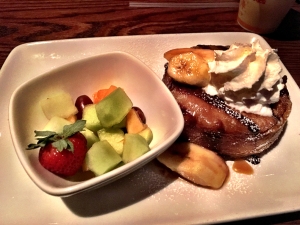
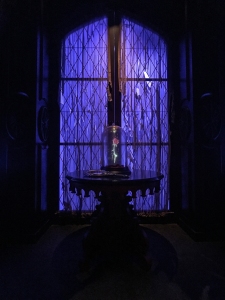
Be Our Guest: This was actually done as a quick service meal, but it was so much better than the first time that I wanted to include it. We were scheduled for an 8:00am breakfast here on our first day, the same time the Magic Kingdom opened. The nice thing about making dining reservations for that early is that you end up in the park before everyone else. There’s a separate line for those with dining reservations, and if I recall, we got in to the park about 7:50am to make our way back to the restaurant. They do have cast members along the way keeping an eye to be sure no one’s headed in a direction they shouldn’t be, but getting in the park that early is awesome. Here are a few shots of the (mostly) empty park I took along the way to the restaurant:

IMG_1564IMG_2734IMG_2739IMG_2741IMG_1578IMG_2744

Additionally, we were second in line at BoG, so we got through ordering pretty quick and were able to easily get a table in the West Wing near the rose. The food was decent, too. I had the croissant doughnut, which was very tasty.

IMG_1541IMG_2758IMG_2760 IMG_2762IMG_2763IMG_1549    IMG_2766

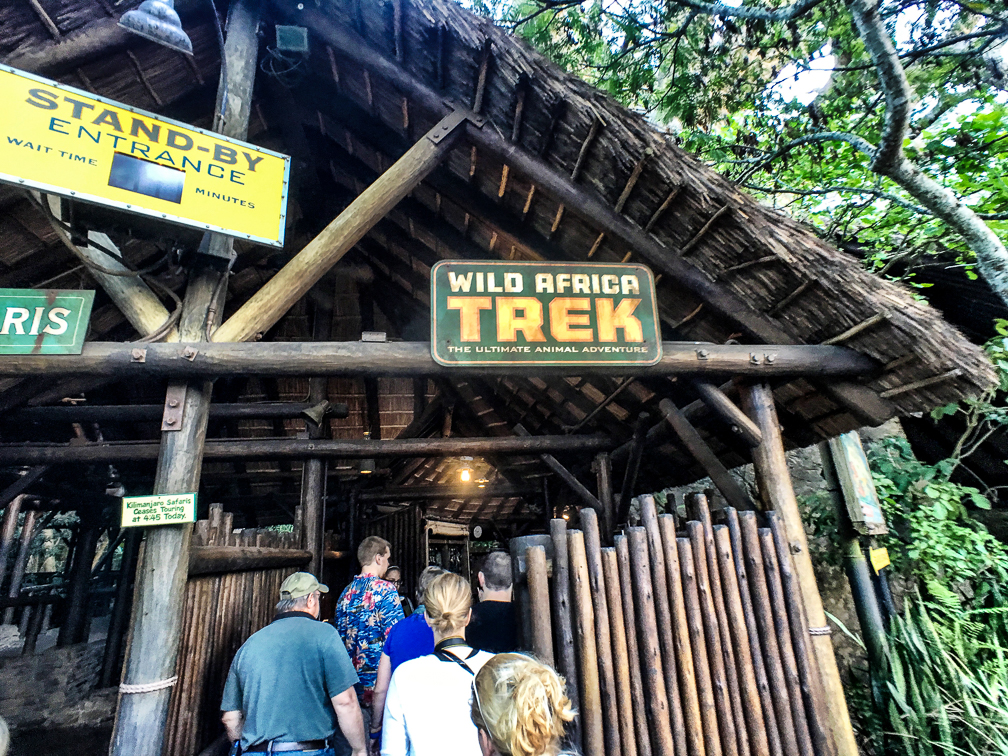
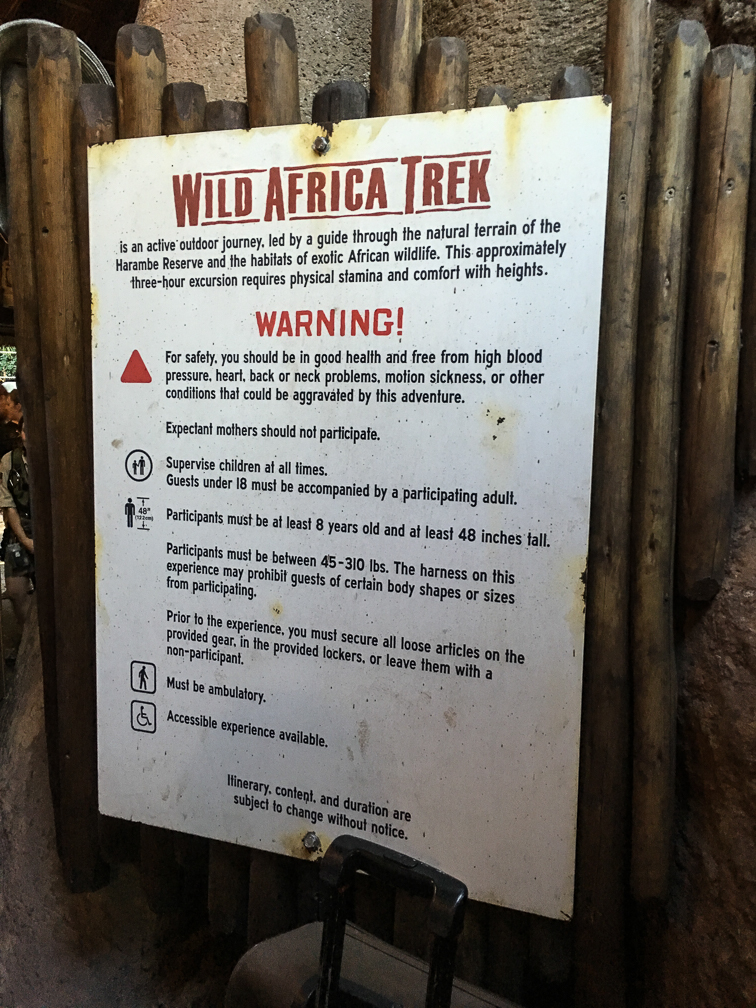
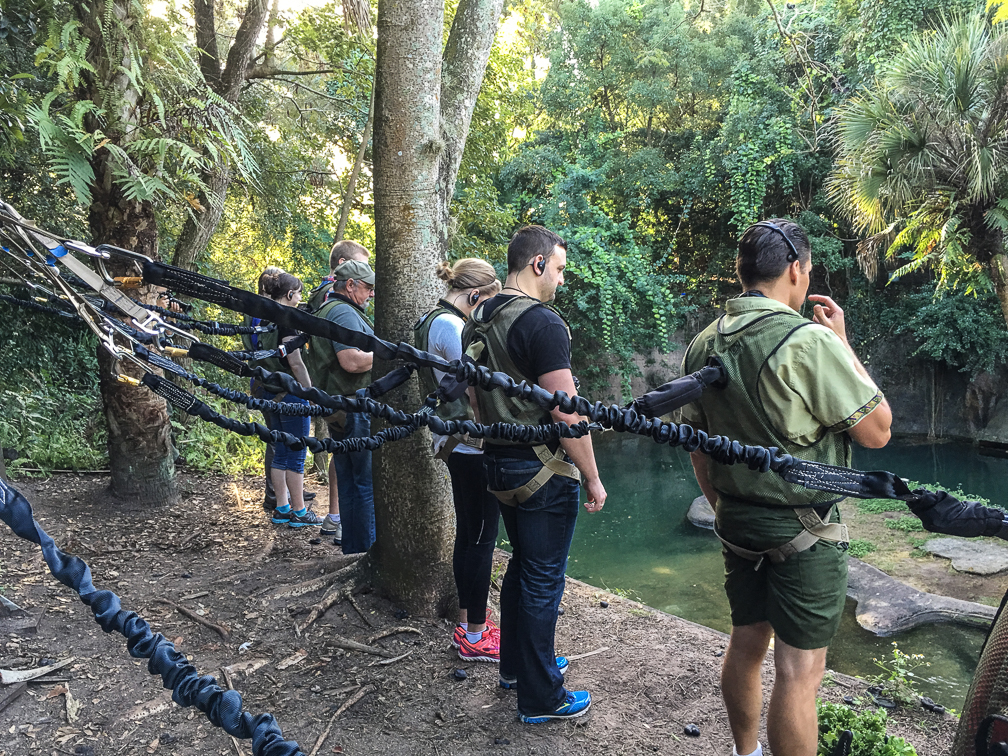
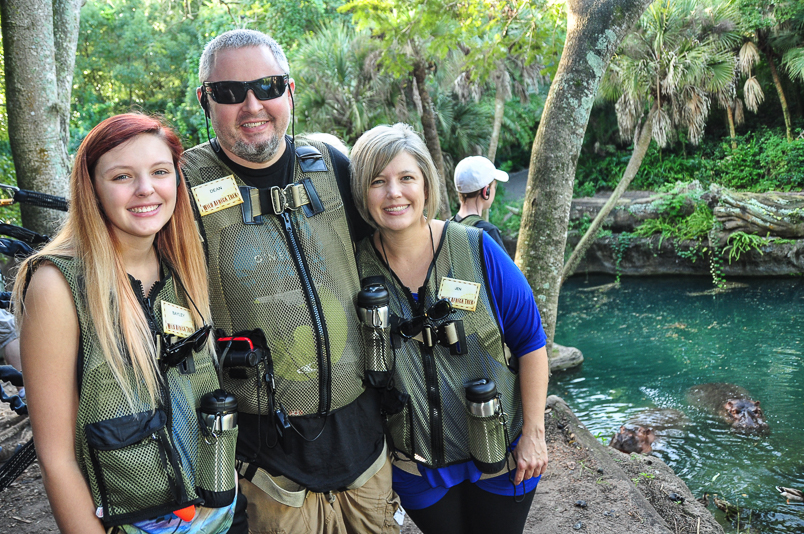
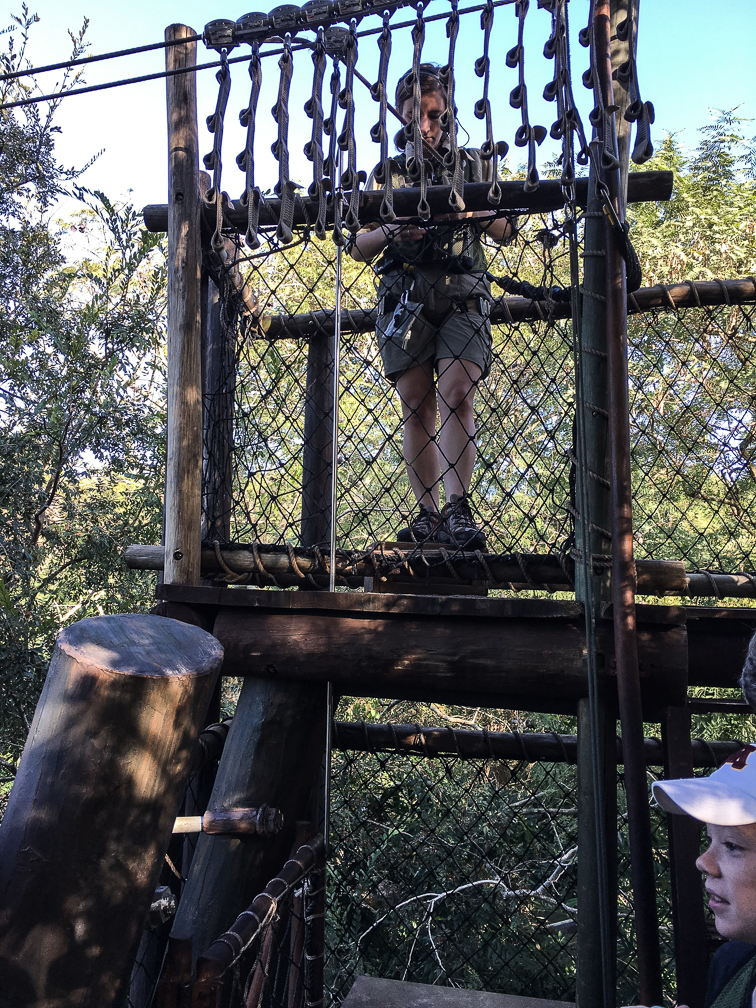
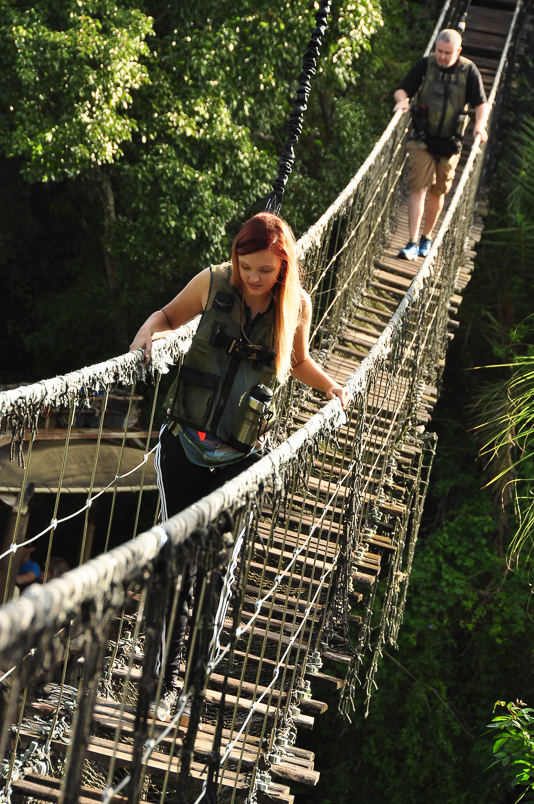
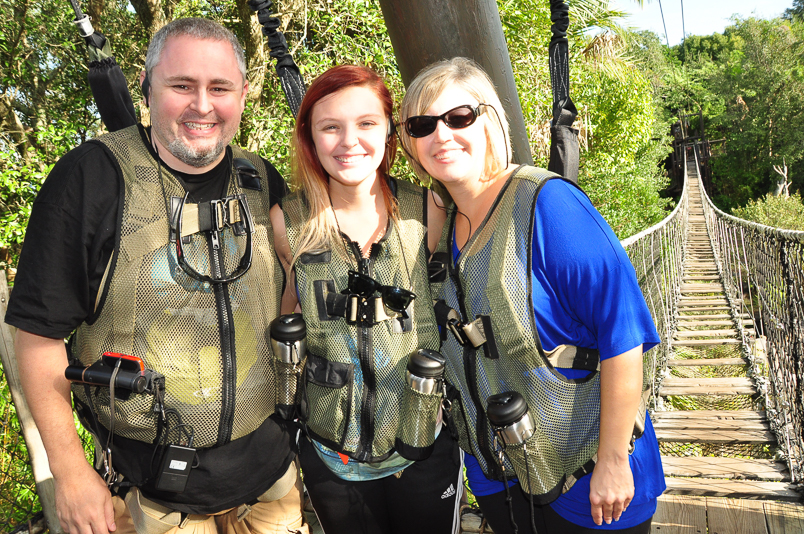
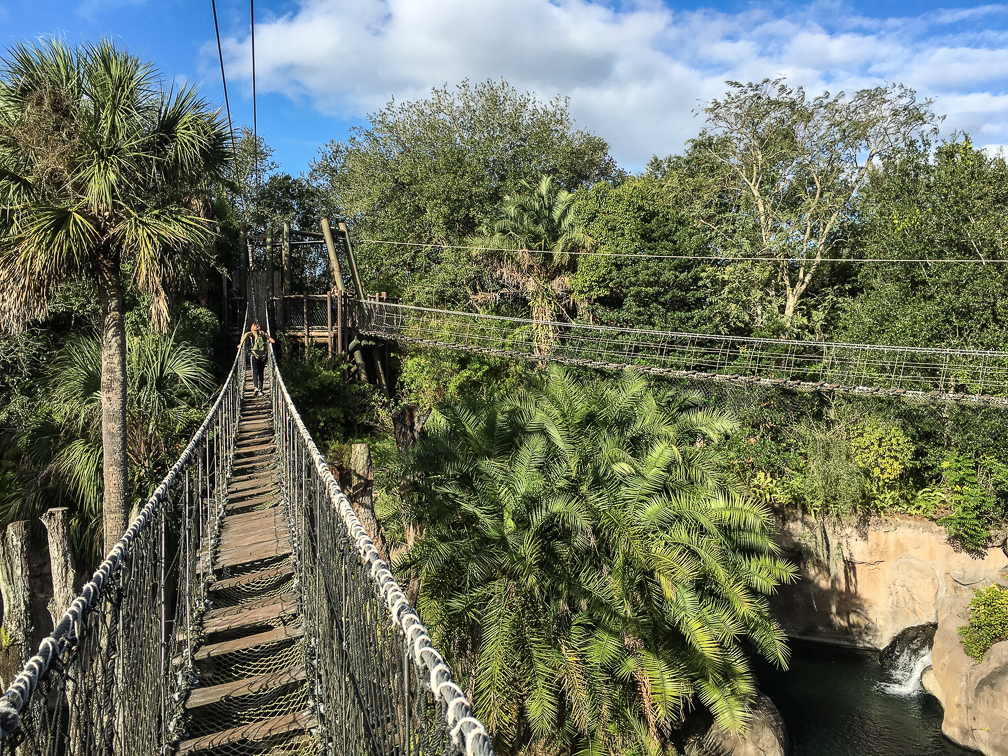
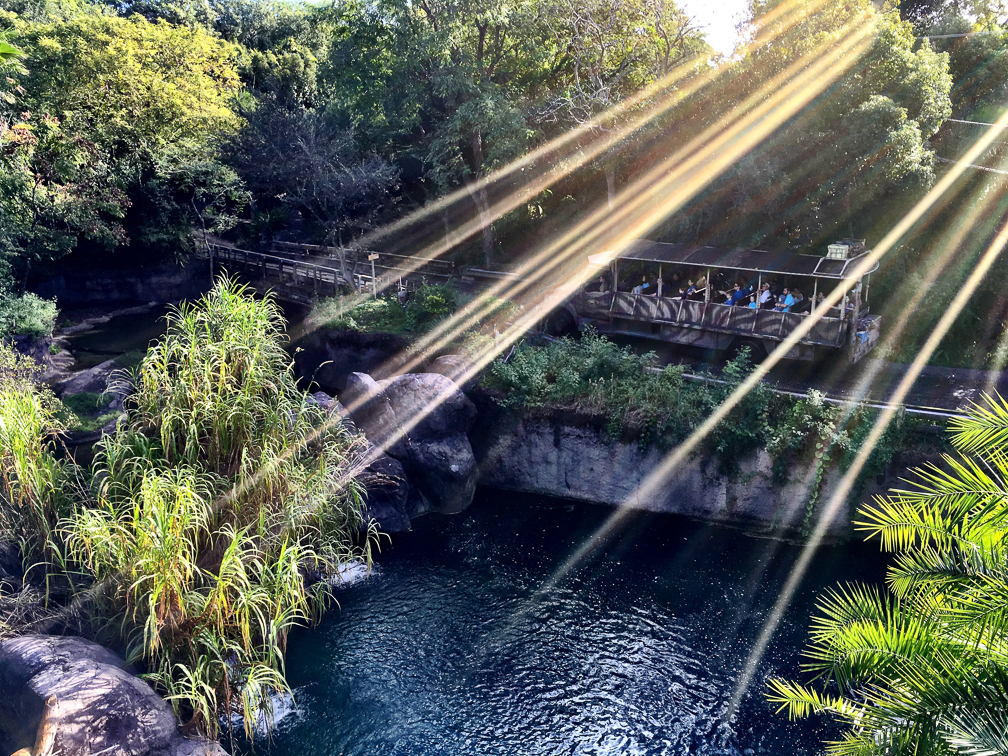
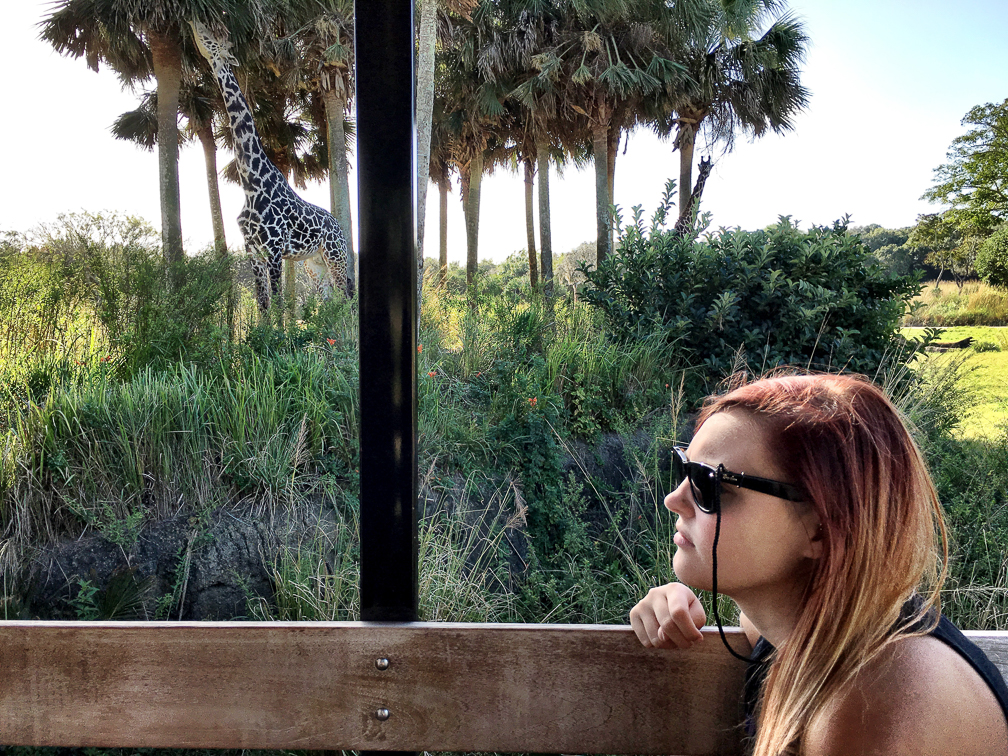
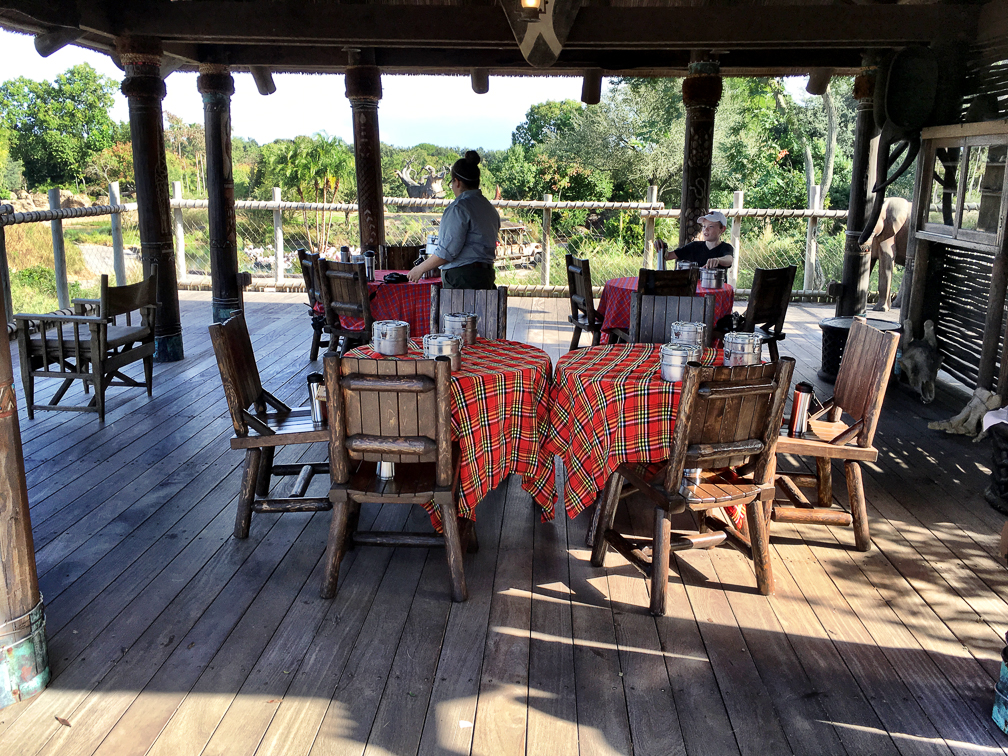
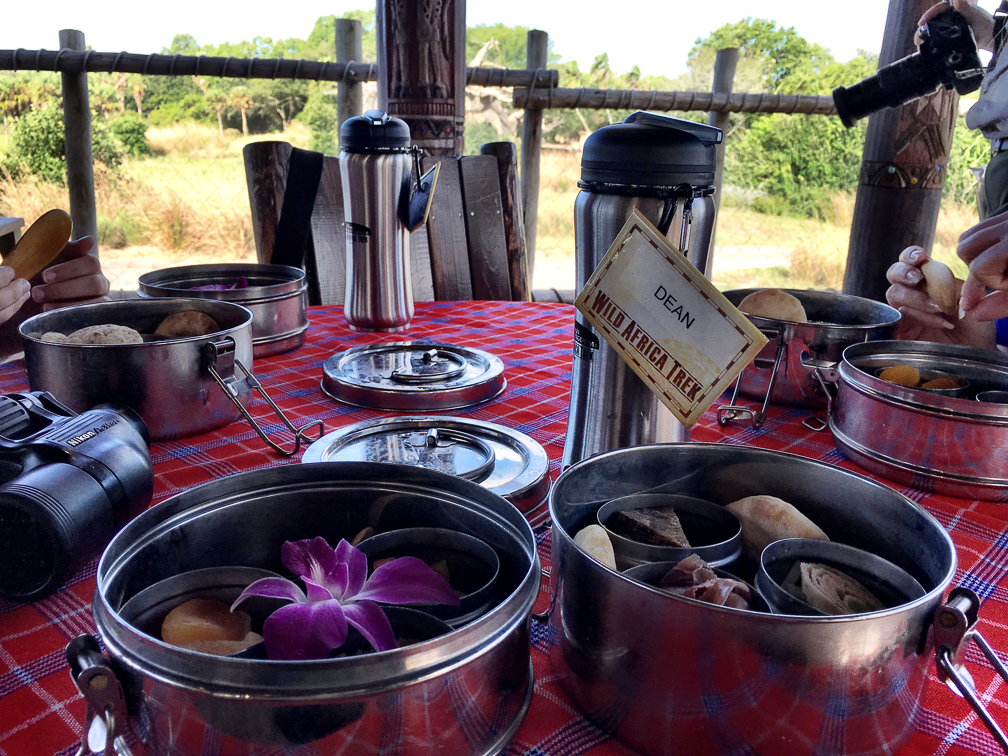
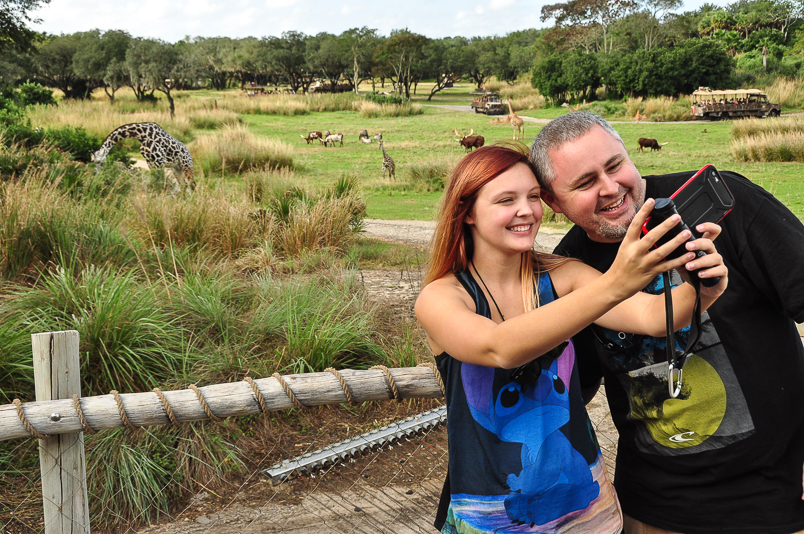
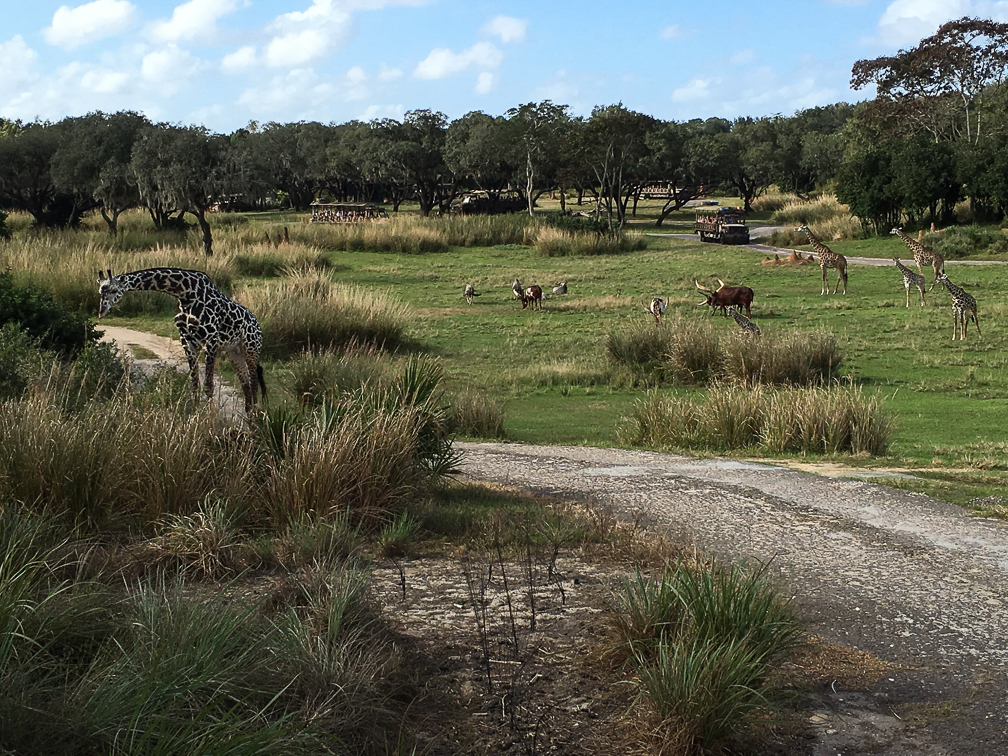
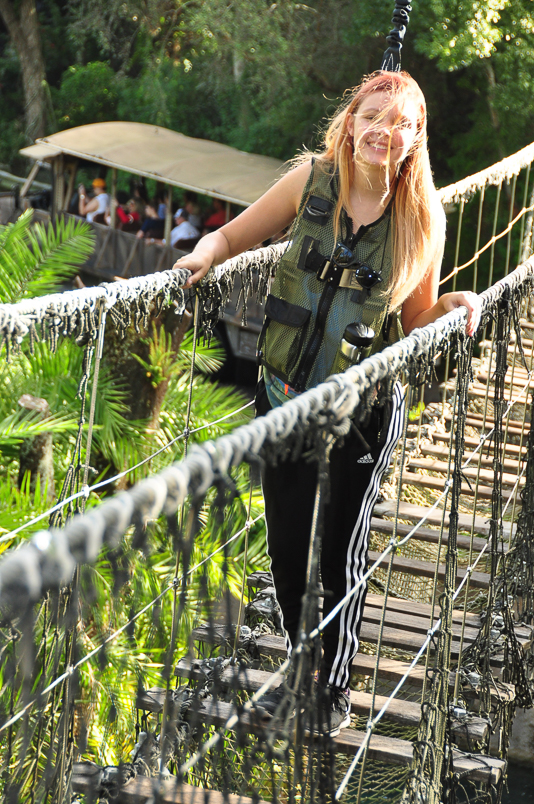
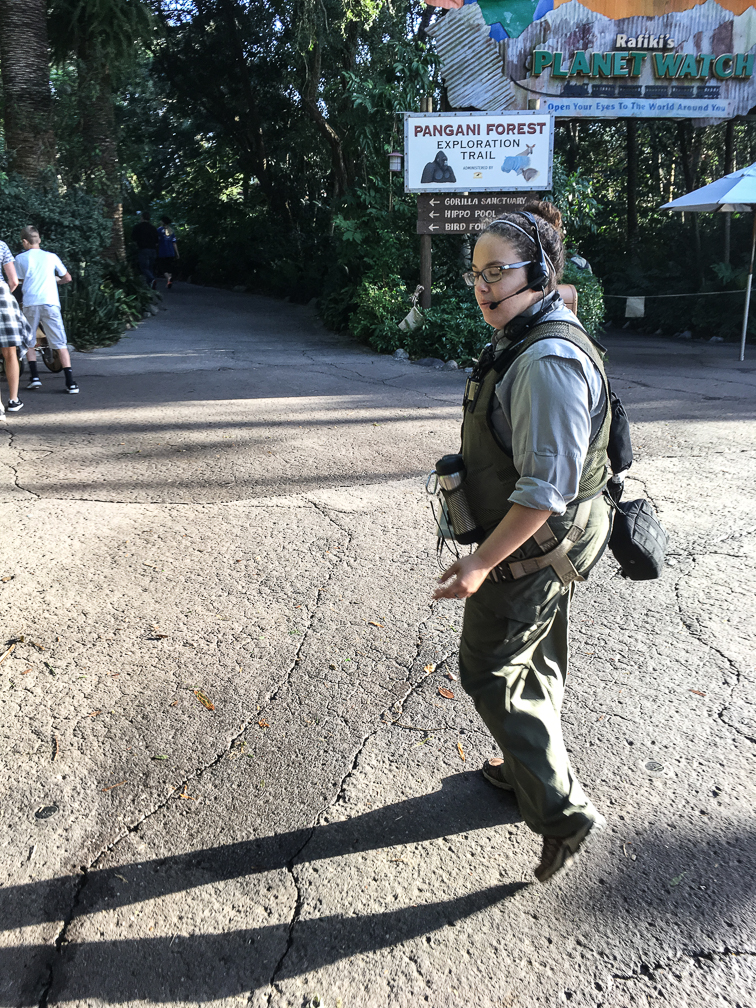
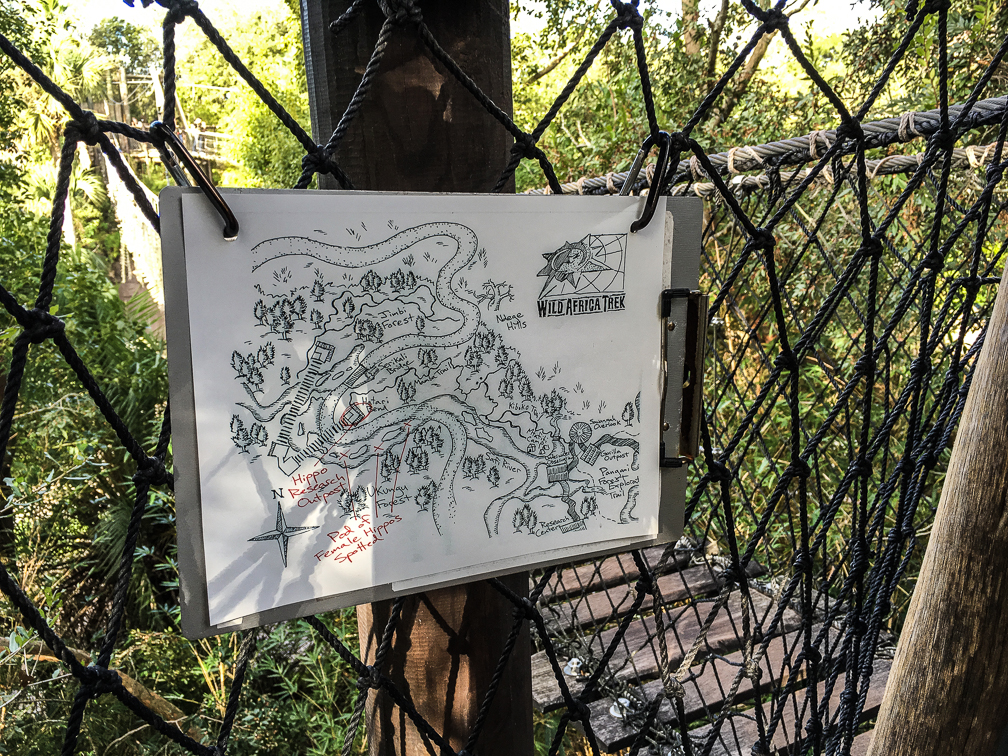
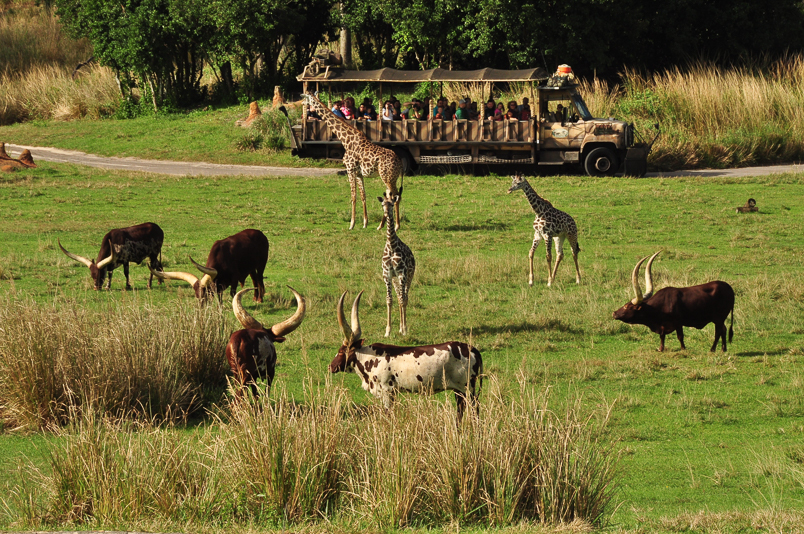
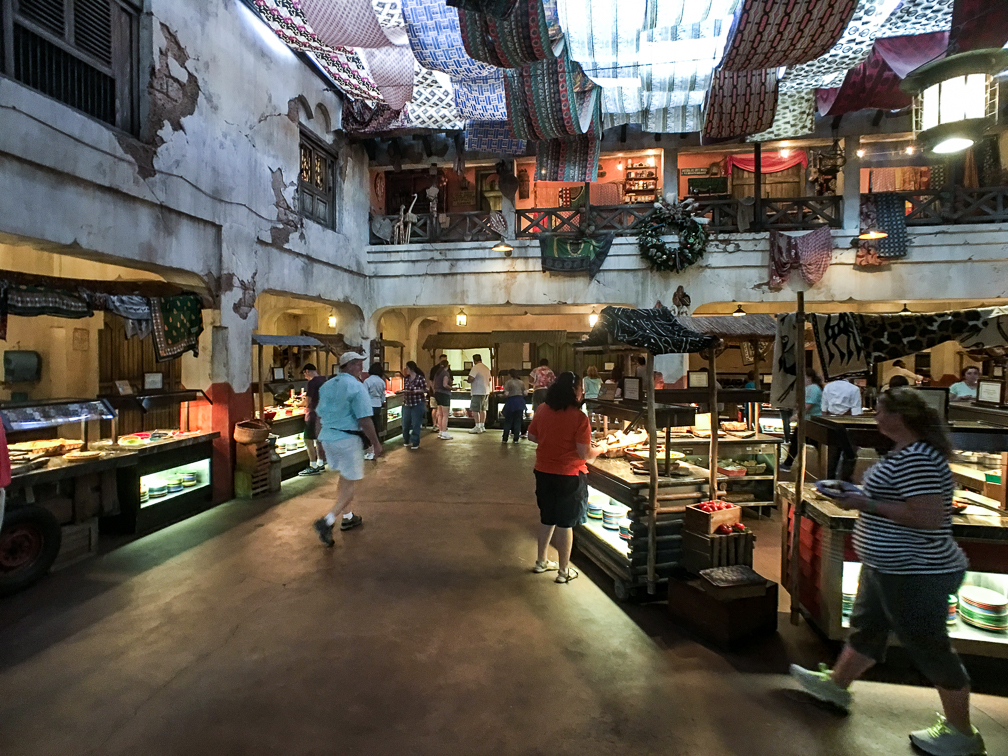
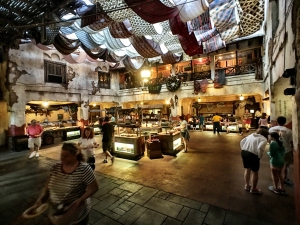
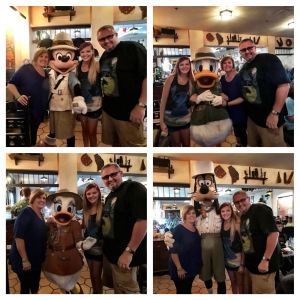
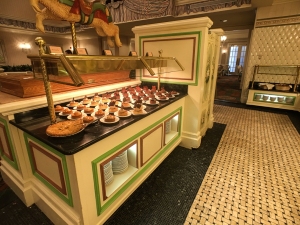
Donald’s Dining Safari Thanksgiving Lunch at Tusker House Restaurant: This was (obviously) our Thanksgiving lunch, scheduled for 2:45pm. We’d had an awesome day already at Animal Kingdom, having done the Wild Africa Trek first thing that morning (I’ll cover that in my next post). We got to Tusker House around 2:30 and checked in, and maybe waited 5-10 minutes to be seated. The buffet itself did have some changes to it, with traditional Thanksgiving items laid out in addition to some of the normal menu items. One note here: the dessert table isn’t well placed, as it always seemed to have a line, and that line runs in front of the table that holds things like the South African preserves, Tabbouleh, and Hummus, which my wife was disappointed to discover only after she was full since she never saw those items until she went for dessert. Still, it was a fun Thanksgiving lunch, complete with Donald Duck and Friends!

IMG_1650IMG_1665

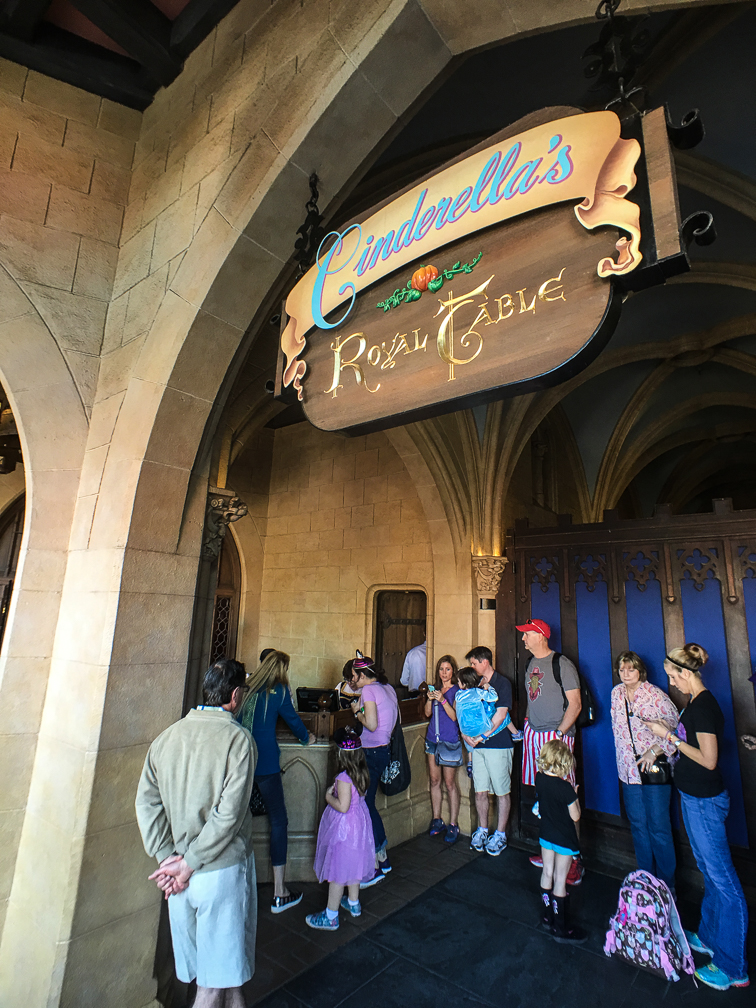
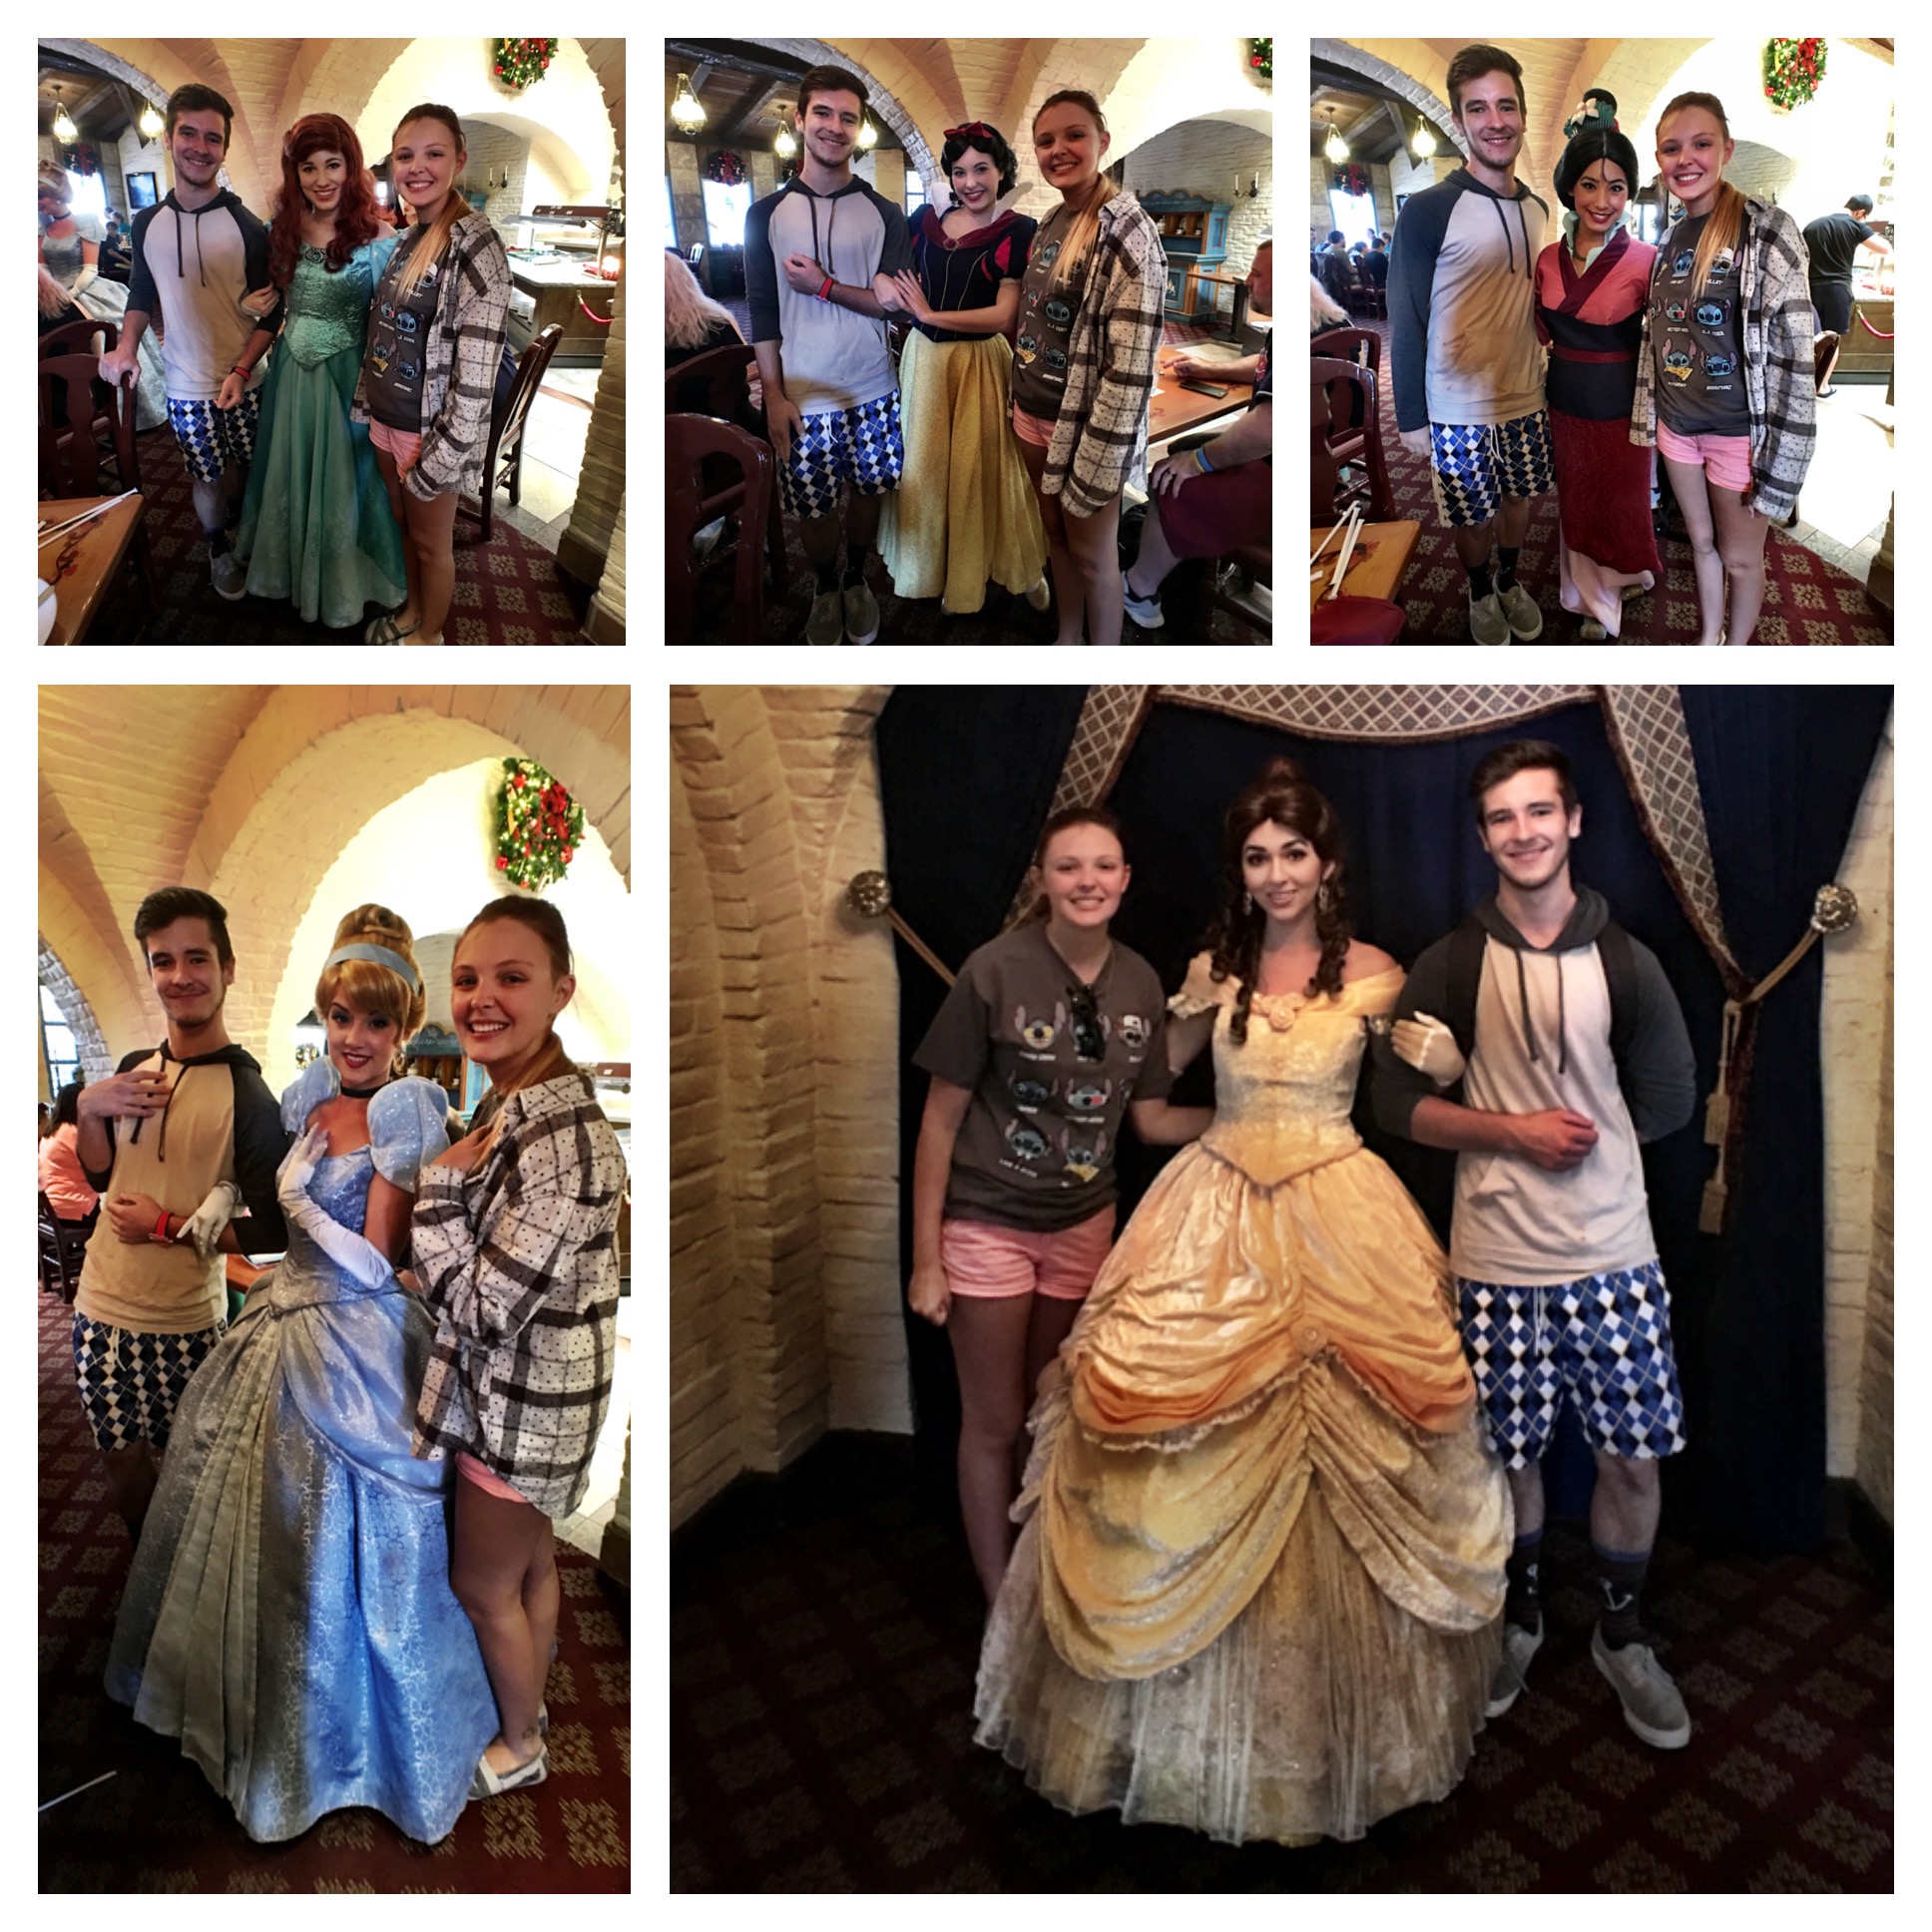
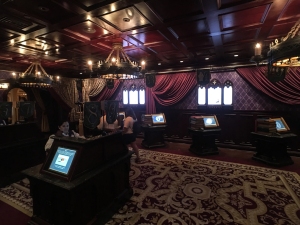
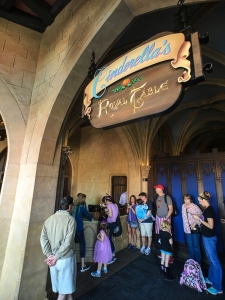
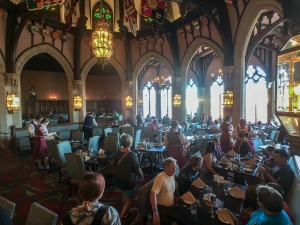
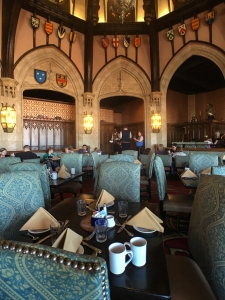
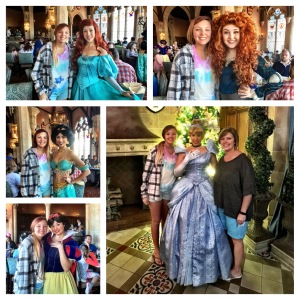
Fairytale Dining Breakfast at Cinderella’s Royal Table: Yea we did, and you should too! This isn’t an easy reservation to get, but Jen’s perseverance with the Disney Dining site paid off. Also note that this counts as two table service credits per person. We had a 9:05am reservation, and checked in slightly before that. After a short wait outside, were taken in to the lower waiting area where you meet and have your picture taken with Cinderella. After another wait for your name to be called, you’re taken upstairs to your table. The entire place is well done, with attention to detail in every aspect of it. Just like every other character meal, as you eat, the various princesses make their way around the dining area and stop at each table for pictures and autographs.

IMG_3146 IMG_3167 IMG_3176 IMG_3183IMG_1706

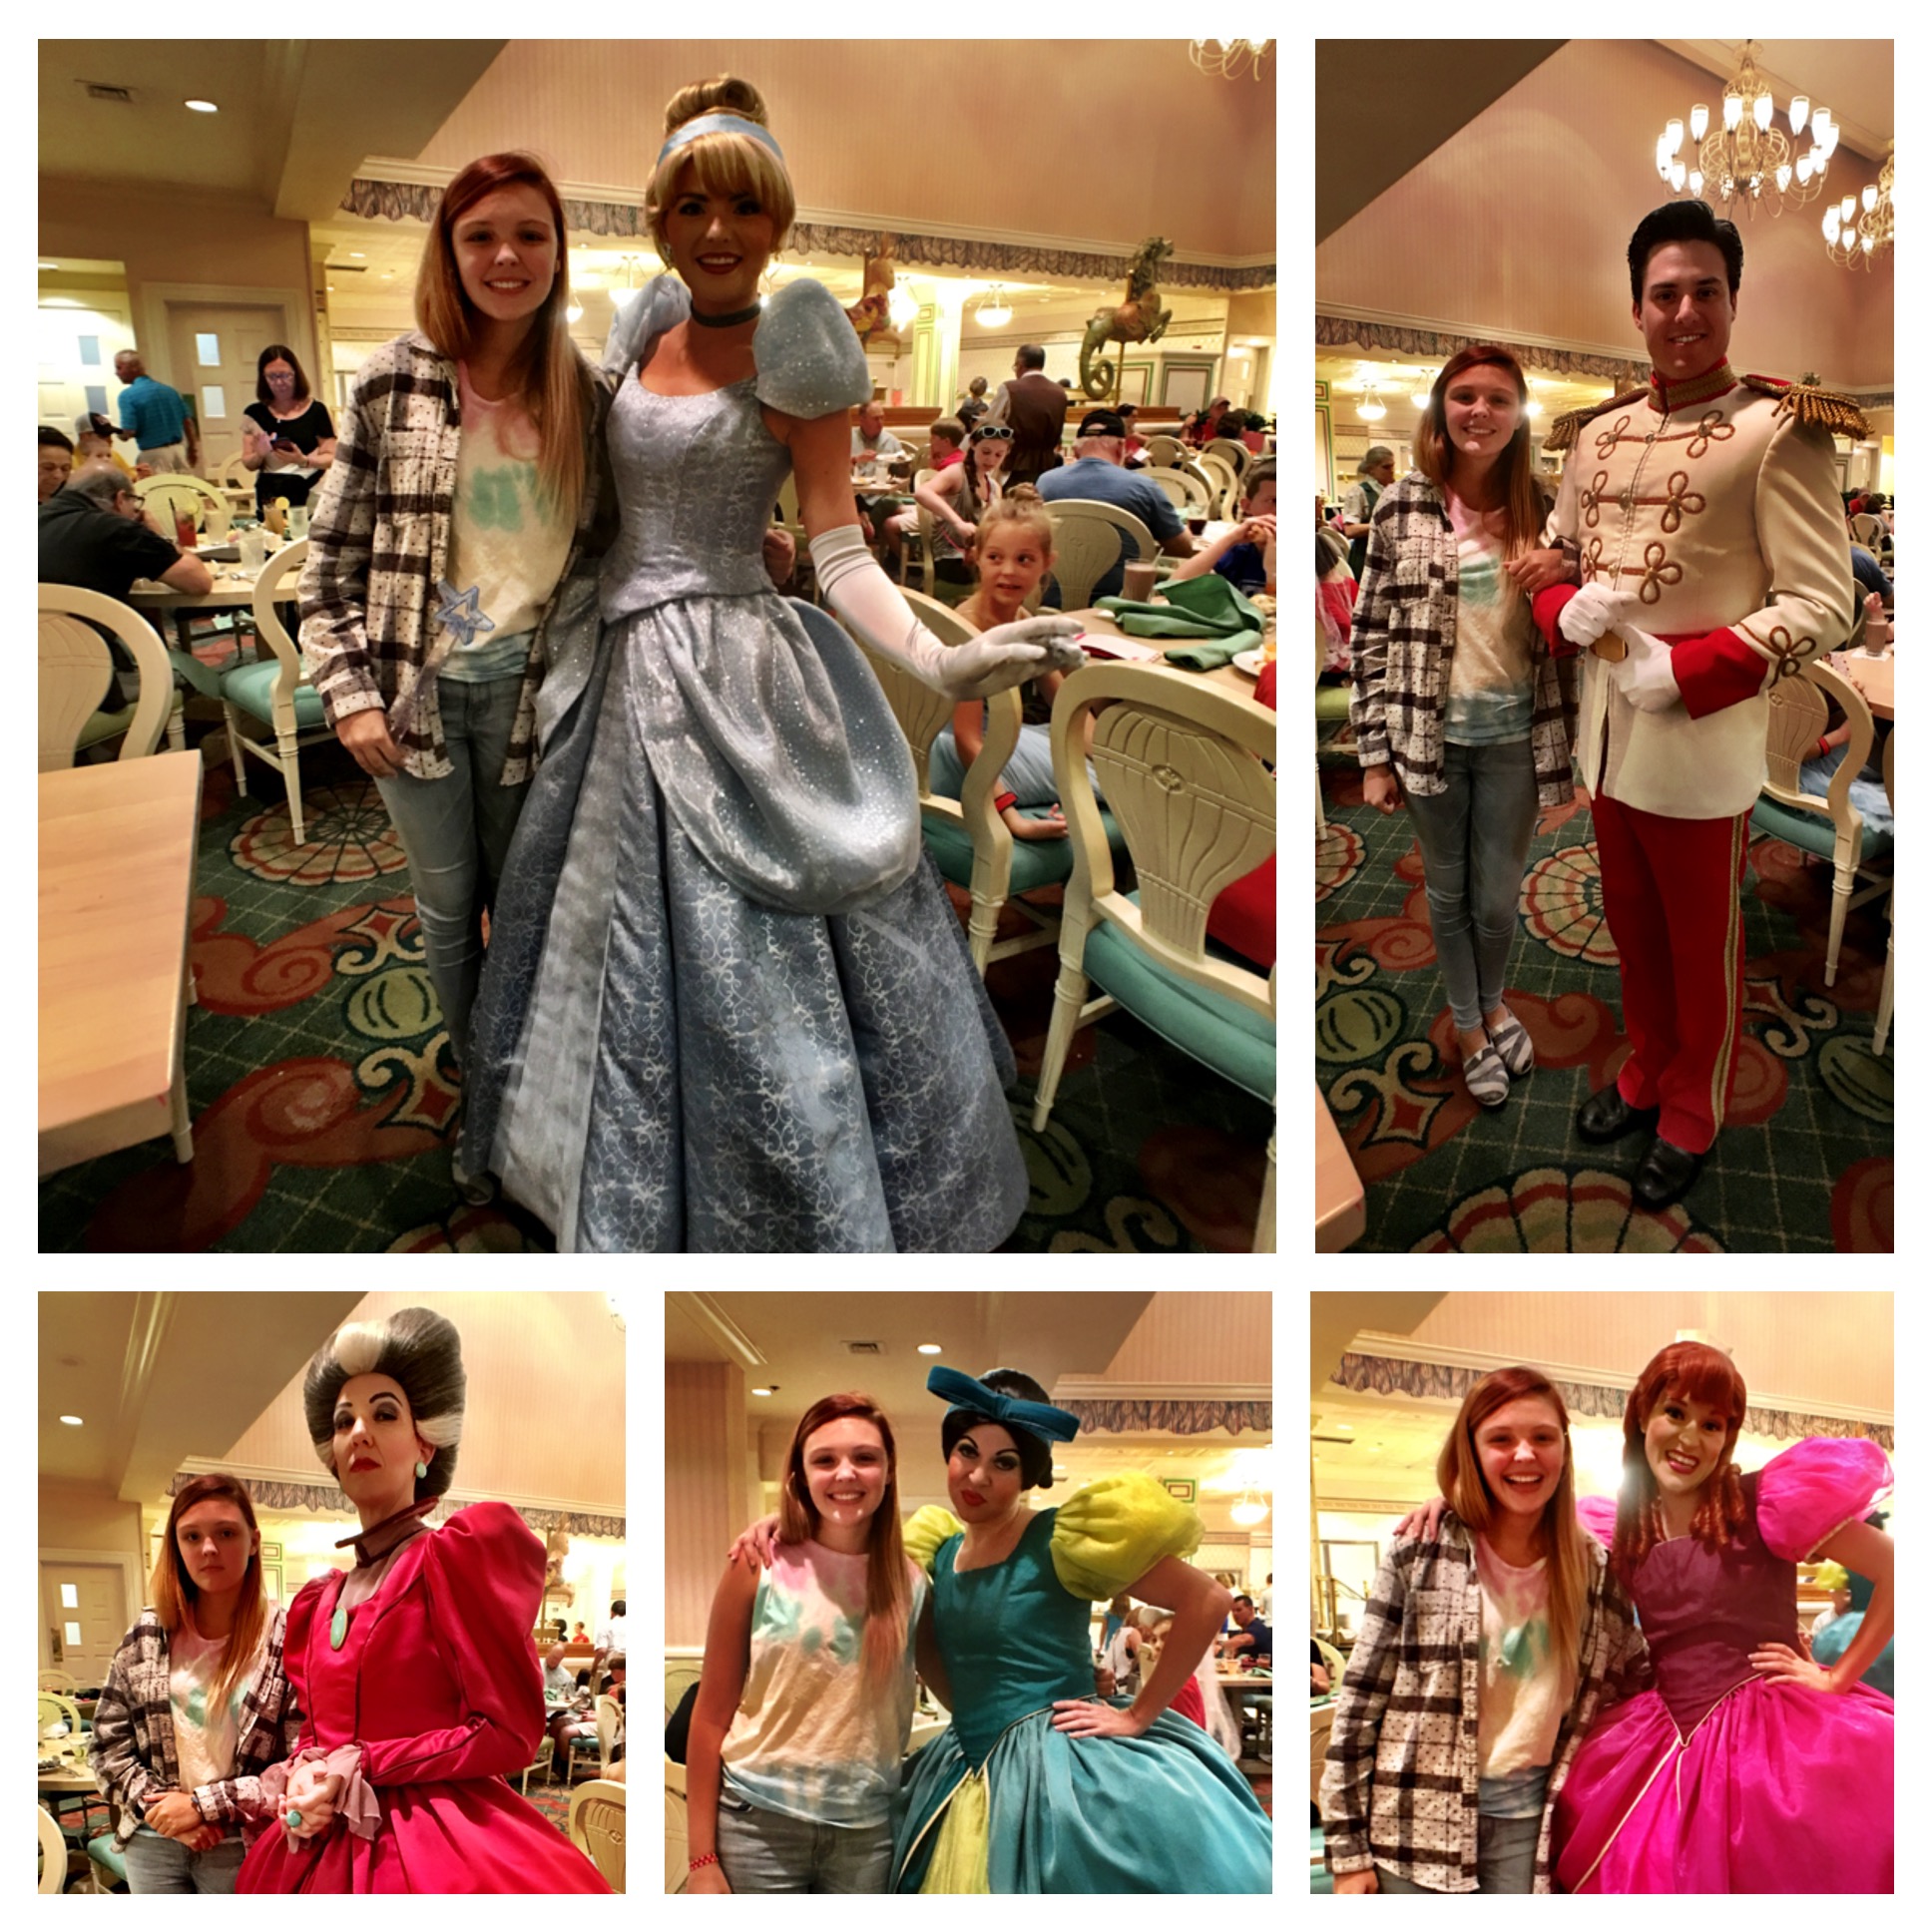
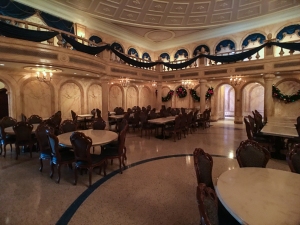
Cinderella’s Happily Ever After Dinner at 1900 Park Fare: We did this the same day we did Cinderella’s Royal Table, so it was a princess-heavy day. We were second in line at 1900 Park Fare when it opened for dinner, and for those with little ones, I highly recommend being there for the dinner opening. The little girl in front of us got to help them open the doors. Here, that means saying the magic words, and having Cinderella and Prince Charming open the doors, welcome her in, and lead her and her family to their table. I can only imagine how much that meant to her, so for other parents who want a shot at this for their kids, opt for the 4pm reservation and be there early!

Food-wise, it was the best buffet we had. The meat on the carving station was perfectly cooked, and everything else I had, including the mashed potatoes, was excellent. As we ate, Cinderella, Prince Charming, the step sisters, and the wicked stepmother made their way around. The sisters and mother were hilarious, too, as they were perfectly sarcastic to everyone they talked to. Case in point: when the red-headed step sister came over, she took one look at Bayley’s red hair and said: “Look at your hair color, it’s like we’re better than everyone else!”. At one point, one of the step sisters passed a crying baby a couple of tables over and loudly said: “Stop crying, you’re fine!”. Really funny stuff, everyone we saw was eating it up!

IMG_3306 IMG_3307IMG_1726

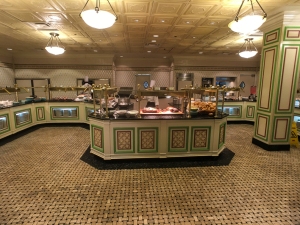
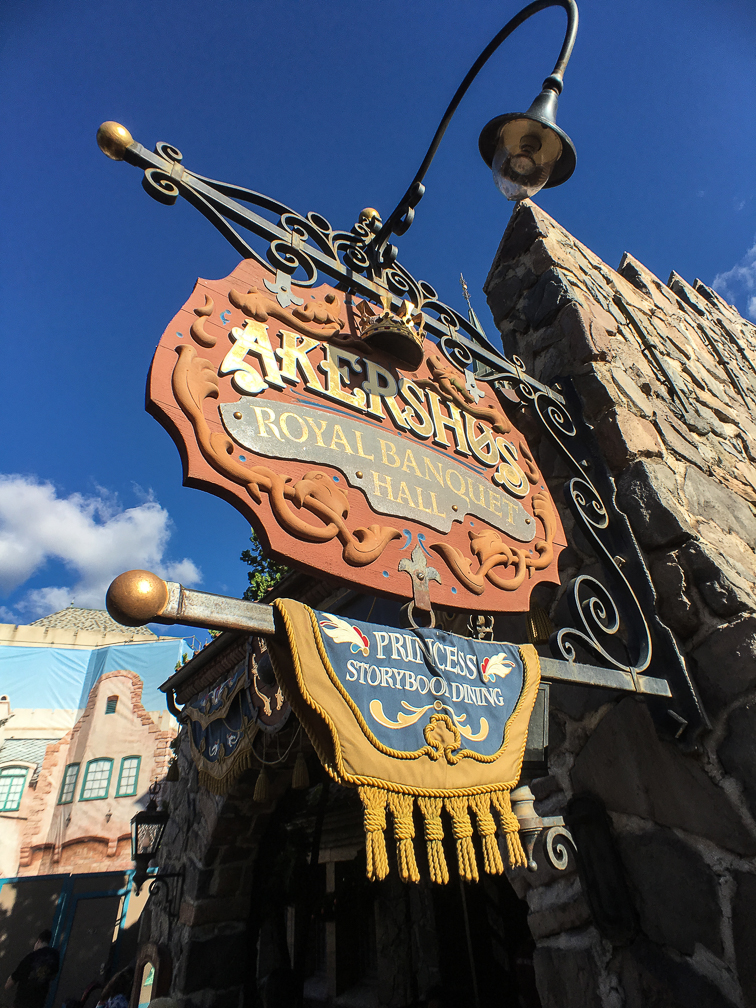
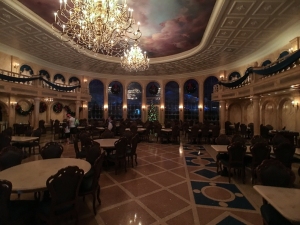
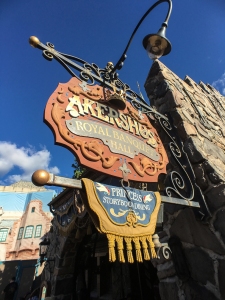
Princess Storybook Dining Lunch at Akershus Royal Banquet HallOkay, maybe we went a bit overboard on the princess-themed character dining, but we really wanted to try Akershus. It’s similar to Cinderella’s Royal Table in that after you check in and have your name called, you have your picture taken with a princess, which in this case was Belle. After being seated, it’s the typical “eat while characters come by” setup. The food was pretty good, too. The appetizer portion of the menu is buffet style, with it being a “Taste of Norway” setup with meats, cheeses and seafood, among other items. There are two sides to the buffet table, with both sides being identical. This isn’t clear at first, and results in people walking the whole thing, slowing down the line as they cut in to see what’s on the opposite end. Somewhat annoying, but oh well. From the entree menu, I had the Traditional Kjøttkake, which is Norwegian meatballs on mashed potatoes. D-e-licious!

IMG_3419IMG_1771

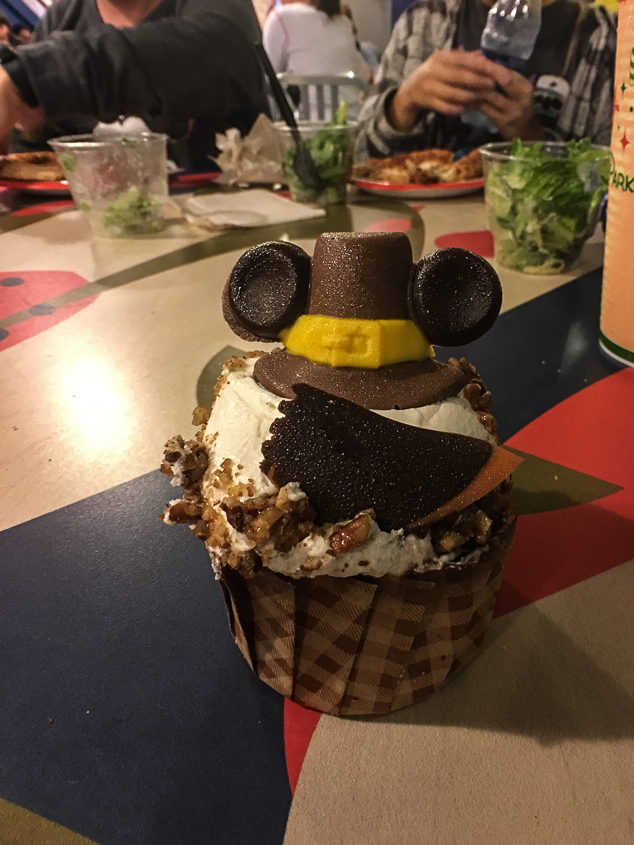
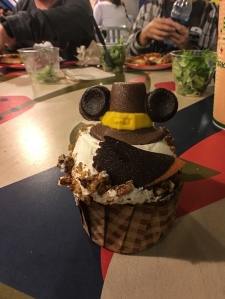
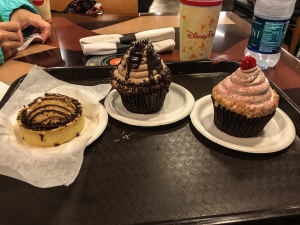
All of the table service meals were great, as was the Be Our Guest breakfast using quick service credits. Our other quick service meals were at places we ate last time, including Wolfgang Puck Express at Disney Springs (still the best value for quick service, imo), Pizza Planet, and Contempo Cafe. All good stuff, I just didn’t feel the need to cover them again. We were disappointed in the specialty cupcake selection this time, as Pizza Planet only had a Thanksgiving-themed pumpkin spice cupcake (left pic), which was just okay. Contempo did have a few more options, including the creme filled cupcake I got (the chocolate one below). Mmmmmm.

IMG_1790 IMG_1591

In the end, I felt the same way about this dining plan as I did in May with the Quick Service plan, that it’s not something I feel it necessary for us, but it may very well be a good option for a larger family. After everything was calculated, we’d saved close to $300 total by getting the dining plan (vs paying for each place we went outright), but then again, it’s highly unlikely we’d have done this many character and quick service meals, or even gotten as many snacks as the plan offers, so who knows if we would have even spent as much on food as the dining plan cost. I’d say that in both cases, the dining plans just “enabled” us to eat at more of the park options than we would have otherwise. I did enjoy it more this time, due in large part to the table service choices we made.

Travel Photography – What’s In My Bag?

With travel season approaching, I’ve been working on changes to the photo and video gear I carry with me. There was a time when I would carry my Nikon DSLR and all of my lenses with me on vacation, but over the past few years I’ve gotten to the point where I wanted to go as light as possible and not have to carry a full camera bag around with me. It started with our Thanksgiving cruise in 2012, where I found myself shooting around 60% of our pictures with my Nokia Lumia 920 vs 40% with my Nikon, slowly edging up to the point where I was shooting 90% of our vacation shots with my Lumia 1020.

There are exceptions, as I enjoy shooting auto racing when I get the chance, and I have yet to see anything below a DSLR and a set of good lenses that can handle the speed and low-light requirements, but for everything else, the lighter I can go, the happier I am. So with a cruise on tap in a week aboard the Norwegian Escape, followed by Thanksgiving at Disney World, I figured I’d post a quick walk-through of the gear I’ve settled on.

Photo Gear

For the first time in a long time, I’m not taking a DSLR with me, even as a backup. I will have two alternate devices with me, however:

  • My Lumia 1020 with camera grip: This may be a bit long in the tooth, and might be a little slow on a per-shot basis, but nothing in the phone space beats the PureView imaging system. This thing has been a favorite of mine for shooting since the day I bought it, and that’s why this is going to be my main back-up camera.
  • Sony DSC-WX350: I picked this up on the cheap as an open box item at Best Buy a few months ago to use as a business camera  for things like ship/resort tours, so we’d have something either of us could just pick up and shoot with at the drop of a hat. The results are pretty good for a P&S, in my opinion.

I really don’t expect to have to use either unless something happens to my primary. So what is my primary? Well, it’s my iPhone 6s Plus, equipped with a few extras. A quick shot of my gear (including the backups and tripod):

Primary gearBackup gear

Of the main gear in the left hand shot, the case is a CamKix medium GoPro case with the CamKix customizable magic foam. What am I carrying inside the case? Well, a few things:

  • Shoulderpod S1 Professional Smartphone Grip: I needed a way to mount the iPhone to my Gorillapod if the situation arose. After a little searching, I knew I had to have this. The reviews aren’t wrong, the handle’s solid and really helps stabilize both still and video scenarios.
  • Moment wide angle and telephoto lenses: I spent a lot of time comparing specs, reviews and sample shots of the various iPhone lenses. I’ve used cheap lenses from other companies before, and this is definitely a category where you get what you pay for. I wanted high quality glass, and I definitely feel I got it with the Moment lenses!
  • Spigen Neo Hybrid Carbon case: Normally I keep the Spigen Slim Armor Volt on my phone (wireless charging FTW!), but it’s too thick to allow mounting of my lenses, so for the duration of the trip I’ll be using this case.

I’m looking forward to putting this gear through its paces over the next 2-3 weeks. Feel free to follow us on Facebook and/or Instagram to see how the lenses perform on our trips!

Video Gear

For land trips, I generally just use my phone for any video I take, but when we go on cruises I also bring along a GoPro to handle any situations where the camera may get dirty, wet, or may need to be mounted to me in some way. This trip will be no exception, as I want to be sure I get plenty of video from the excursion we’re doing on my birthday in St Thomas, the BOSS Underwater Adventure.  I’ll likely end up doing some snorkeling at the other two ports, Tortola and Nassau, so it’ll get plenty of use this trip. Here’s my video setup:

Video gear

The case is a Shineda Water Resistant Large GoPro Case, which fits just about all of my GoPro gear. The main items in the case that I plan to use this trip:

  • GoPro Hero4 Silver plus extra battery: I bought this a while back as a replacement for my Hero2, which I gave to my daughter to use while at college. I’m looking forward to having the LCD to frame my shots vs hoping I’m getting what I think I’m aiming at :).
  • GoPole Bobber Floating Handgrip: This is my first trip with it, so I’ll be interested to see how I like it versus the regular wrist strap I’ve used for snorkeling in the past.
  • Head strap: This isn’t the official GoPro one, my daughter took that one with her when I gave her my Hero2. This is a knockoff my wife ran across at Five Below for $5, and frankly I can’t tell the difference.
  • Random mounts: Not sure I’ll use any of them, but since the case can hold them all, I figured I’d throw them in.

Okay, so maybe I’ve failed the whole “carry less gear” goal, but at least it’ll be lighter. Regardless, I’m very much looking forward to putting the new stuff to work! After we get back, I’ll post my impressions of how the Moment lenses performed in real-world use.

Our 3rd Favorite Port: Aruba

We stopped in Aruba on Thanksgiving day 2013 while on the Carnival Breeze, and it was definitely an excellent way to spend Thanksgiving, as Aruba is an incredibly beautiful and scenic island. I love to be outside on the ship watching our arrival in to port, and the beauty of the island really made getting up early for that worth it. On this cruise we had an oceanview at the front of the spa deck, which gave us quick access to the “secret deck” at the front of the ship, so I popped right out to watch us dock in Aruba as soon as I saw we were close. In a word: Wow. I’ll let the pictures speak for themselves

Docking1Docking2Docking3

For this stop, my wife had set us up with an all day tour through HF Tours, and we loved every minute of it. There were 5 of us on the tour, as my mom and step dad were on the cruise too, and we got a 5 hour tour in a 15 person van for $65/pp, which seemed very reasonable compared to past tours we’d done. To add to it, our guide was outstanding, one of the best we’ve ever had. The tour itself took us over a large portion of the island, including stops at the California Lighthouse, the Old Dutch Windmill, and Eagle Beach.

Eagle1Eagle2WindmillLighthouse

While those stops were all cool, our target for this tour were really the following landmarks:

Philip’s Animal Garden: While all three of us enjoy animals, my daughter is definitely what I’d categorize as an animal lover. Her goal in life is to work with animals, as she wants to train animals for TV and movies after she graduates from college. She also has her cat at college with her, has an Instagram account for him, and as you can see in those pictures, he’s quite active with her on campus. Back on topic, Philip’s was the first long stop we had. Our guide dropped us off right at the gate, and after paying the entrance fee, had a guide come up and walk us around, talking about the history of the facility, and telling us about all of the animals they had. If I recall, we spent about 45 minutes there and enjoyed it from start to finish. Very beautiful facility that’s growing, and doing good work, as they take in and house all kinds of animals that people decide they no longer want. Well worth the stop.

PAG1PAG2PAG3PAG4 PAG5PAG6

Casibari Rock Formation: This was a pretty cool stop, allowing us to climb up to the top of the rock formation, where we had a great view of the island. Not much to say about this, as it’s a giant rock formation, but it’s a cool place to stop. If you go, be sure to climb the rock, it’s worth the effort. If you look carefully in the picture of my daughter and I, just above her head, you’ll see the two cruise ships in port that day.

CMB1CMB2CMB3CMB5CMB6

Donkey Sanctuary Aruba: You read that right, we visited a donkey sanctuary. Did I mention my daughter is an animal lover :)? The road leading up to the sanctuary is a bit small and rocky to the point that we weren’t sure the van would make it, and pulling up we really had no idea what to expect from the facility. Walking in, I was amazed at how many donkeys there were, they were everywhere! There really isn’t anything else to the stop, but it’s exactly as advertised, and run by some very friendly people. We spent some time there feeding the donkeys and listening to them talk about the facility. It was definitely an interesting stop.

Donkeys1Donkeys2Donkeys3Donkeys4

Natural Bridge: This is one of the most well known landmarks in Aruba, and was very cool to see in person. Unfortunately the bridge itself collapsed several years ago, but it’s still a great area of the island with spectacular views, and it’s a great place to walk out on the rocks, watch the waves come in, and clear your head. Almost cathartic.

NB0NB1NB2NB3NB4NB5

I know I said this earlier, but we really enjoyed this tour, and I wouldn’t hesitate to recommend HF Tours to anyone going to Aruba. I’d have loved to spent some time in the water at Eagle Beach, but that’s for another trip, as Aruba easily made our shortlist of places we want to spend more time. Even after such a long tour, we had plenty of time to stop and do some shopping in the area around the port before boarding, so here are some shots of that shopping area, along with a couple from the ship as we were pulling out of port.

S1S2S3S4S5S6S7S8S9S10

%d bloggers like this: