iPhone Photography Gear Review

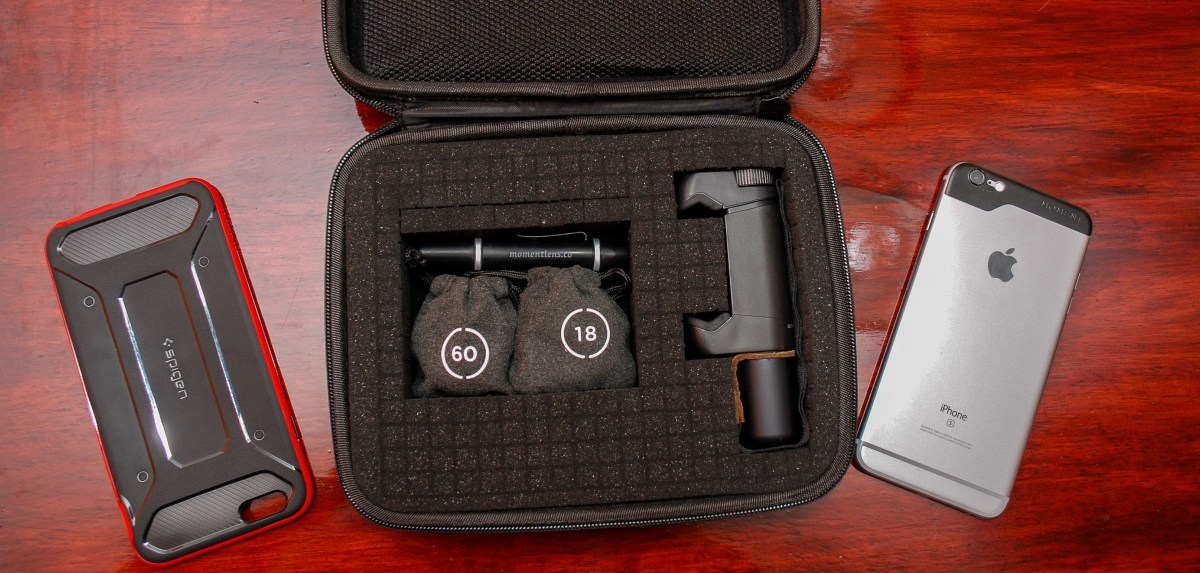
A few months back, I wrote up a post on the new photography gear I’d be using on our November and December cruises and trip to Disney World, and figured it was probably time to take a look back and see how it all performed. Before getting in to it, I should note that I added one piece to it between those two cruises. In early December, Moment finally finished up their phone case for the iPhone 6s Plus, so I was able to try that out on the second cruise and compare it to the rig I used on the first one.

Let’s take a look at the gear I used on each sailing.

November cruise aboard the Norwegian Escape, Disney World over Thanksgiving, and the Roar Before the 24 in January:

DSC02399 DSC02406

December cruise aboard the MSC Divina:

DSC02411 DSC02412

Here’s my take on the individual pieces of each of these kits:

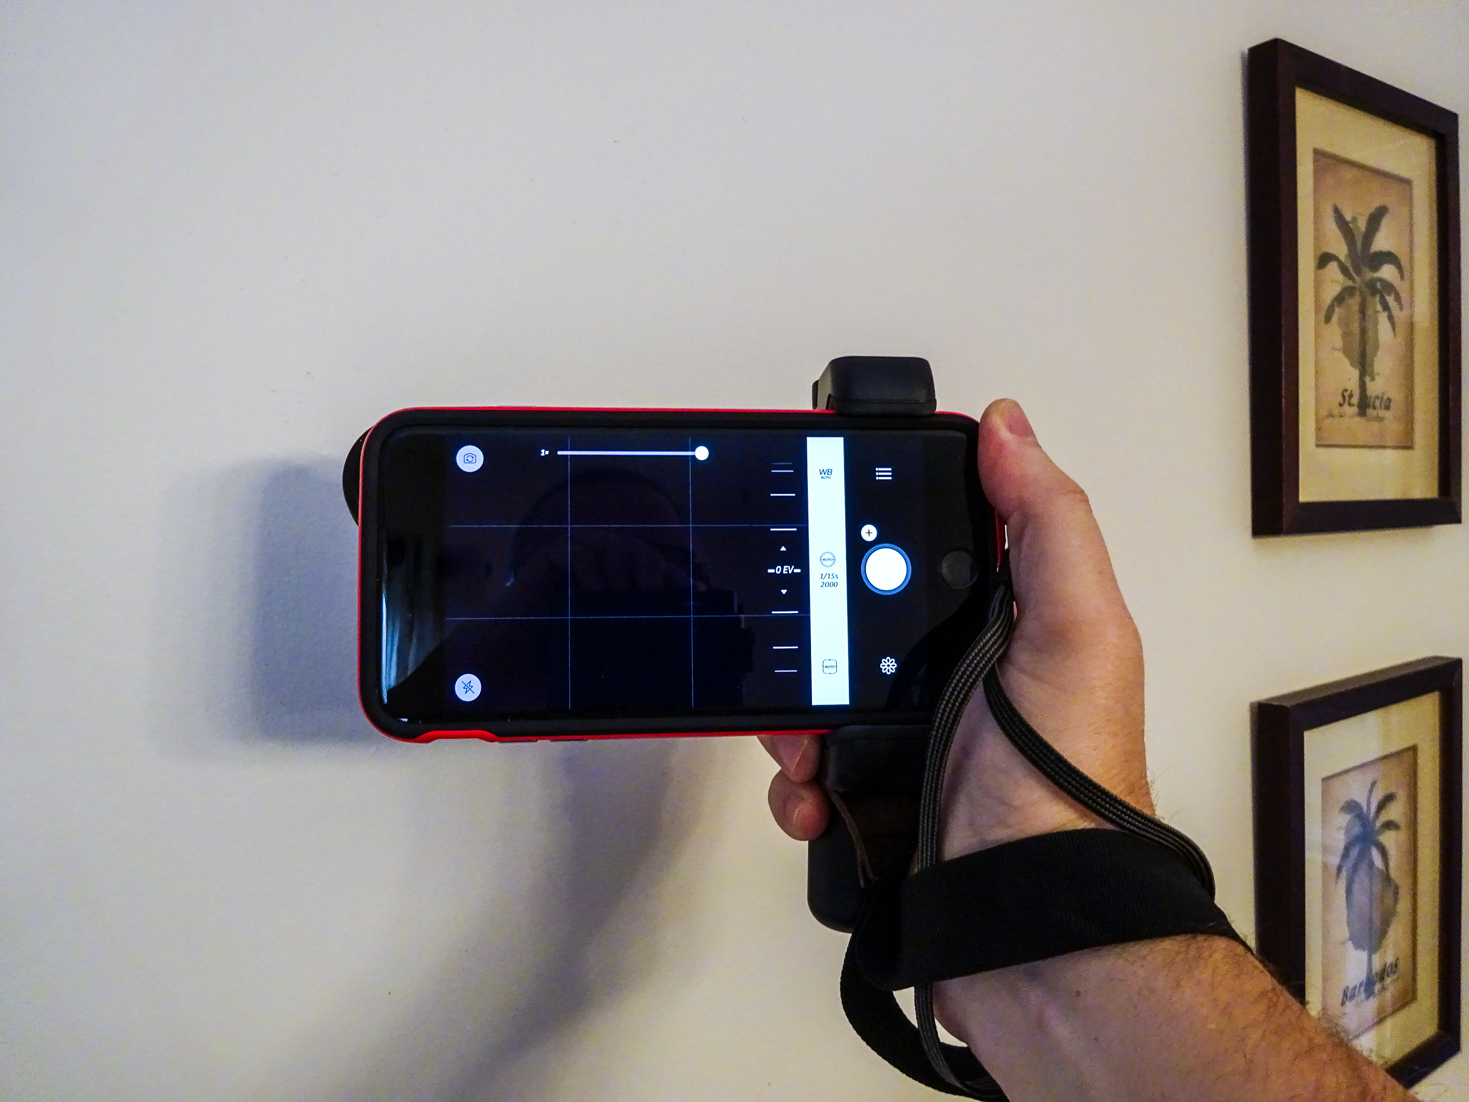
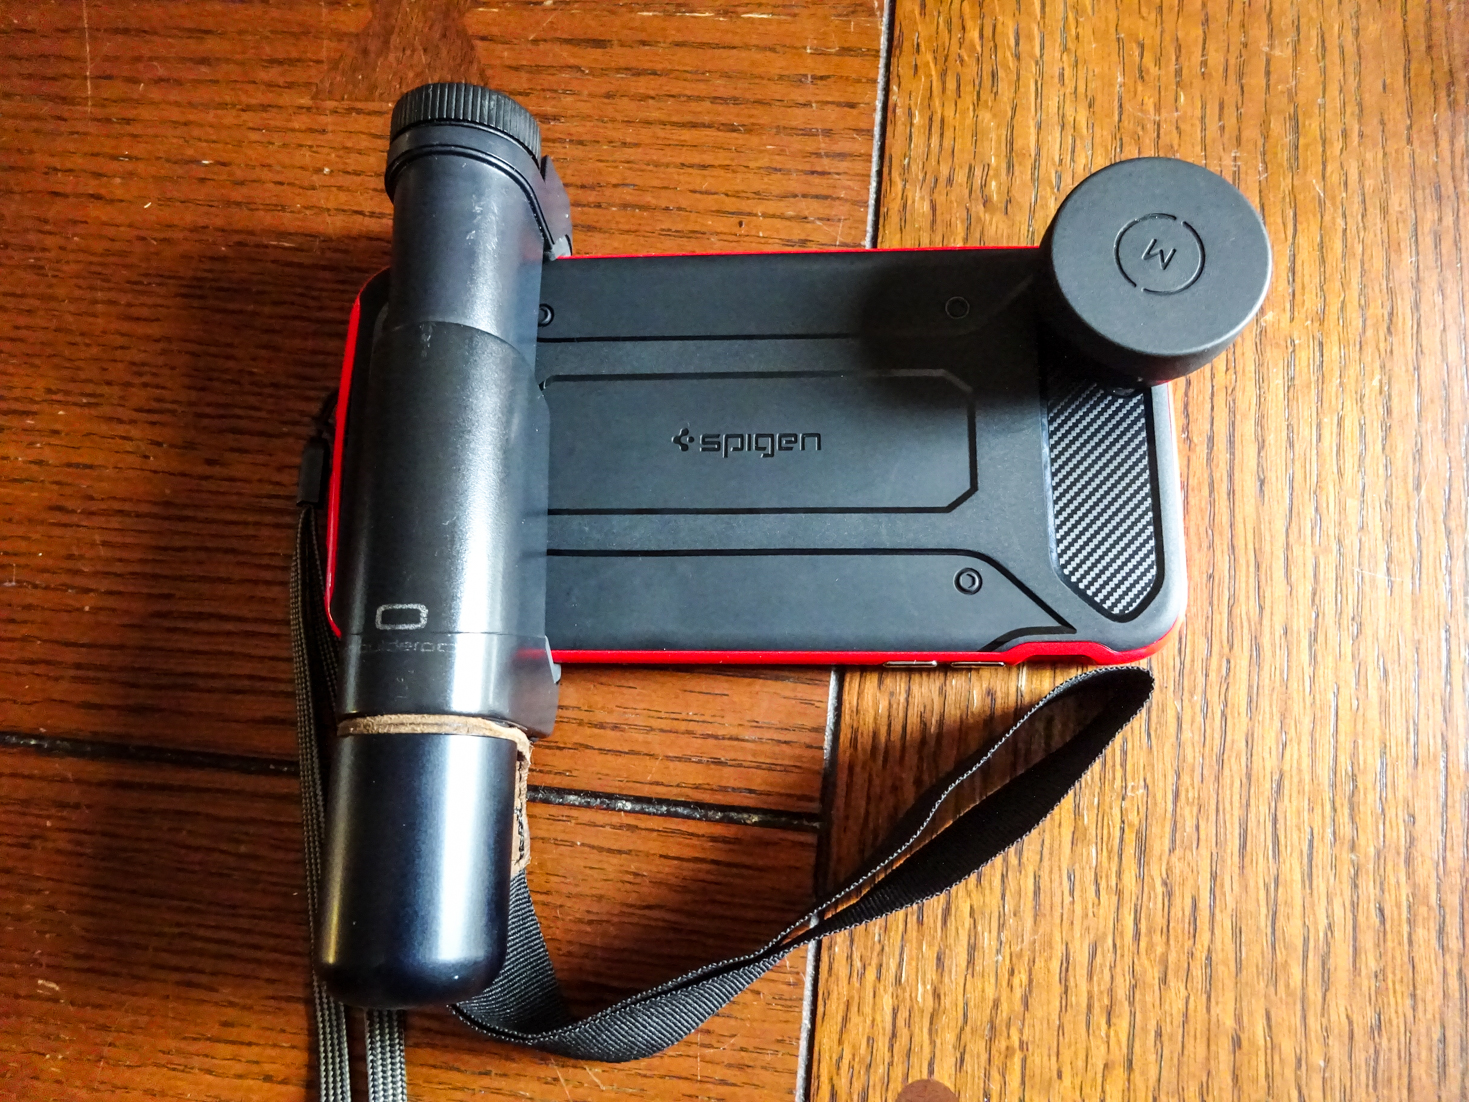
ShoulderPod S1 Grip: I absolutely love this thing. Of all the gear I’m covering here, this was the best money spent. This allows me to get some odd-angle shots in a totally stable way without the feeling that I’m going to drop my phone. As an example, it allowed me to get a couple of my favorite shots using the reflection on the glass of our balcony by holding the phone way over the balcony. At no point was I concerned about this thing falling into the ocean, since I had the S1 to grip on to, and the strap around my wrist:

The S1 does an outstanding job of allowing you to take single-handed shots in awkward positions in a stable manner. Seriously, if you only buy one thing in your quest for better smartphone pics, this should be it.  I’ve had a lot of people on these trips approach me about it, all of whom really liked how it felt when they tried it. If you want to help the blog out, you can pick it up here on Amazon :).

Moment wide angle and telephoto lenses: I have a complicated relationship with these. I really like the wide angle, and keep going back and forth on the telephoto. On the first cruise, and again at Disney, I overused the wide angle lens. For the most part, I was treating it as a permanent attachment, and I know better. I’m in the camp that believes you don’t improve image quality by putting glass in front of glass, which is exactly what adding any lens to a smartphone does. I do, however, love that it allows the camera to see more of what’s in front of it without me having to re-position myself. I tried to make that work in close-up scenarios too often, however, only to see later that it added noticeable distortion to the image, giving it an almost fish-eye look. Not the fault of the lens, more my fault for being lazy and not just removing it and backing up.

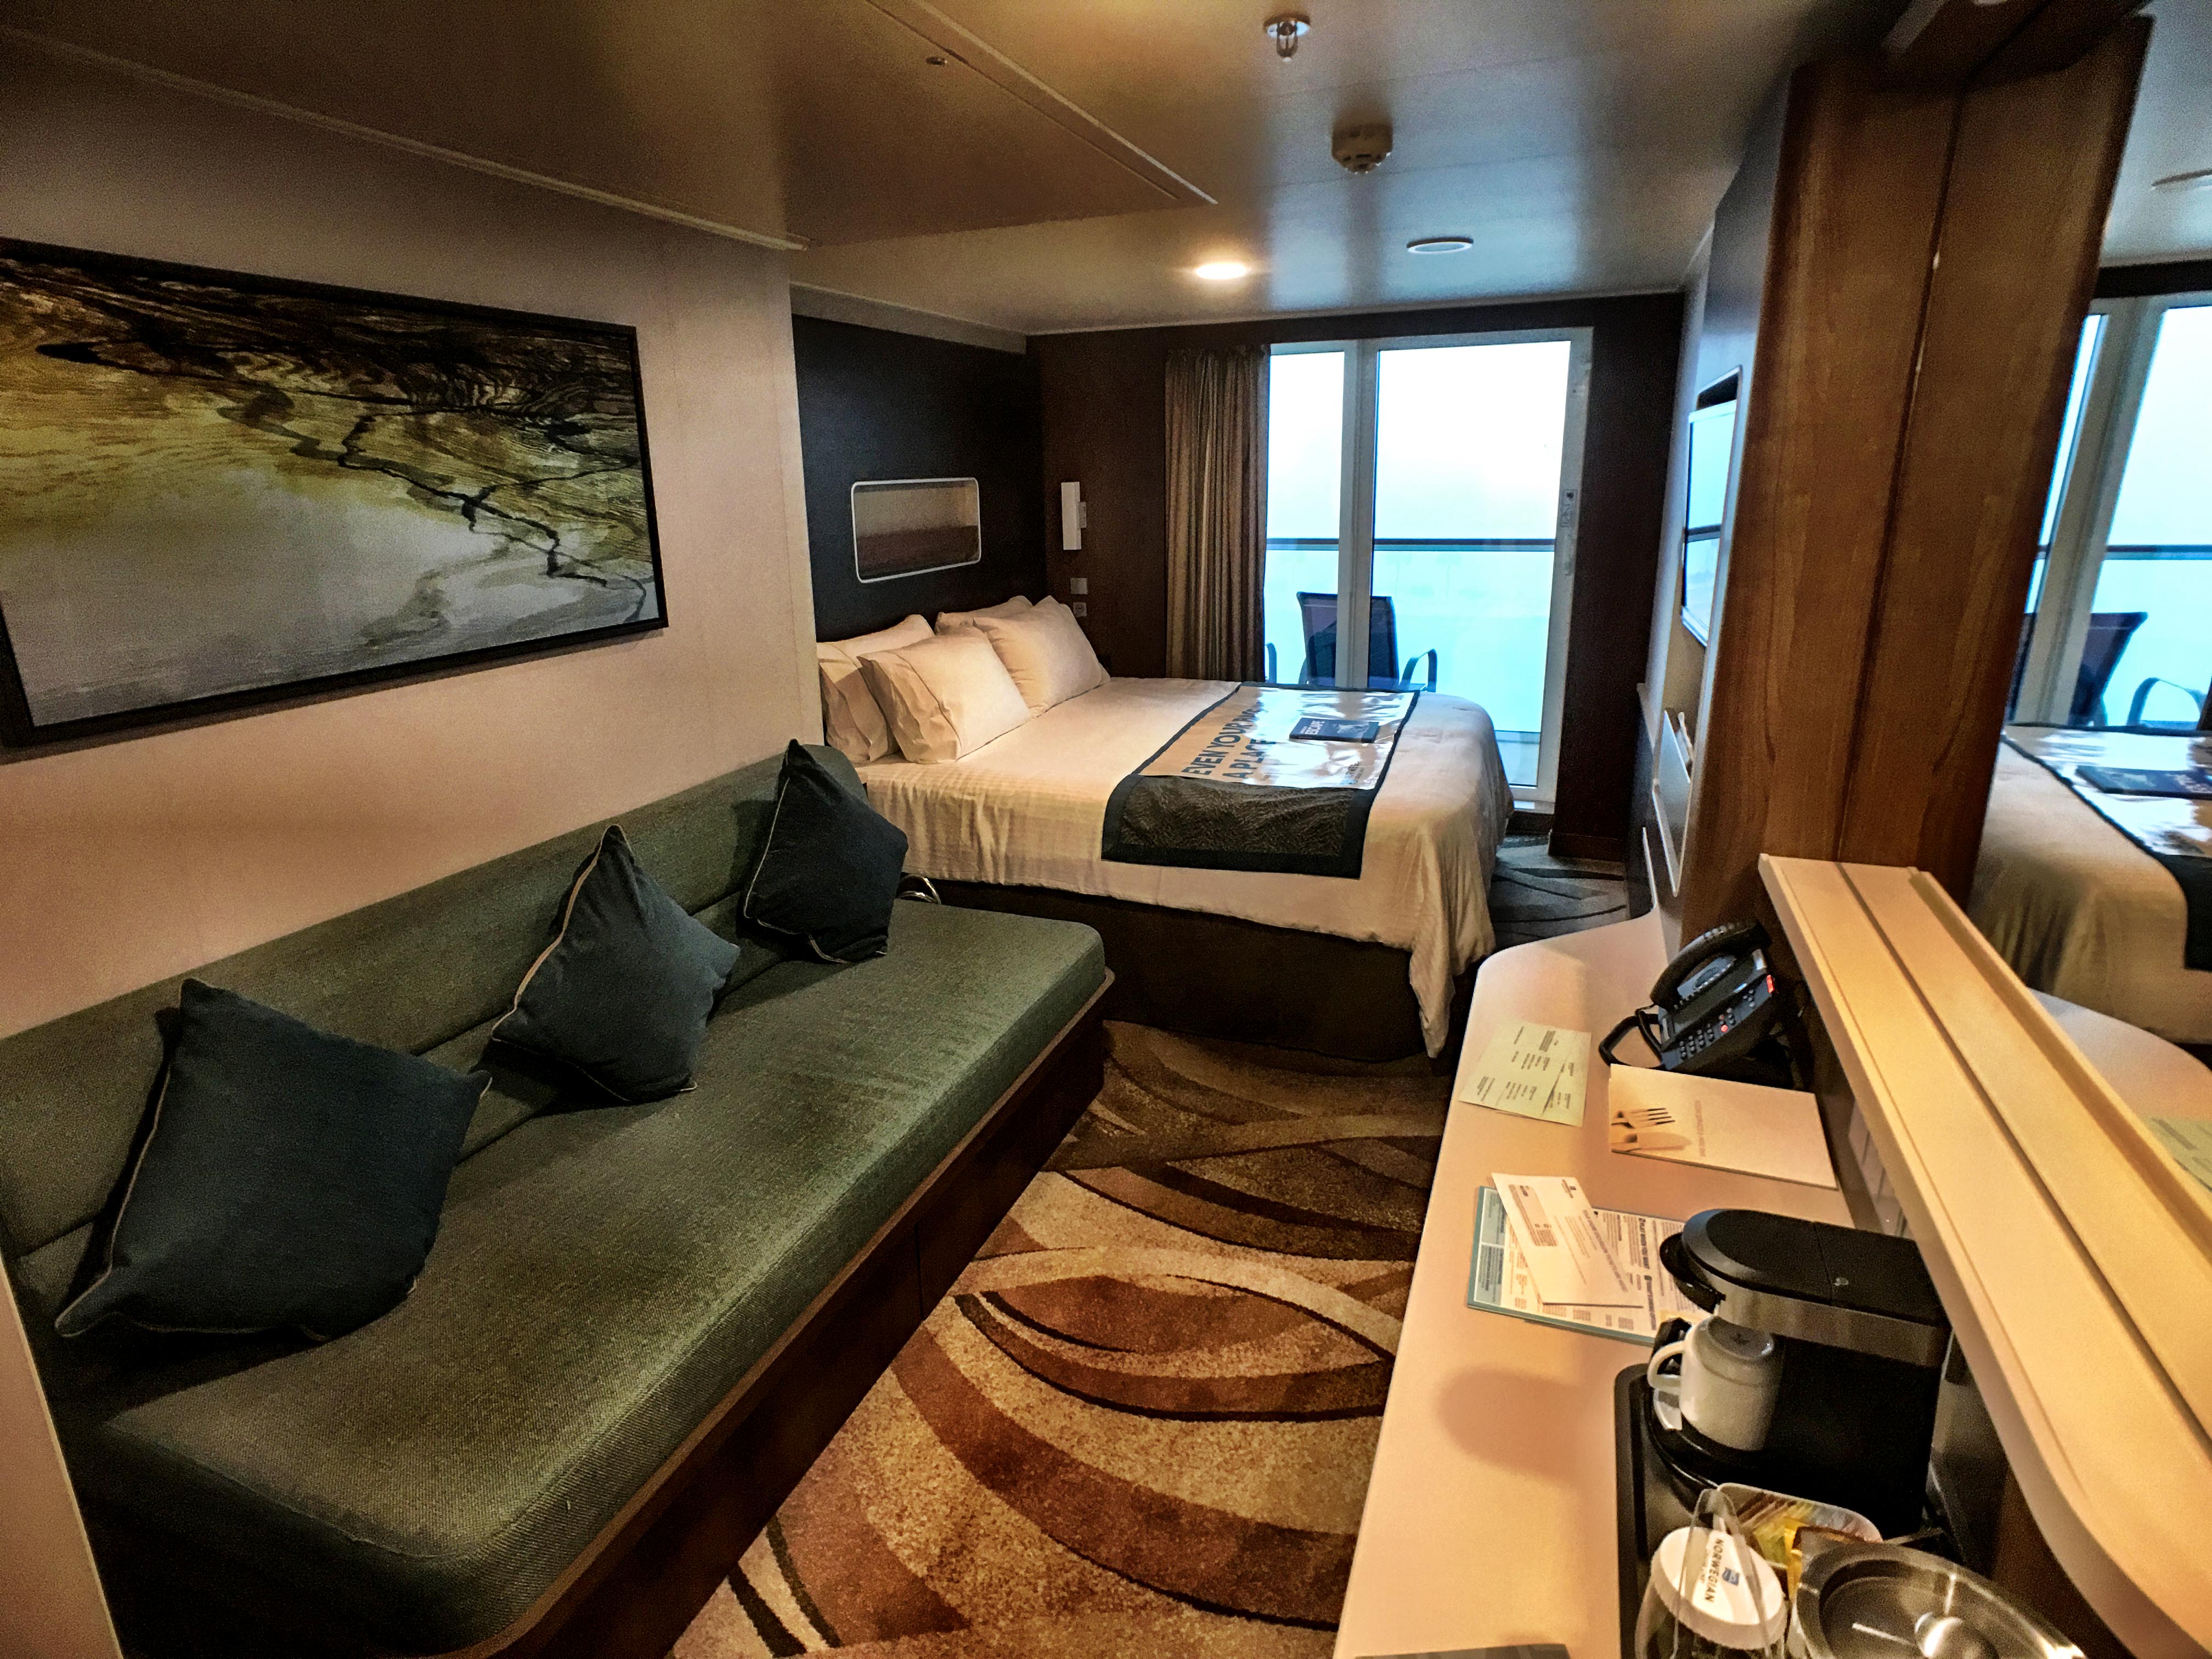
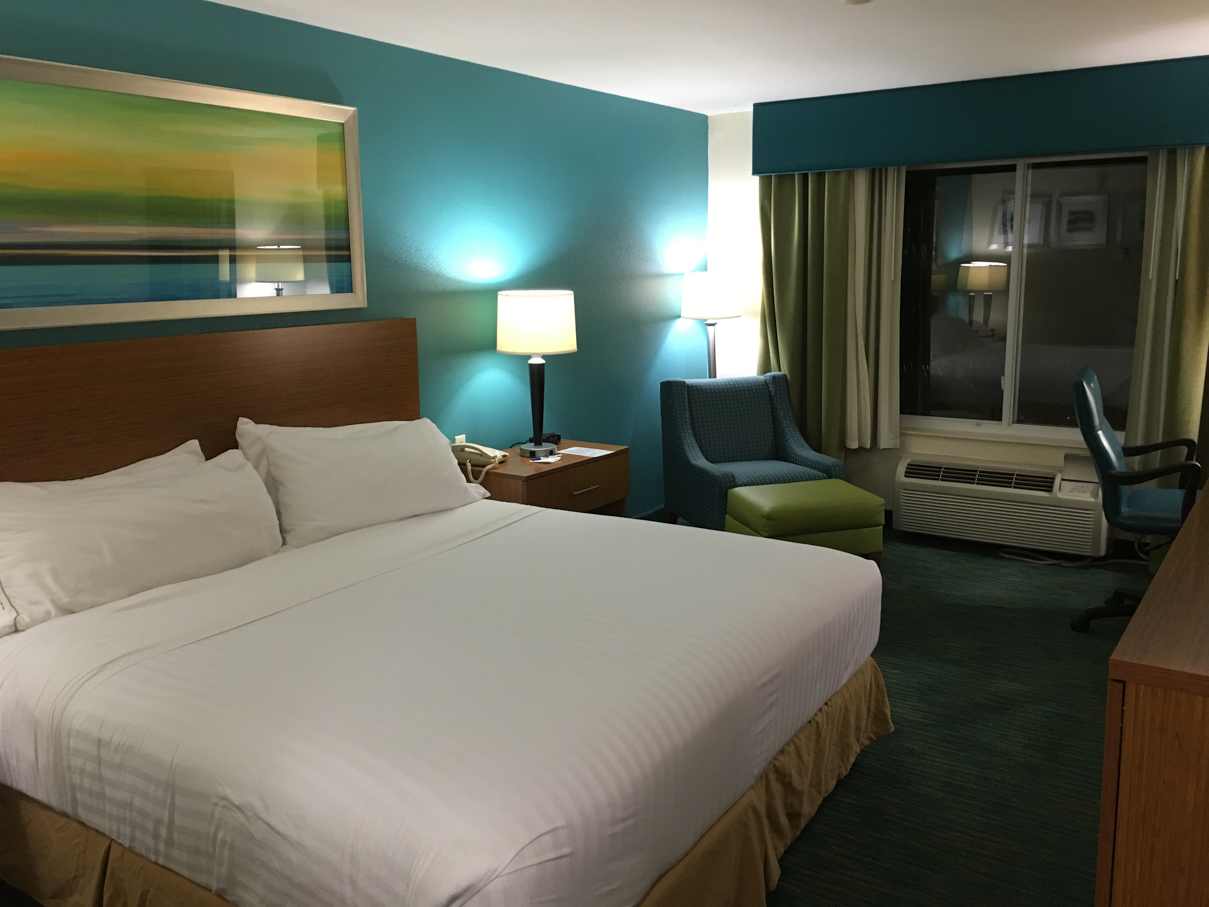
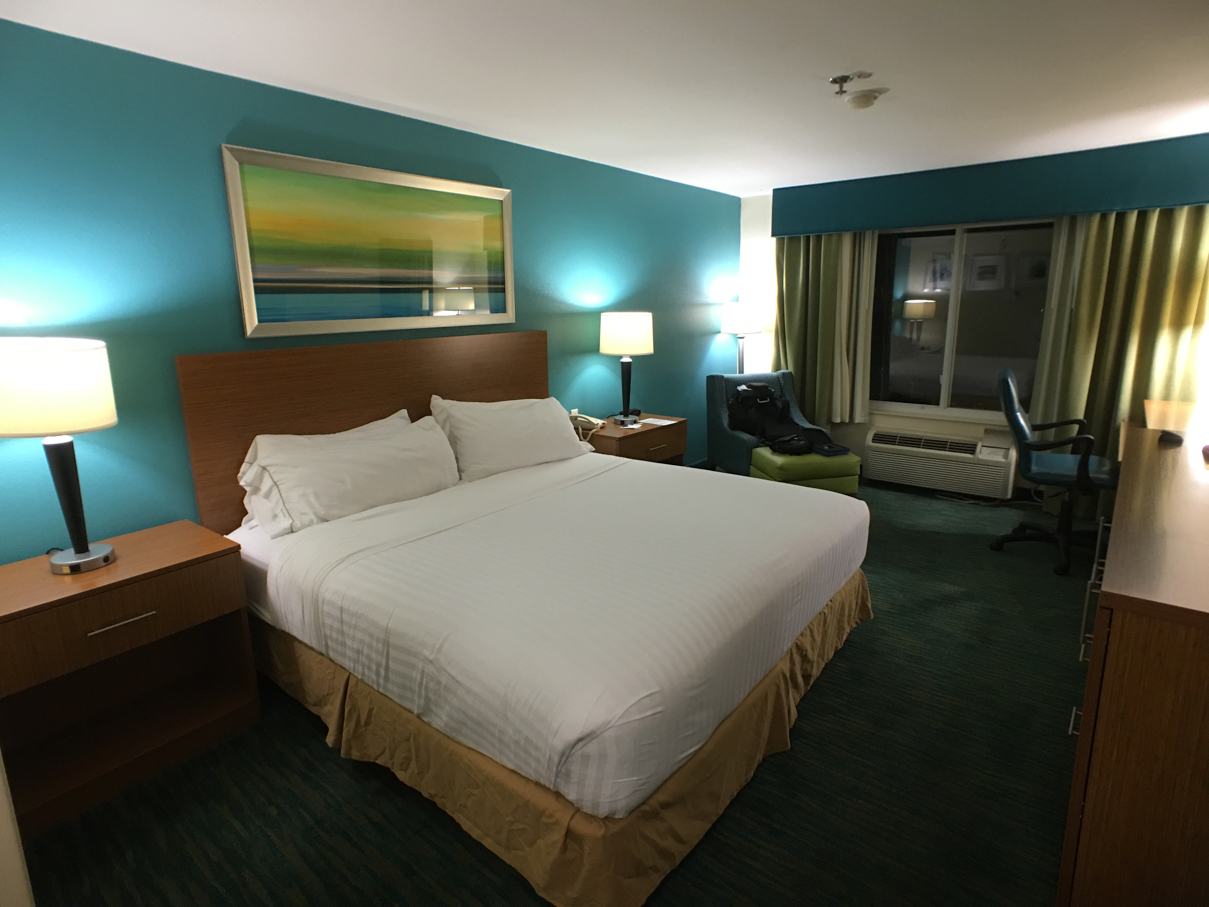
I got better at determining when to go with a “naked” camera on cruise #2, so for me, there was definitely a learning curve. I did get a lot of excellent shots with it that would have been a pain otherwise, though. This is especially useful for us as travel agents, as I’m able to get more of a hotel room or cruise cabin in a single shot, reducing the number of overall pictures it takes to be able to show off the entire room. For example, here are two shots of the same hotel room, taken from the same point in the room. On the left, no lens. On the right, using the wide angle. Definitely an advantage to having a wider field of view sometimes.

20151113_021029000_iOS 20151113_021341000_iOS

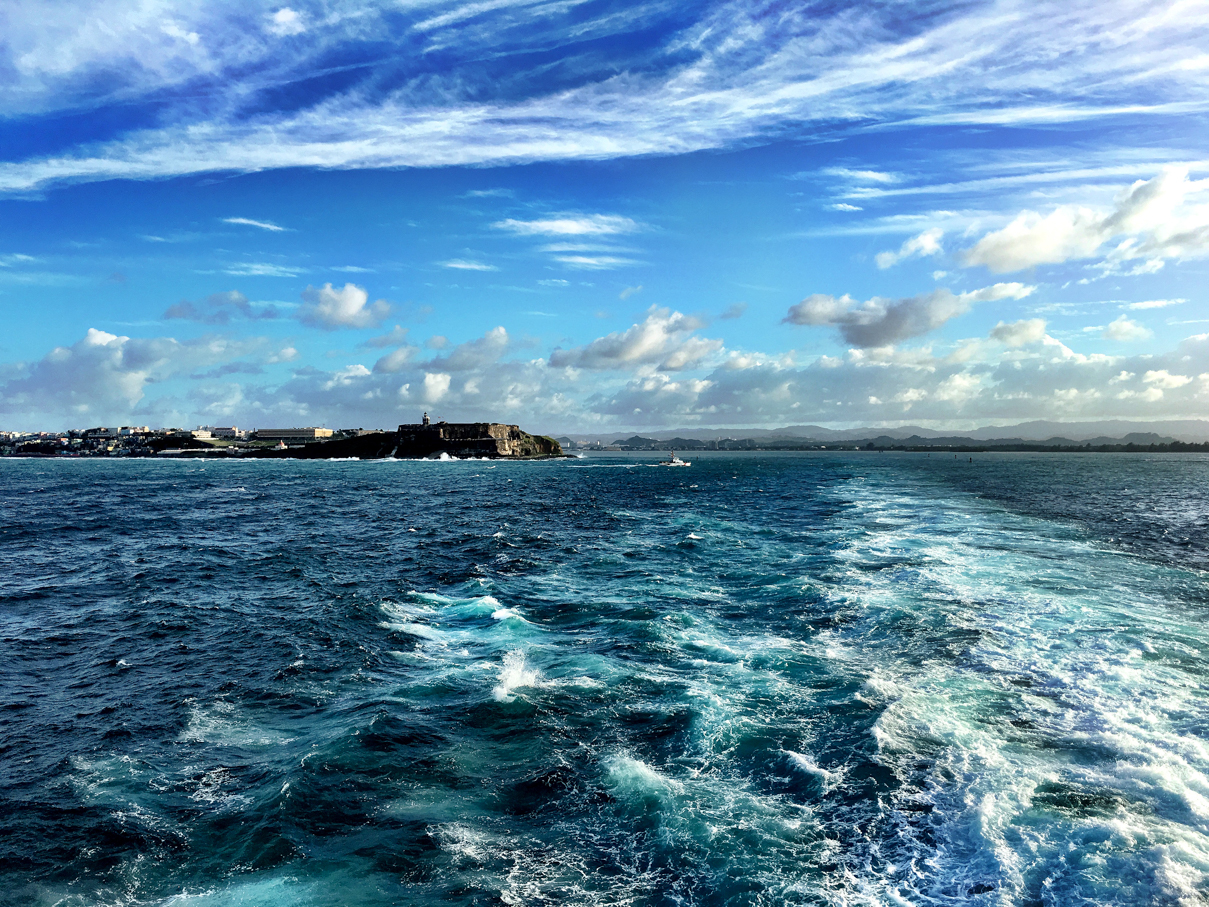
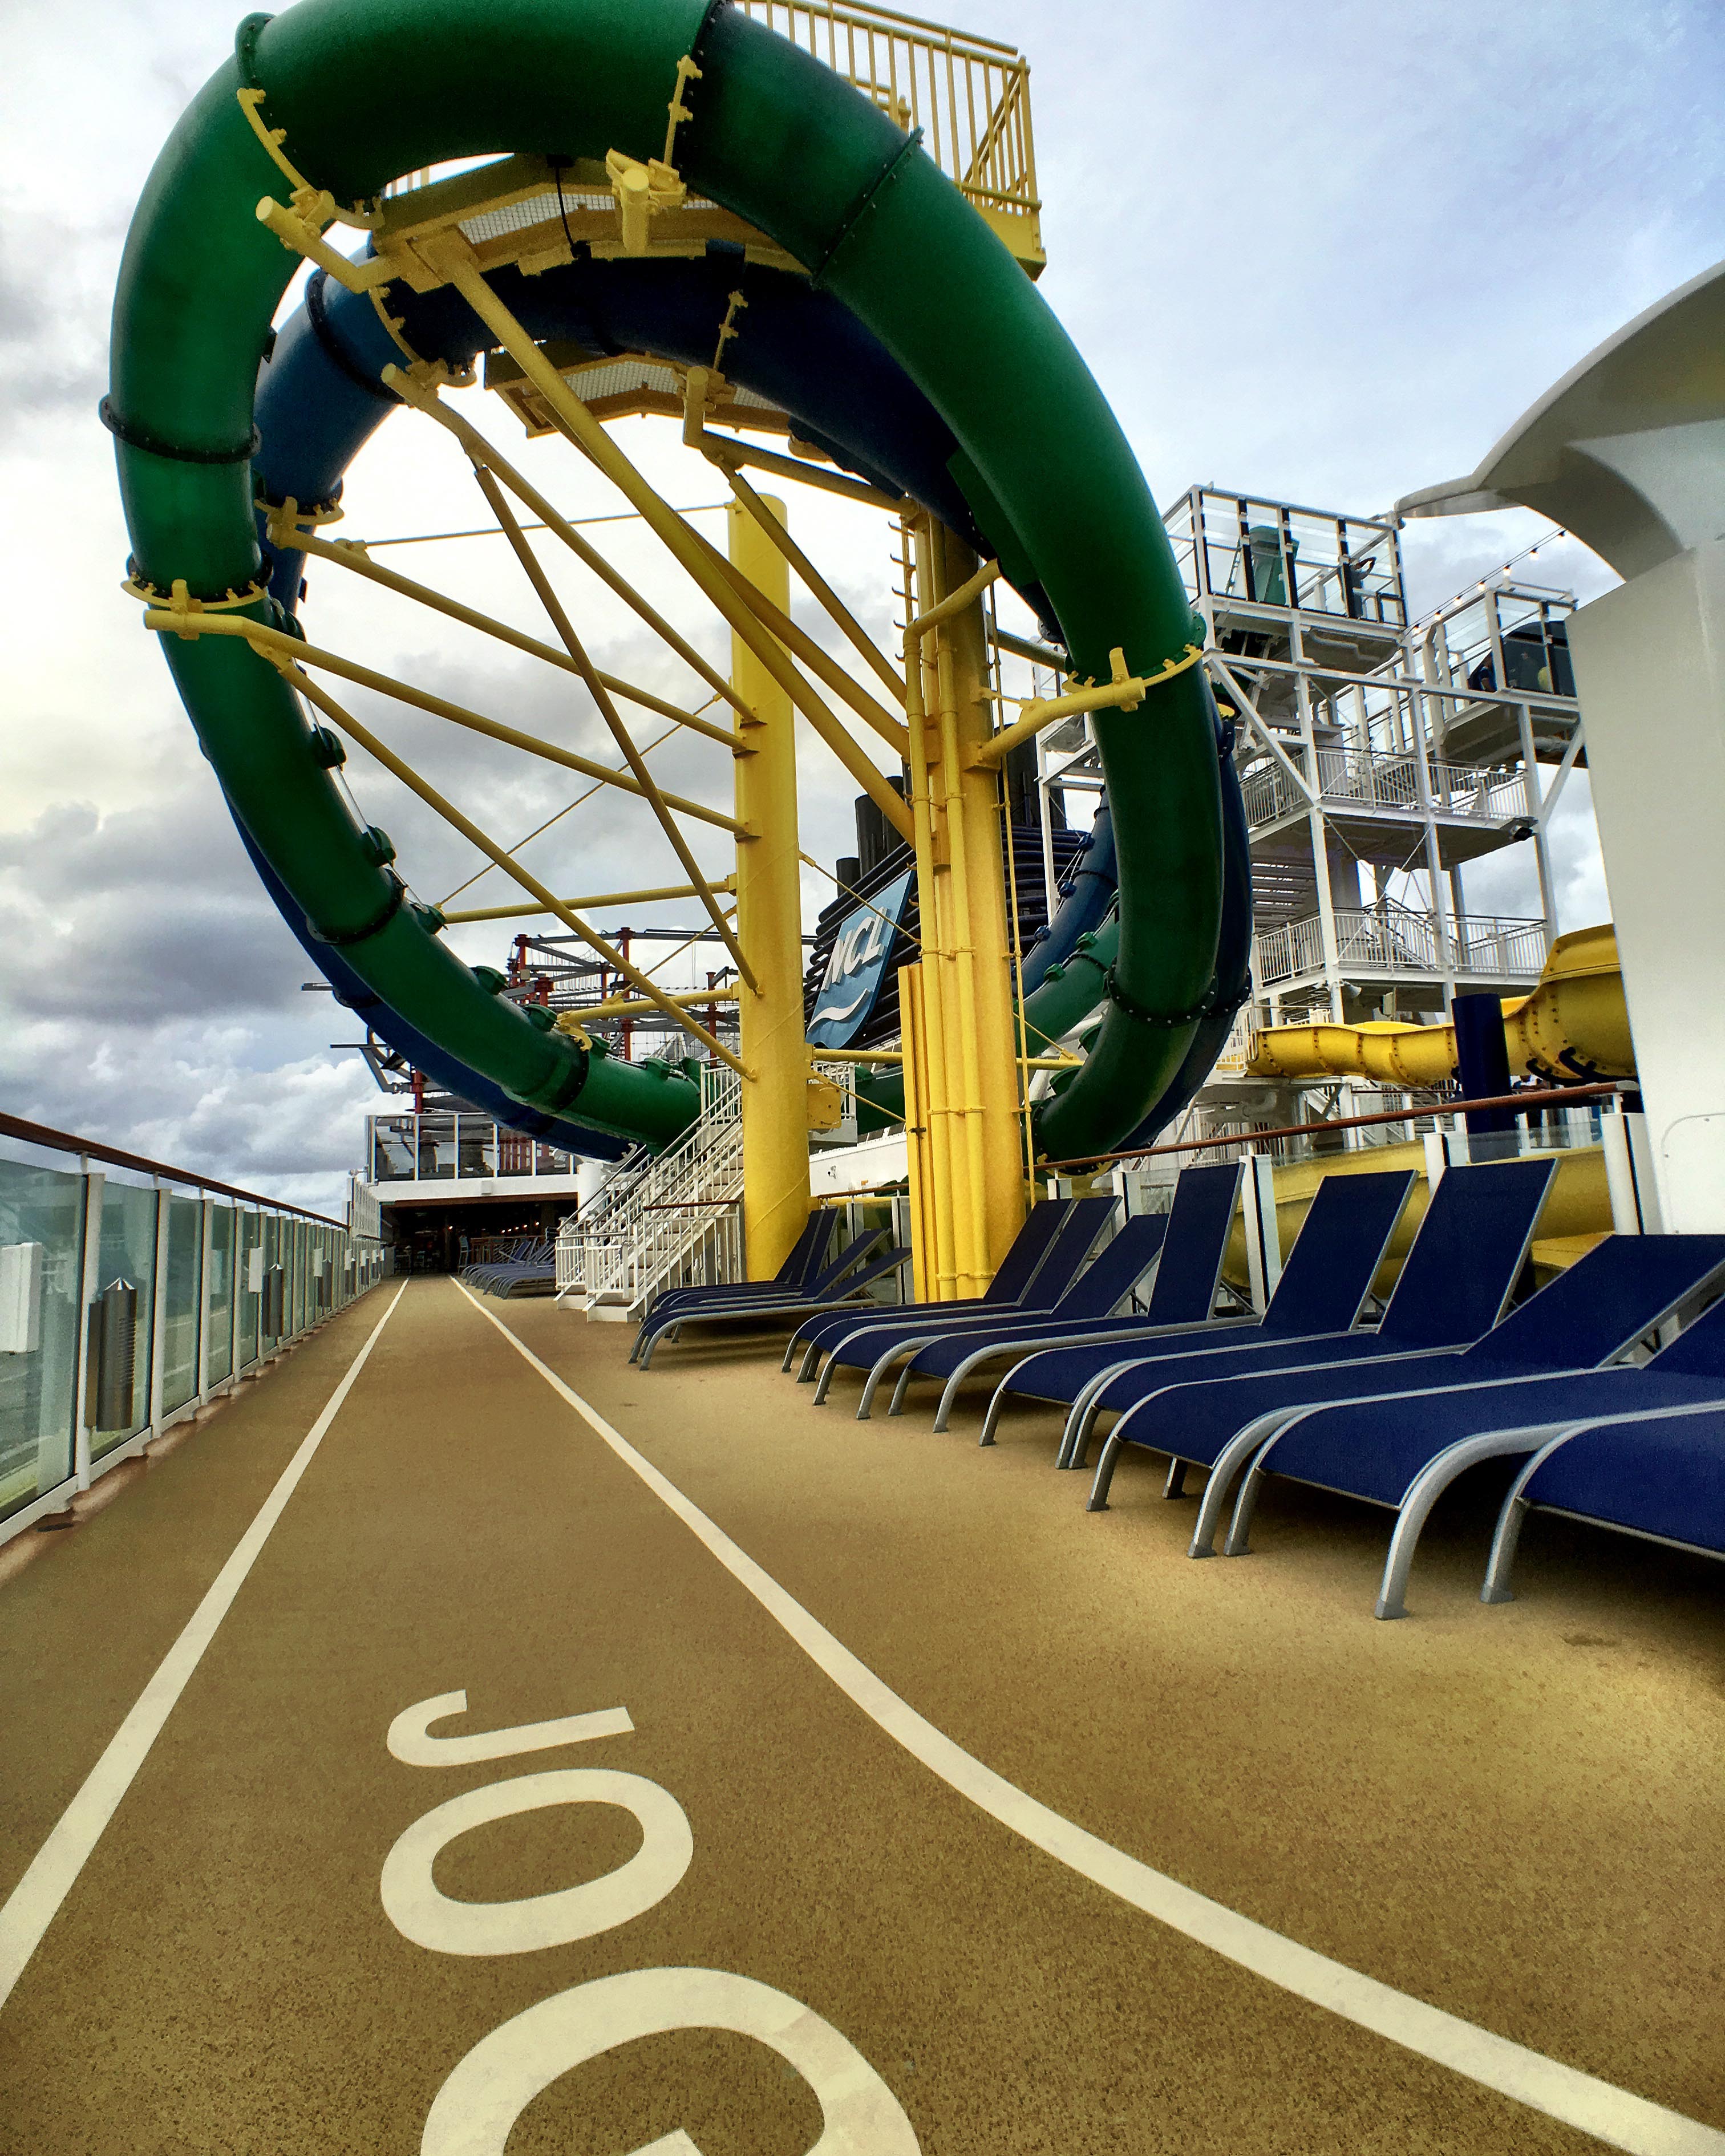
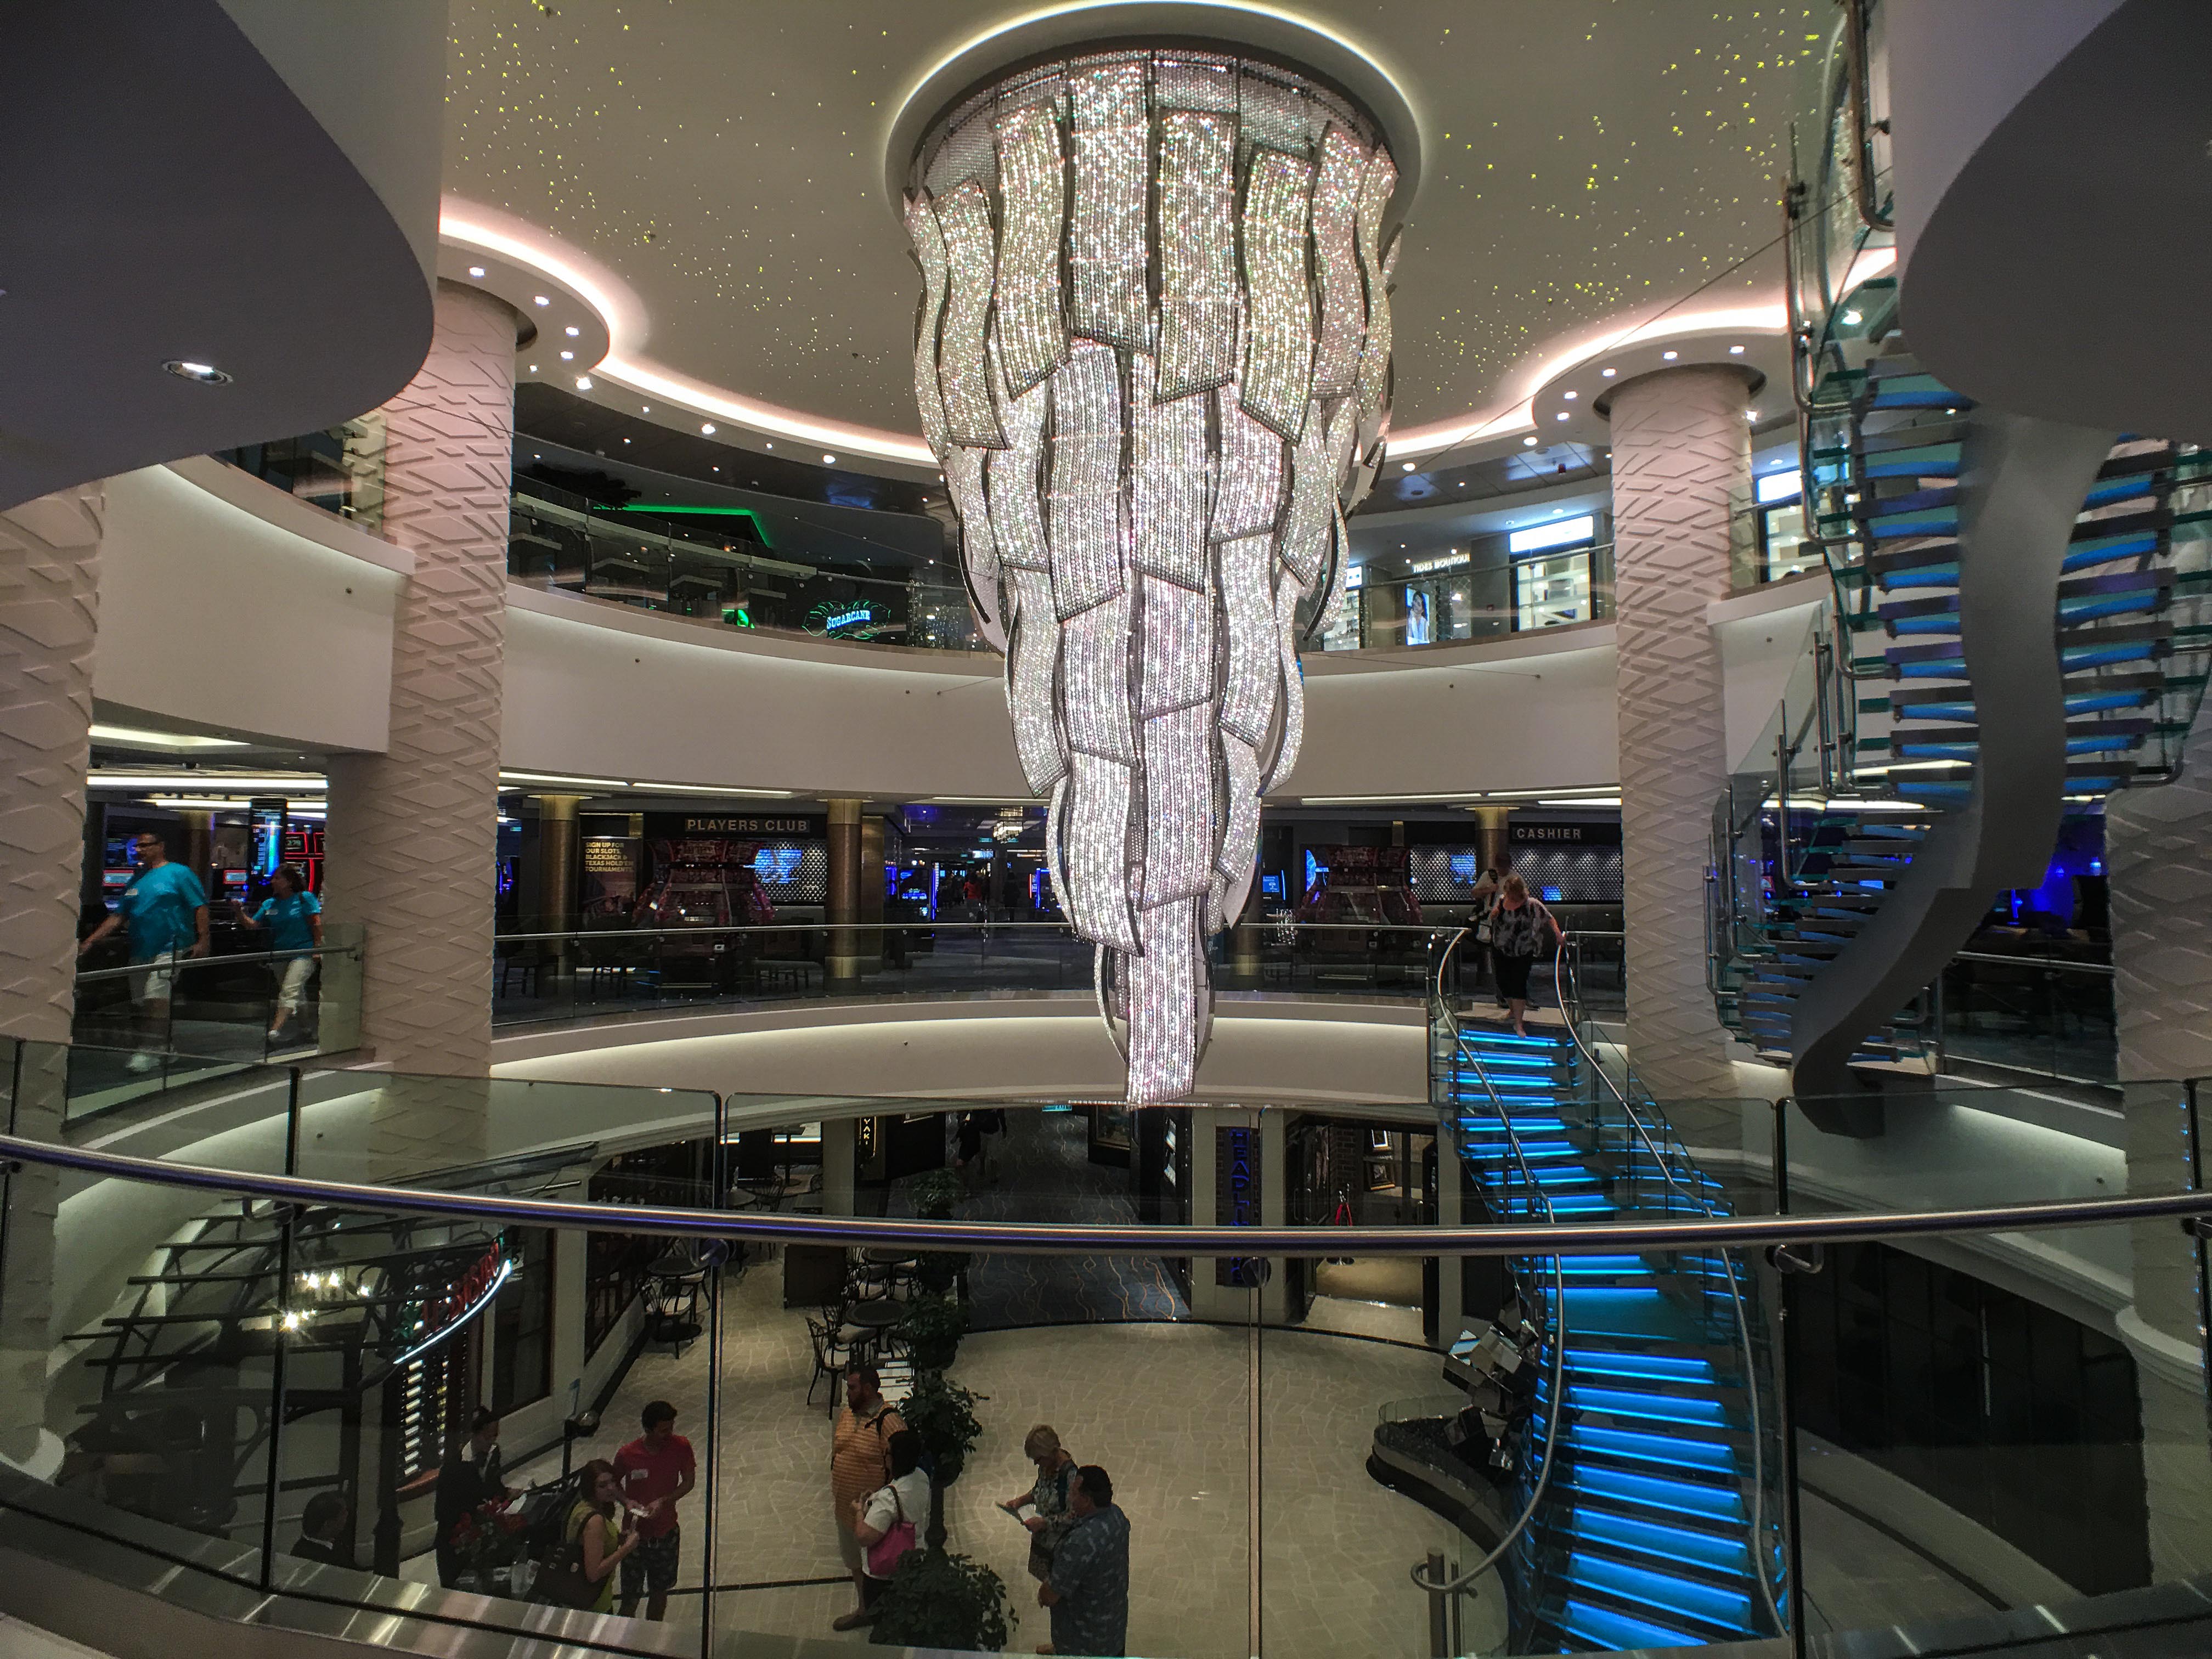
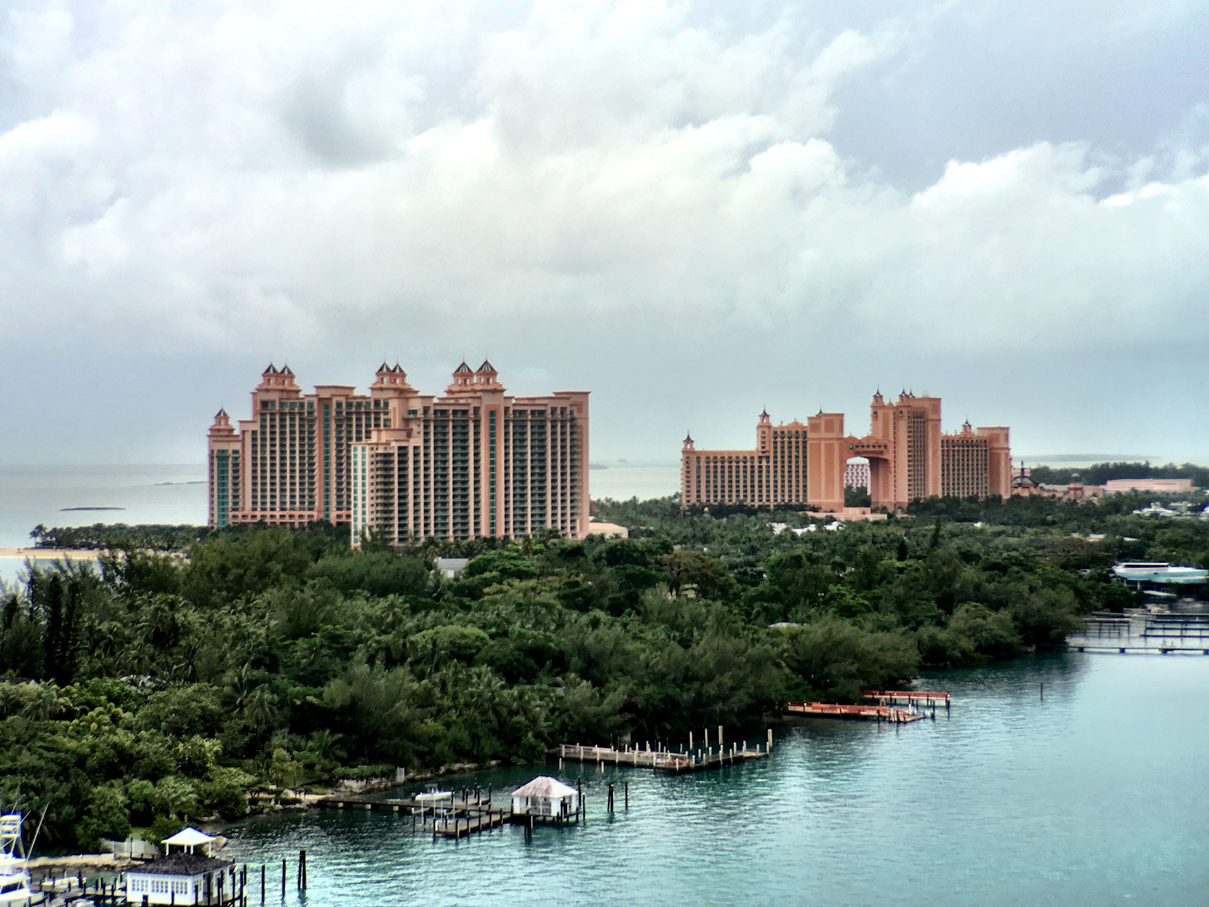
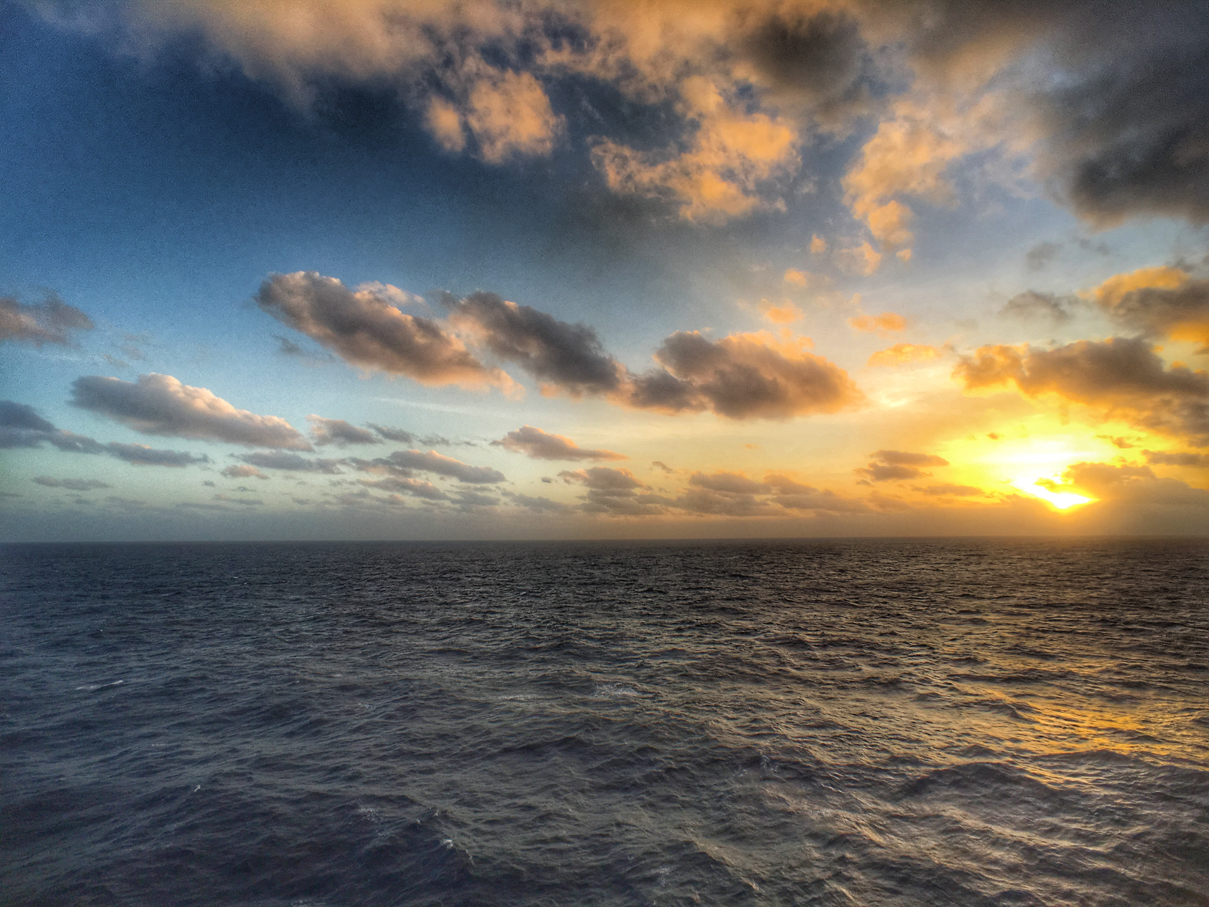
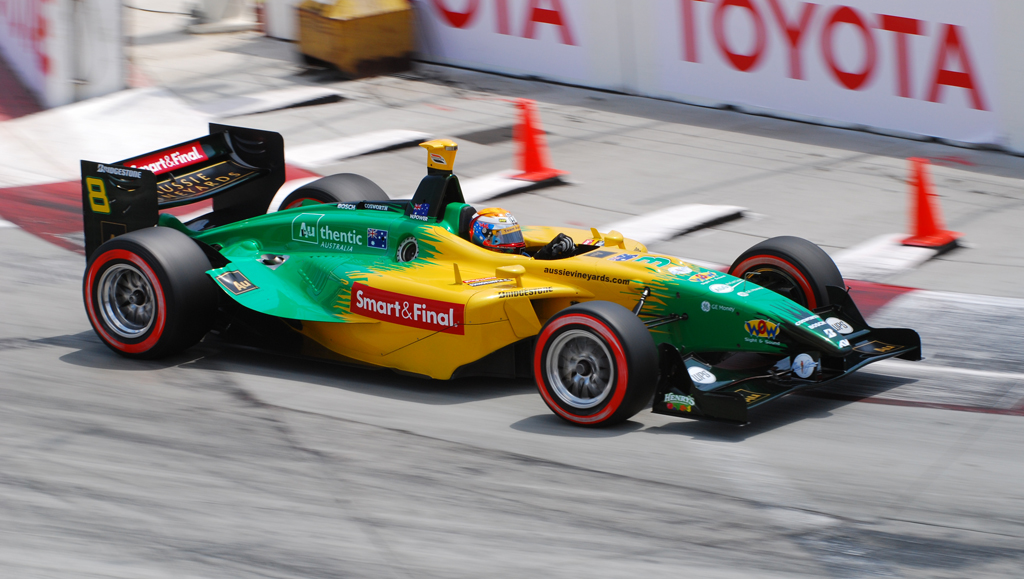
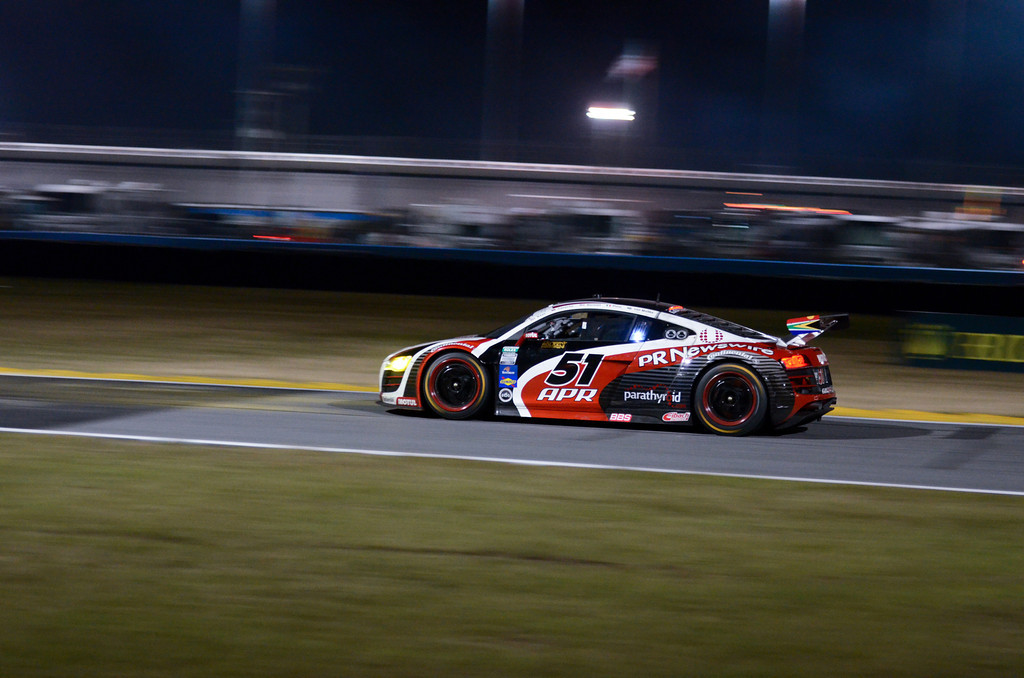
Moving on to the telephoto, I think my biggest issues were using it indoors. I used it a few times to shoot our general sessions in the main theater on the Escape, attempting to get close-up shots of speakers without having to use digital zoom, and in that setup, with challenging lighting, the shots were no sharper and clearer than those shot using just the built-in digital zoom. Outdoors in the right conditions, this does allow you to gain a closer perspective without the IQ loss that tends to occur when using the iPhone’s digital zoom. In the group of pictures at the end of this post, the shot of Atlantis was taken sitting at the back of the ship using the telephoto lens with no added zoom.

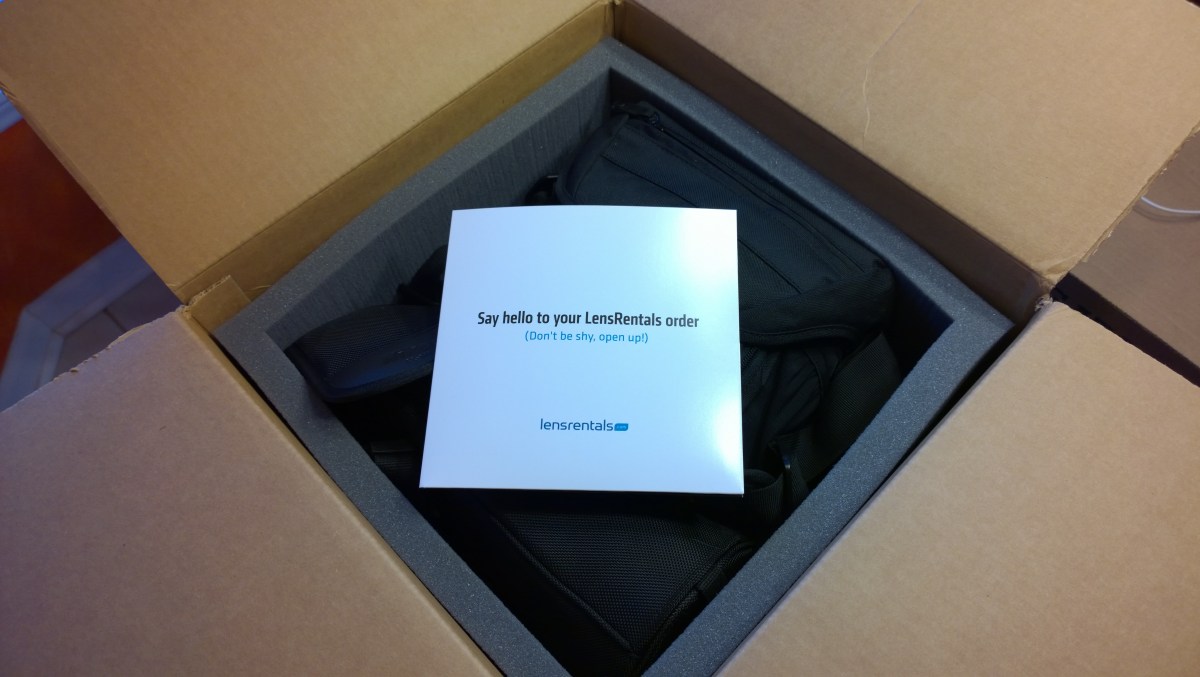
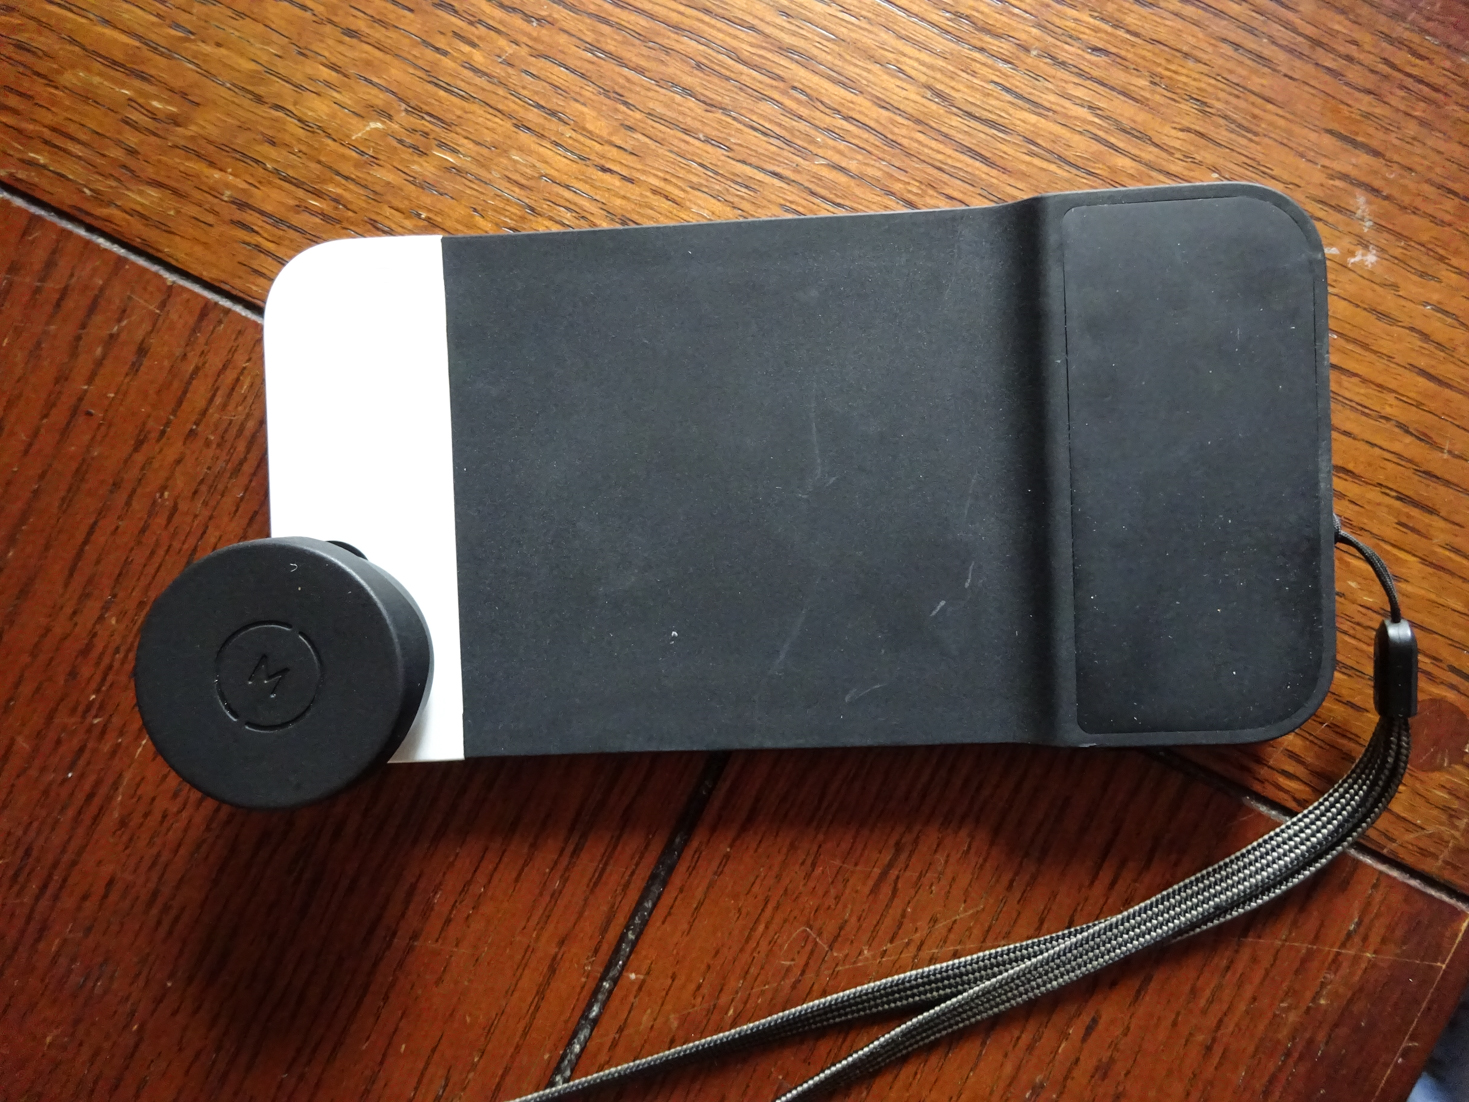
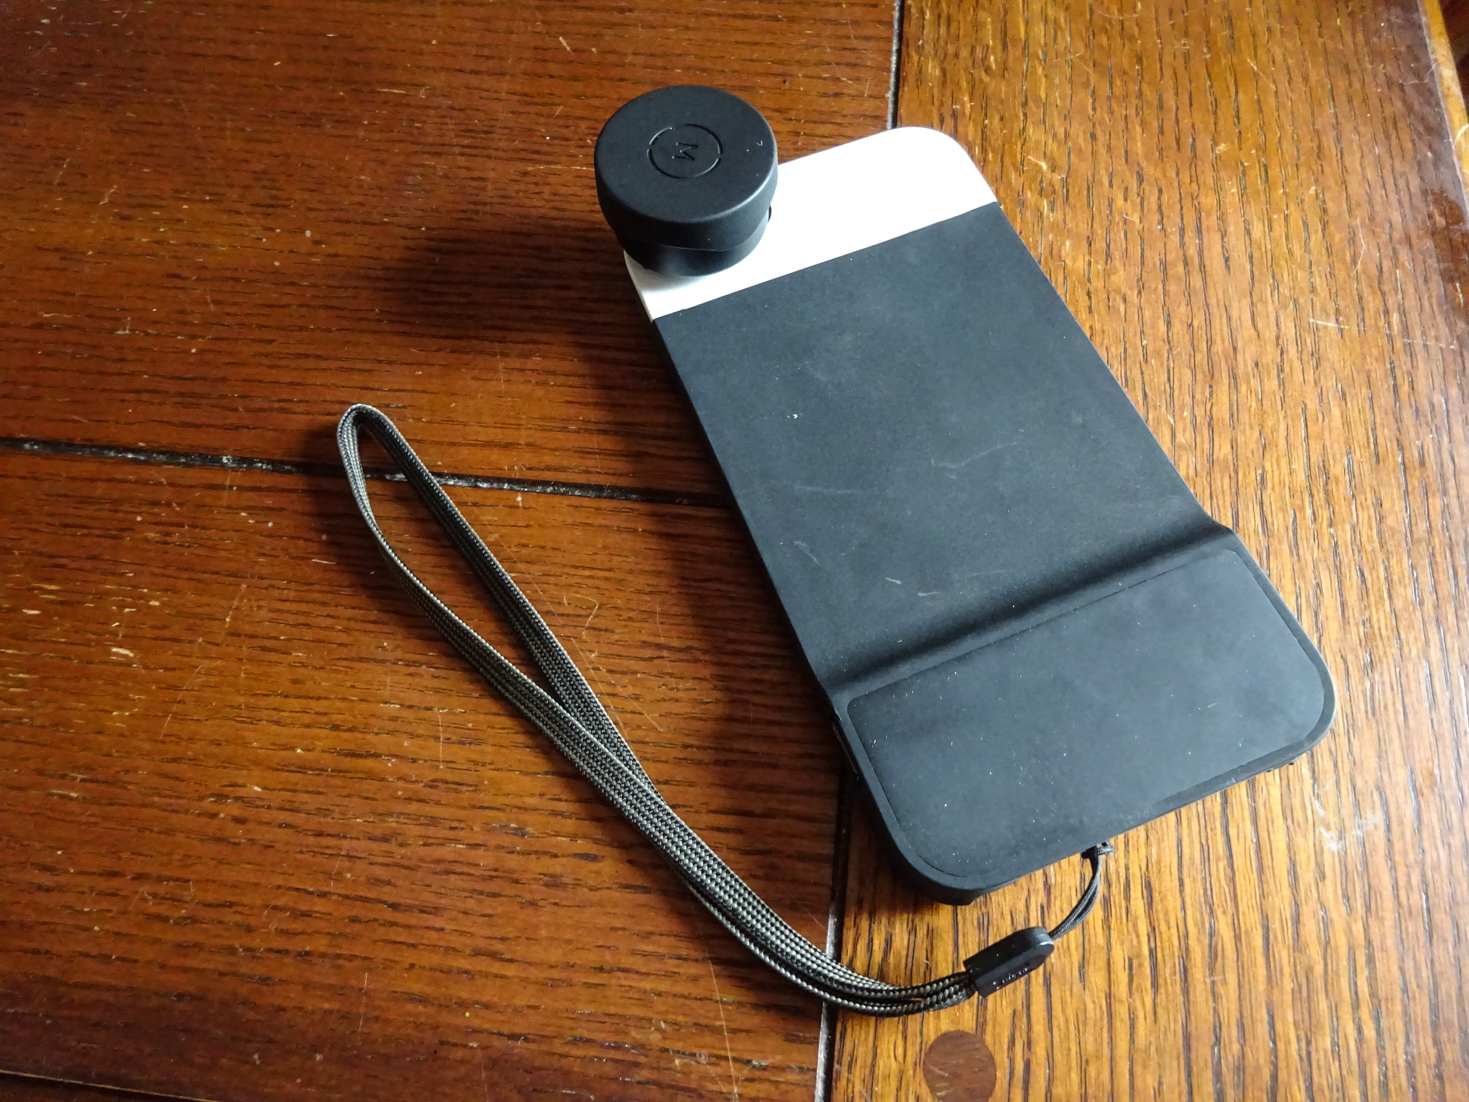
Moment Case:  As mentioned, I didn’t have this until the second cruise, and having it for that only happened because I agreed to give up the one I wanted due to supply shortage. I’d pre-ordered the black/black case on 11/24 with an estimated shipping date of 12/3, but when they finally started shipping on 12/8ish, my order status changed to Back Order. After contacting them, I learned that the system had accepted more orders for that color combination than they could fill, so I could either change to one of the other two options, or wait until some future date when they had more. Reluctantly, I chose to switch to the black/white case, as they didn’t know how long the wait would be.

Up to this point, I hadn’t used Moment’s camera app much, as I prefer Camera+ (and am learning PhotoToaster). Going in to the purchase of this case, I knew I’d have to change over if I wanted to make use of the dedicated shutter button, as it only works with their app. I tried to like it, I really did. I spent the first couple of days after getting the case trying to get used to the app, and even filed feedback on a couple of changes I’d like to see:

  • One thing I like about Camera+ is the ability to edit pics in the app as soon as you shoot. This is something Moment’s app doesn’t have, and the answer I was given was that focusing on the capture side was their priority, with no plans for any editing features since there are so many editing apps out there for people to use. I get it, but it still slows me down when I want to shoot and post stuff fast, so looks like I’ll be staying with Camera+ for now.
  • They currently have no HDR support in the app. Now, Camera+ doesn’t have this on the capture side either, but has the ClarityPro editing built in to allow me to quickly add a similar effect right after taking the shot. They did say this is coming at some point, so there’s that.

There are some general fit and finish things that could be done to make the app look better too, including:

  • A dark theme. Seriously. I hate the white theme. I get that opinions differ, but that’s what choice is for.
  • Connectivity between the case and app seems to drop sporadically, and when it happens, you may not realize the shutter button isn’t working until you’ve missed your shot. If I can’t rely on the hardware button, what’s the point of having it?
  • When the app detects the case, it’d be nice if it would automatically make the on-screen shutter/control buttons smaller (or make them disappear completely) to give the viewfinder more real-estate. Overall, the on-screen controls take up too much space.
  • Too many crashes. This may have been taken care of in some update over the last month or so, but when I was using it on the boat, it crashed on a number of occasions when shooting and reviewing shots in the app. If I can’t trust it, I’m not going to use it.
  • I’d love to see them open up the shutter button connection to other app developers so we’d have the option of using other camera apps with the case.

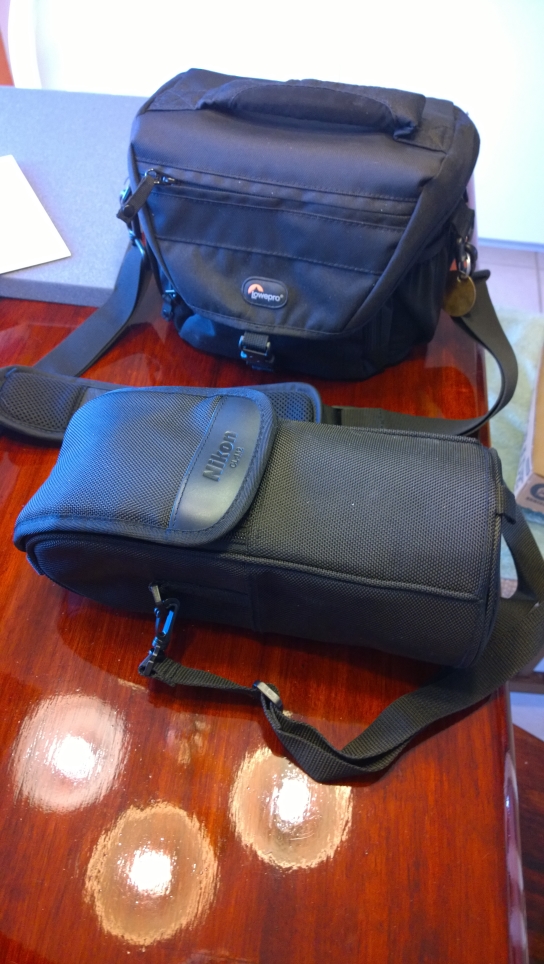
Even with the above issues, I continued to use the app on the first couple of days on the boat. By day 3, I was back to Camera+ and only using the case to securely mount the lenses. That brings up another point. When not using their case, you have to use mounting plates to attach the lenses to your phone. This really isn’t a big deal, even though a few reviewers have complained about having to stick the plate to the back of the phone. I’ve taken 3 off and have left no damage or residue. It’s really not hard to get that thing off if you take your time. Of the two options for attaching the lenses, it’s the least favorable option, however, as I’m finding that a given mounting plate only lasts for one week-ish long trip. No matter how careful you are mounting and removing lenses, the connection point on the mounting bracket loosens up and you start to worry the lens will come loose and fall out at some point. With the case, no such concern, as that mounting point is a lot more solid than the one on the plate. This means I need to keep at least one extra mounting plate with me on each trip, as I see myself using the first setup more often than using the Moment case. Because of the case’s shape, I can’t really use the ShoulderPod with it either (although I tried), and frankly, I find the S1 more functional than the Moment case.

One other piece of the Moment gear that’s bothering me, the lens caps. Buying them was a no-brainier (frankly, each lens should ship with one) , but it looks like they could stand to be slightly deeper or more rigid than they are, as I’ve had them rub the actual glass on the lens when putting the cap back on, causing smudging in the center of the lens, which in turn meant having to clean the lens quite a bit. I’m sure pressing the center of the lens cap as I put it back on is contributing, but if it were more rigid this wouldn’t be an issue.

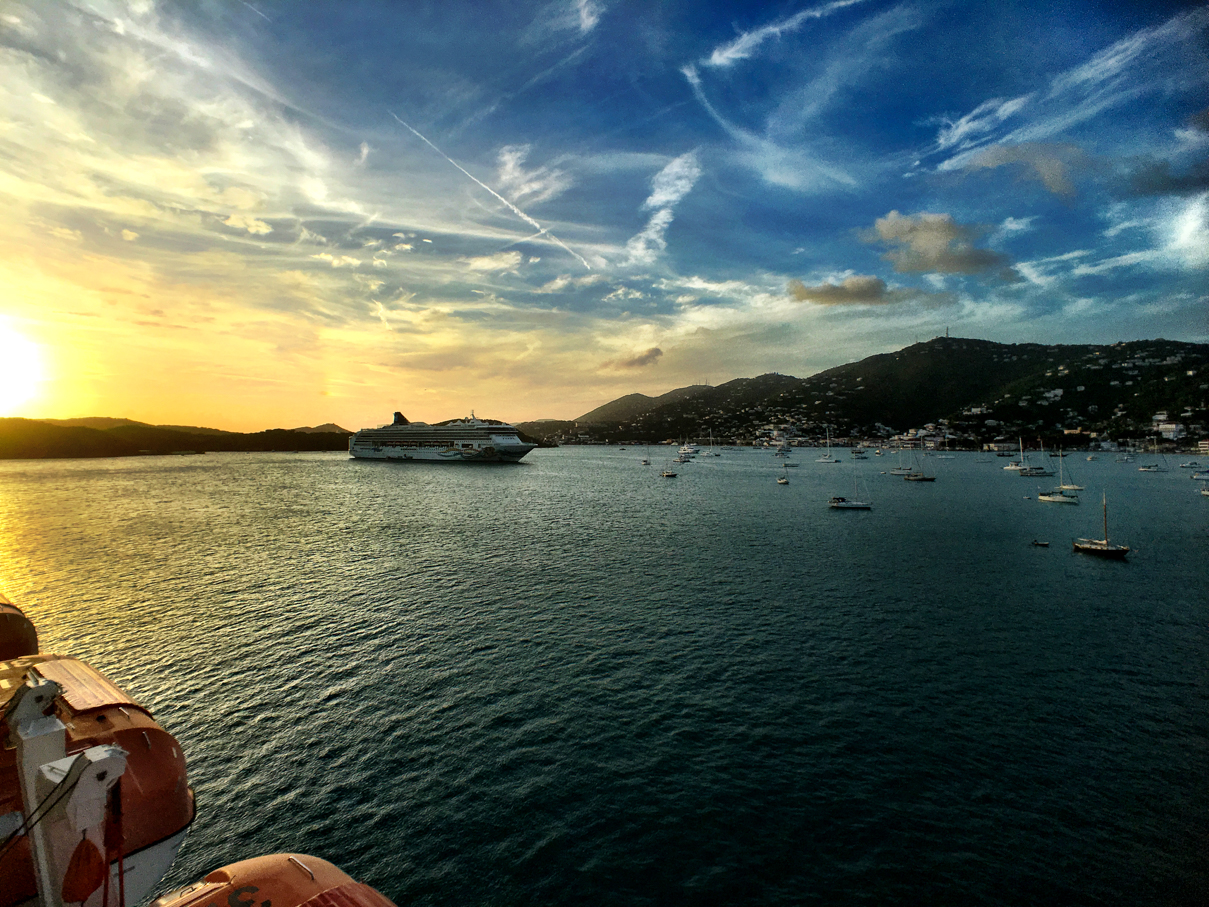
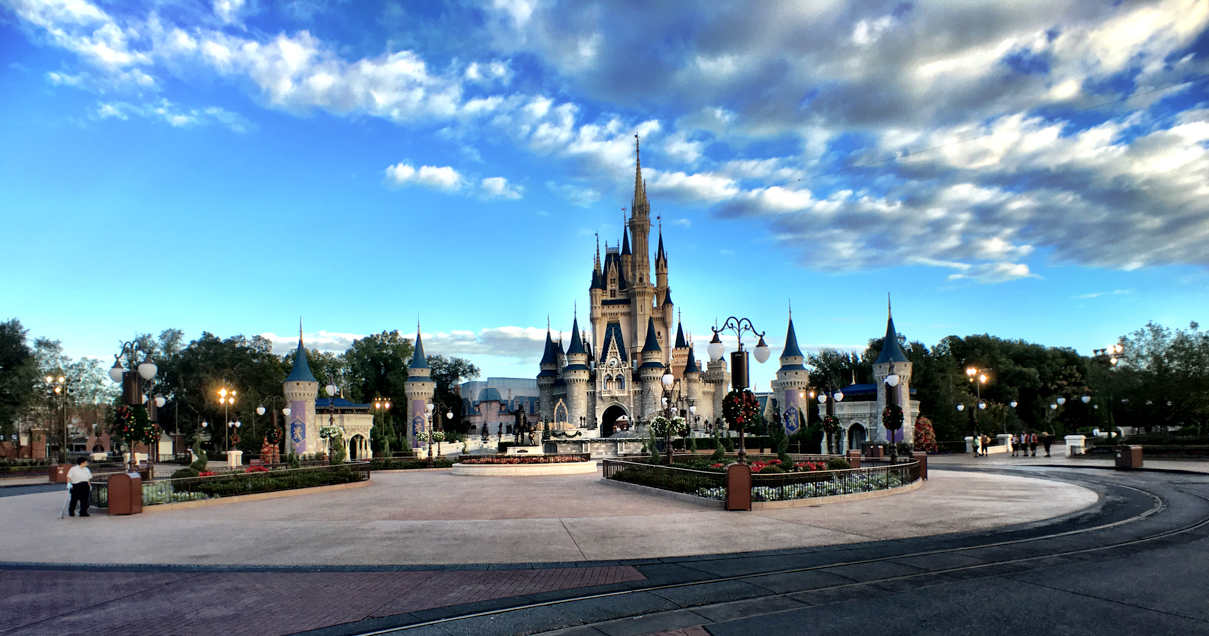
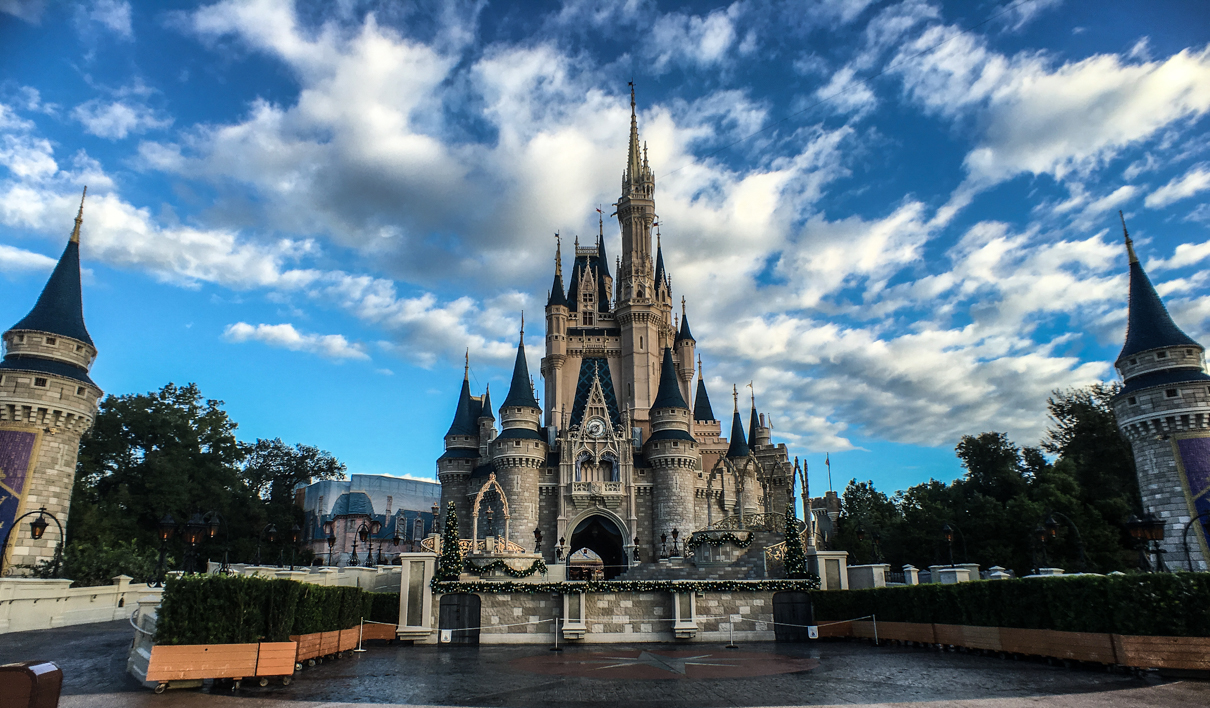
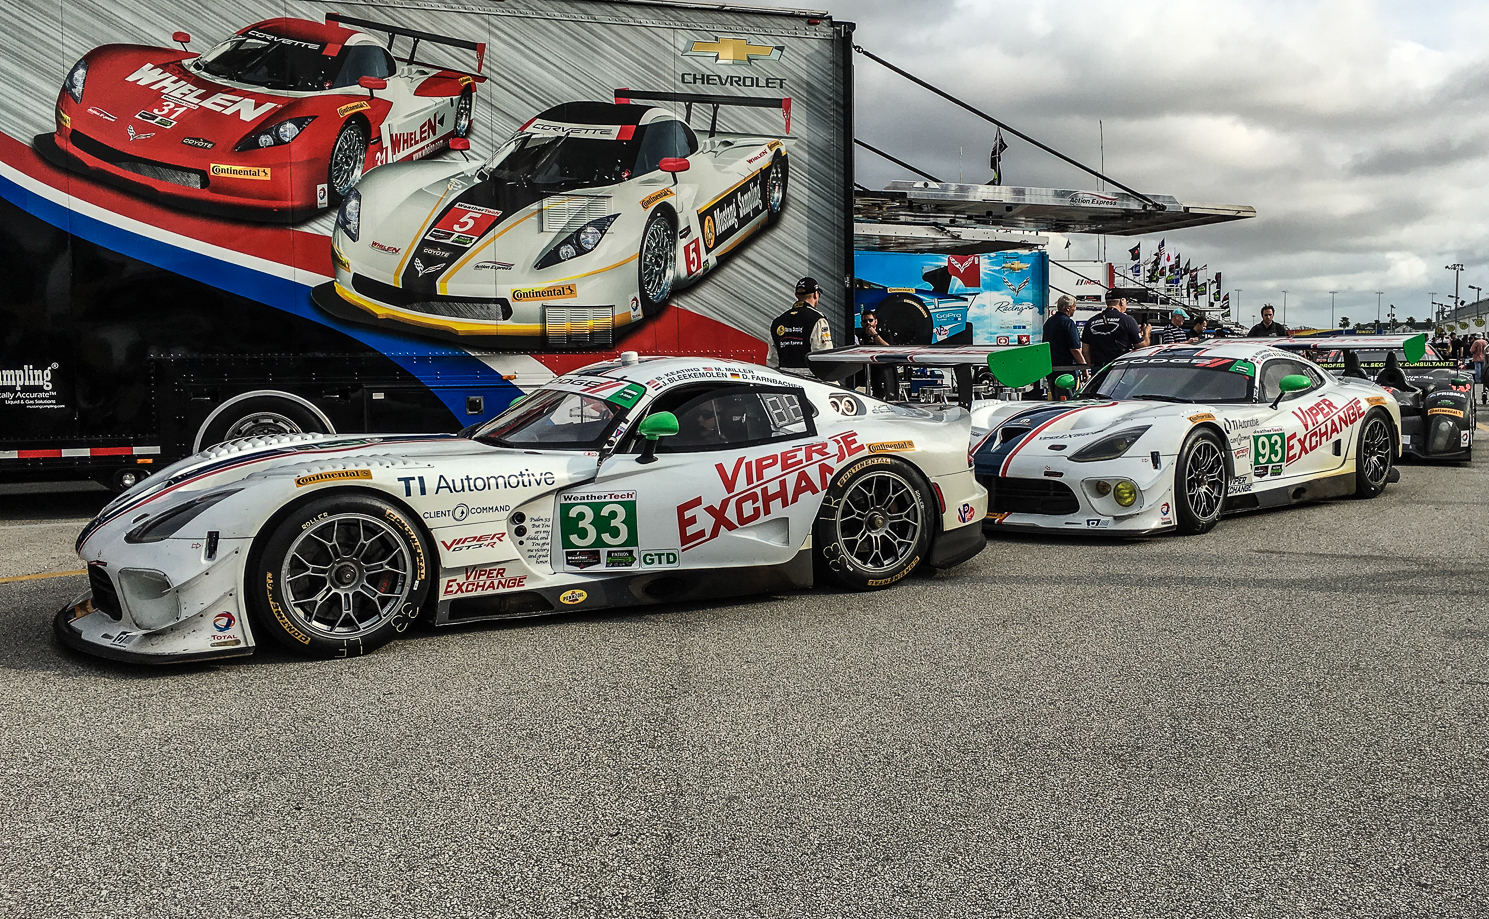
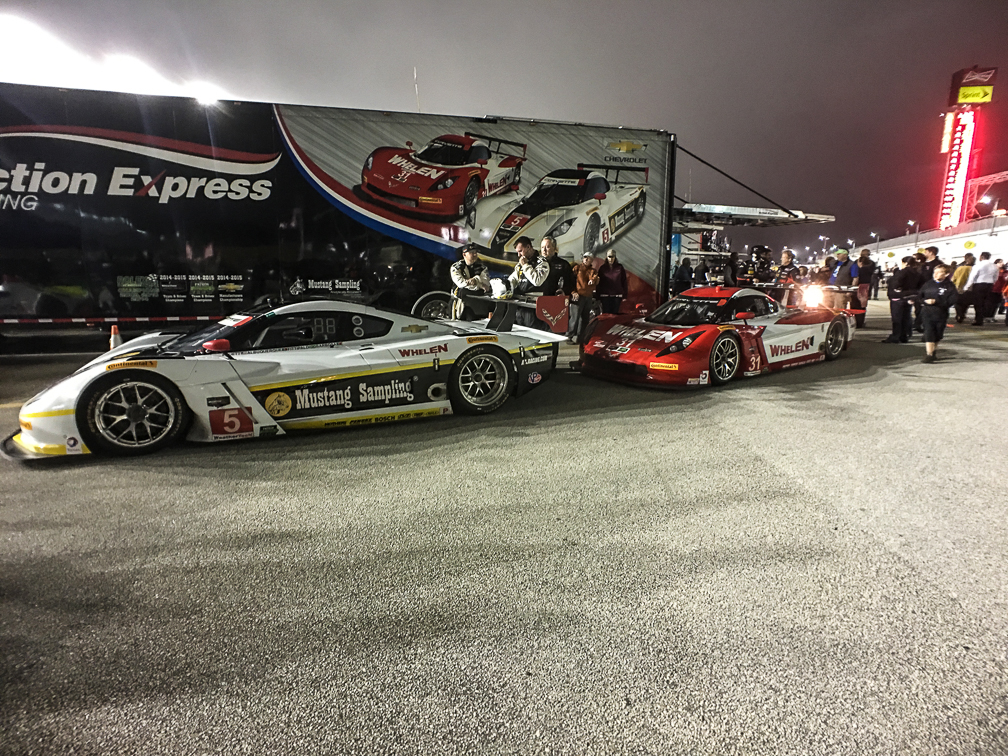
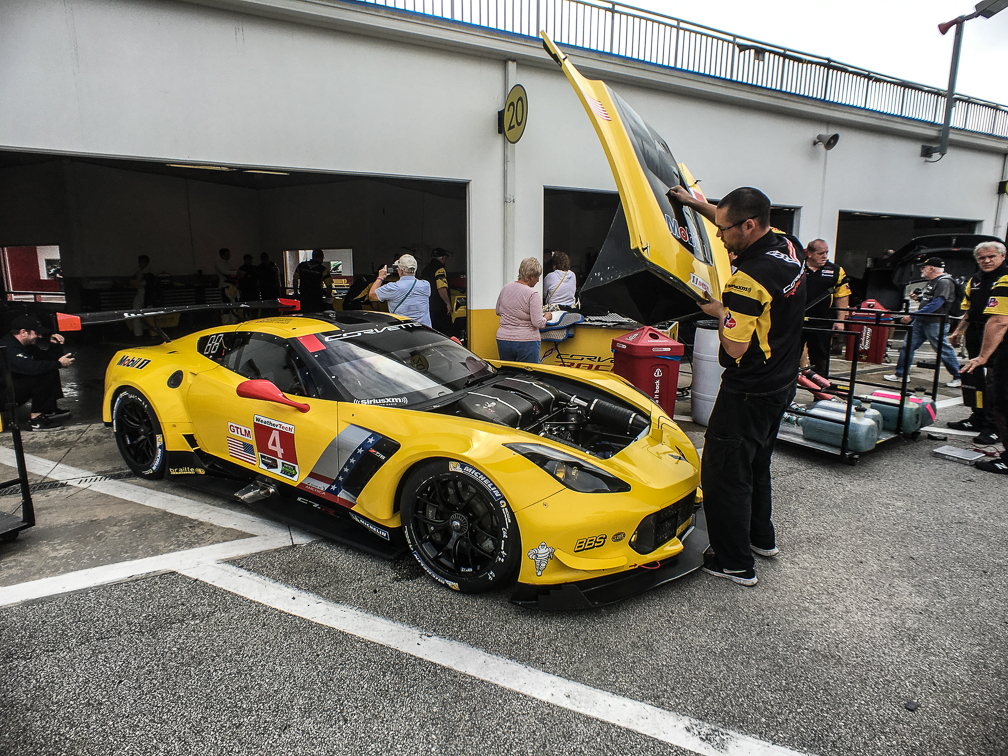
The lenses are pretty good quality, imo, and none of the above issues will deter me from continuing to use them. While I’m still learning when to use each in specific scenarios based on what I’ve seen out of them so far, I’ve been able to get some great shots with them under the right conditions, and the wide angle allows me to get more things in the frame of a single shot without having to employ any sort of panoramic functionality. Here are a few samples of shots taken using the Moment lenses over the course of our trips:

IMG_4208 IMG_4193 IMG_4009 IMG_1647 IMG_1540 IMG_1536 IMG_1514 IMG_0844 IMG_0812 IMG_0804 IMG_0773 IMG_0752 IMG_0554 20151120_211925000_iOS 20151119_215042000_iOSIMG_5549IMG_5464IMG_5158IMG_5501IMG_5335

Travel Photography – What’s In My Bag?

With travel season approaching, I’ve been working on changes to the photo and video gear I carry with me. There was a time when I would carry my Nikon DSLR and all of my lenses with me on vacation, but over the past few years I’ve gotten to the point where I wanted to go as light as possible and not have to carry a full camera bag around with me. It started with our Thanksgiving cruise in 2012, where I found myself shooting around 60% of our pictures with my Nokia Lumia 920 vs 40% with my Nikon, slowly edging up to the point where I was shooting 90% of our vacation shots with my Lumia 1020.

There are exceptions, as I enjoy shooting auto racing when I get the chance, and I have yet to see anything below a DSLR and a set of good lenses that can handle the speed and low-light requirements, but for everything else, the lighter I can go, the happier I am. So with a cruise on tap in a week aboard the Norwegian Escape, followed by Thanksgiving at Disney World, I figured I’d post a quick walk-through of the gear I’ve settled on.

Photo Gear

For the first time in a long time, I’m not taking a DSLR with me, even as a backup. I will have two alternate devices with me, however:

  • My Lumia 1020 with camera grip: This may be a bit long in the tooth, and might be a little slow on a per-shot basis, but nothing in the phone space beats the PureView imaging system. This thing has been a favorite of mine for shooting since the day I bought it, and that’s why this is going to be my main back-up camera.
  • Sony DSC-WX350: I picked this up on the cheap as an open box item at Best Buy a few months ago to use as a business camera  for things like ship/resort tours, so we’d have something either of us could just pick up and shoot with at the drop of a hat. The results are pretty good for a P&S, in my opinion.

I really don’t expect to have to use either unless something happens to my primary. So what is my primary? Well, it’s my iPhone 6s Plus, equipped with a few extras. A quick shot of my gear (including the backups and tripod):

Primary gearBackup gear

Of the main gear in the left hand shot, the case is a CamKix medium GoPro case with the CamKix customizable magic foam. What am I carrying inside the case? Well, a few things:

  • Shoulderpod S1 Professional Smartphone Grip: I needed a way to mount the iPhone to my Gorillapod if the situation arose. After a little searching, I knew I had to have this. The reviews aren’t wrong, the handle’s solid and really helps stabilize both still and video scenarios.
  • Moment wide angle and telephoto lenses: I spent a lot of time comparing specs, reviews and sample shots of the various iPhone lenses. I’ve used cheap lenses from other companies before, and this is definitely a category where you get what you pay for. I wanted high quality glass, and I definitely feel I got it with the Moment lenses!
  • Spigen Neo Hybrid Carbon case: Normally I keep the Spigen Slim Armor Volt on my phone (wireless charging FTW!), but it’s too thick to allow mounting of my lenses, so for the duration of the trip I’ll be using this case.

I’m looking forward to putting this gear through its paces over the next 2-3 weeks. Feel free to follow us on Facebook and/or Instagram to see how the lenses perform on our trips!

Video Gear

For land trips, I generally just use my phone for any video I take, but when we go on cruises I also bring along a GoPro to handle any situations where the camera may get dirty, wet, or may need to be mounted to me in some way. This trip will be no exception, as I want to be sure I get plenty of video from the excursion we’re doing on my birthday in St Thomas, the BOSS Underwater Adventure.  I’ll likely end up doing some snorkeling at the other two ports, Tortola and Nassau, so it’ll get plenty of use this trip. Here’s my video setup:

Video gear

The case is a Shineda Water Resistant Large GoPro Case, which fits just about all of my GoPro gear. The main items in the case that I plan to use this trip:

  • GoPro Hero4 Silver plus extra battery: I bought this a while back as a replacement for my Hero2, which I gave to my daughter to use while at college. I’m looking forward to having the LCD to frame my shots vs hoping I’m getting what I think I’m aiming at :).
  • GoPole Bobber Floating Handgrip: This is my first trip with it, so I’ll be interested to see how I like it versus the regular wrist strap I’ve used for snorkeling in the past.
  • Head strap: This isn’t the official GoPro one, my daughter took that one with her when I gave her my Hero2. This is a knockoff my wife ran across at Five Below for $5, and frankly I can’t tell the difference.
  • Random mounts: Not sure I’ll use any of them, but since the case can hold them all, I figured I’d throw them in.

Okay, so maybe I’ve failed the whole “carry less gear” goal, but at least it’ll be lighter. Regardless, I’m very much looking forward to putting the new stuff to work! After we get back, I’ll post my impressions of how the Moment lenses performed in real-world use.

Renting Camera Gear

I know in my last post that I said I was done until after my trip this weekend, but after a package came today, I figured I had one more in me 🙂

I love to take pictures when on vacation, as most people do. I started shooting with DSLRs about 9 years ago when my daughter started in competitive cheer, but would say that even today, I’m an amateur photographer at best. While I used to lug my gear around any time we went on trips, I only really enjoy shooting with it under the right circumstances these days. Over the past few years, my interest in using the DSLR gear on vacations has waned, and while I do still take it with me, it serves as a backup camera to my point and shoot, which also happens to be my phone, currently a Nokia Lumia 1020 with the camera grip. While each has advantages and disadvantages, being able to carry such little weight when using a decent point and shoot is enough for me to leave the DSLR in the bag. Most of the time.

The main exception to my rule would be auto races, the one place I really enjoy shooting. Over the past few years, I’ve rented gear to haul to the following:

  • 2008 Grand Prix of Long Beach: Rented a Nikon 70-200mm f/2.8G ED-IF AF-S VR to mount on my D80
  • 2010 Grand Prix of Long Beach: Rented a Nikon 18-200mm f/3.5-5.6 G ED-IF AF-S VR to mount on my D80
  • 2012 Rolex 24 at Daytona: Rented a Nikon D7000 + Nikon 70-200mm f/2.8G ED VR II
  • 2015 Rolex 24 at Daytona: Rented a Nikon D750 + Nikon 70-200mm f/2.8G ED VR II
  • Oh, and I also rented a Nikon 28-300mm f/3.5-5.6G ED AF-S VR to use with my D80 on a work trip to Yosemite in 2010.

The D750 and 70-200 arrived today, just in time for our departure tomorrow. I’ve used a couple of different services for this over the years, LensRentals.com and RentGlass.com, and have had nothing but good experiences with both of them. The majority of those listed above, however, have been with LensRentals. My main reason behind this is because they allow me to schedule well in advance what I want and when I need it, vs just waiting until a few days before the trip and hoping what I want is in stock. For this trip, I reserved the gear on the 7th for arrival today. I’ll keep it 4 days, and send it back in the packaging it arrived in on Monday on my way home, only needing to have some packing tape on hand since the return shipping label is included.

Both of the services do an outstanding job packaging their gear, which I would completely expect considering how much this equipment would cost to replace. Today’s box was no different:

Gear1gear2gear3gear4

The main reason I’m willing to rent and lug heavy gear around with me is that it’s next to impossible to get a decent shot of a race car at speed using a P&S. Shooting a moving vehicle is a mix of stable panning, fast glass, perfect shot settings, and good location. The professionals generate some awesome images. Me, I’m just happy to get pictures to use as desktop backgrounds, to be honest. The other challenge will be the number of pictures I take. I leave it in burst mode the whole weekend, and usually max out the camera buffer when I’m shooting a passing car from the fence line, and am guessing I’ll easily come home with somewhere between 2500-3000 pictures to sort through this trip. Most of that will likely be throw away, too, but the ones that turn out good will occupy my computer screens for quite a while.

Back to the rental services. Honestly, I find this to be a great way not only to try new gear, but to avoid paying the price of buying something you may only use a couple of times. I’ve always received solid, perfectly working gear, and the few times I did have to contact either company’s support for something, they were always very friendly and helpful. For anyone who’s never used a camera rental service but isn’t interested in renting DSLR gear, most of them aren’t limited to that, some have point and shoot cameras and GoPro gear, too.

One last recommendation for anyone renting high-end gear: Get the insurance for anything you’re not willing to pay replacement cost on. On our 2010 trip to Long Beach, I dropped my camera while it had the 18-200 rental lens on it. As soon as it left my hands, my heart sank. I didn’t even want to pick it up. When I did, I could tell that the lens was a bit jacked up, as the focus ring was loose, and the lens itself wasn’t 100% secure on the mount. We were at the car getting ready to head to the hotel on day 2 (of 3) when it happened, so I wrapped it up and waited to asses it further until we got to the hotel. When we got back to the room, I went ahead and emailed RentGlass to let them know what happened and ask for next steps. Long story short, after we got home, I sent the lens back as scheduled and waited to find out how much the repair was going to cost. Fortunately, none of the glass was damaged, and Nikon’s price to repair was only $125. That was the one time I skipped insurance, and I was sure I was going to have to pay for a new lens, so I was pretty happy with that outcome. It was a lesson for sure, and is still the only time I’ve ever dropped a camera.

Well, I’m off to finish packing since we’re off to Daytona in the morning! For now, here are a handful of my favorite shots taken with rental gear over the years:

Favs1Favs2Favs3Favs4Favs5 Favs6 Favs7Favs8Favs9Favs10


Packing for a Cruise

One thing we’ve gotten pretty efficient at over the years is packing. My wife and I maintain separate packing lists with quite a bit of overlap, which is probably somewhat inefficient, but it helps us ensure we don’t forget anything major. I also tend to go over mine two or three times *after* I pack to be sure I didn’t miss anything :). I figured I’d post our combined list in the event it helps anyone looking for cruise packing tips. Have something on your list that’s not on mine? Add it in the comments!

Electronics:

  • Camera gear: I take my Nikon DSLR, lenses and chargers in case I really need them, but the gear doesn’t leave the bag much after getting my Nokia Lumia 1020 last year.
  • Cell phone and charger. The phone stays in airplane mode, but as hinted above, the camera in it is outstanding 🙂
  • GorillaPod and Lumia 1020 camera grip
  • GoPro gear: Including charger, memory cards, dive housing, floaty back door and anti-fog inserts. The inserts are essential in places with high humidity, and you should have extra inserts to swap out during the trip
  • Power strips: We’ve been taking two of these Belkin travel strips with us the past few cruises. They work really well and we never have issues with them being pulled from the luggage
  • 2 pairs of sunglasses: I always take a backup pair in case something happens to my primary pair
  • Laptop & charger: Note that I only take this if I really need it for some reason, as I hate lugging the additional weight (photo backup is about the only reason)
  • iPad & charger: In addition, I always load up a couple of books in the Kindle app to read during any downtime on sea days
  • Load up some music on my phone to listen to while reading, or during morning runs (yea, right :))
  • Waterproof camera case as a backup in the event the GoPro has issues (this came from experience). I’ve got an older version of this AquaPac, which holds any of our phones

Clothes:

  • Pants
  • Shorts
  • T-shirts
  • Undershirts
  • Dinner shirts
  • Socks / underwear
  • Bathing suits (usually two or three)
  • Pajamas
  • A light jacket or hoodie for cool nights

Shoes:

  • Sandals (usually two pairs)
  • One pair tennis shoes
  • Water sandals, which come in handy for any excursions where you may get wet or muddy (ATV/dune buggy tours, for example)
  • Dinner shoes

Random Stuff:

  • PASSPORTS!!!
  • Toiletries
  • Snorkeling gear. We generally drive to ports, so I don’t have to worry about fitting this in to checked luggage
  • Door organizer to hold all kinds of random items. Ours looks something like this
  • Medication, including any aspirin, ibuprofen, allergy pills, etc
  • Ponchos, just in case it’s raining while you’re in port somewhere
  • Downy wrinkle releaser
  • Zip lock bags. Good for packing wet bathing suits in for the flight or ride home. Also useful for storing snacks to take off o the ship (where allowed)
  • Extra hangers – Some lines will provide them if asked if you don’t want to carry your own
  • Sunscreen
  • Hot/Cold cup with a lid. That way you don’t have to keep refilling up their little cups with water, lemonade, juice, and coffee or ice tea

  • Post-it notes – good for leaving quick notes in the room for family members

  • Cash for on-shore purchases / tipping (including small bills)

  • Nightlight
  • Highlighter so you can highlight the interesting things to do in the ship’s dailies.

  • Duct tape- Many uses for this from fixing a broken suitcase to taping the drawers closed when there is bad weather.
  • Towel clips similar to these Boca clips
  • Old used gift card in case the in-room safe is card-controlled.
  • Waterproof money/card/ID holder similar to this for beach or rainy port days
  • Lanyard for those who find it easier to carry your ship ID card around your neck
  • Hat or visor

I think that about covers it, but if I find that I left anything off, I’ll add it later! Oh, and if this seems like overkill, it may very well be, but it works for us. We did take t0o many clothes this past trip somehow. My wife ended up with almost half a suitcase of stuff she didn’t wear 🙂

%d bloggers like this: